Homemade graham crackers are so easy to make you’ll wonder why you store bought them in the first place??!! Tiger nut flour is an amazing gluten free substitute for graham flour. It has a sweet and nutty flavor, and is almost sand-like in texture, creating the crunch we all know so well in regular old graham crackers. Tiger nuts have a lot of interesting facts that we’ll get into below. These gluten free tiger nut graham crackers are made with only two flours – tiger nut and brown rice flour – to create a simple and delicious homemade treat.
Jump to Recipe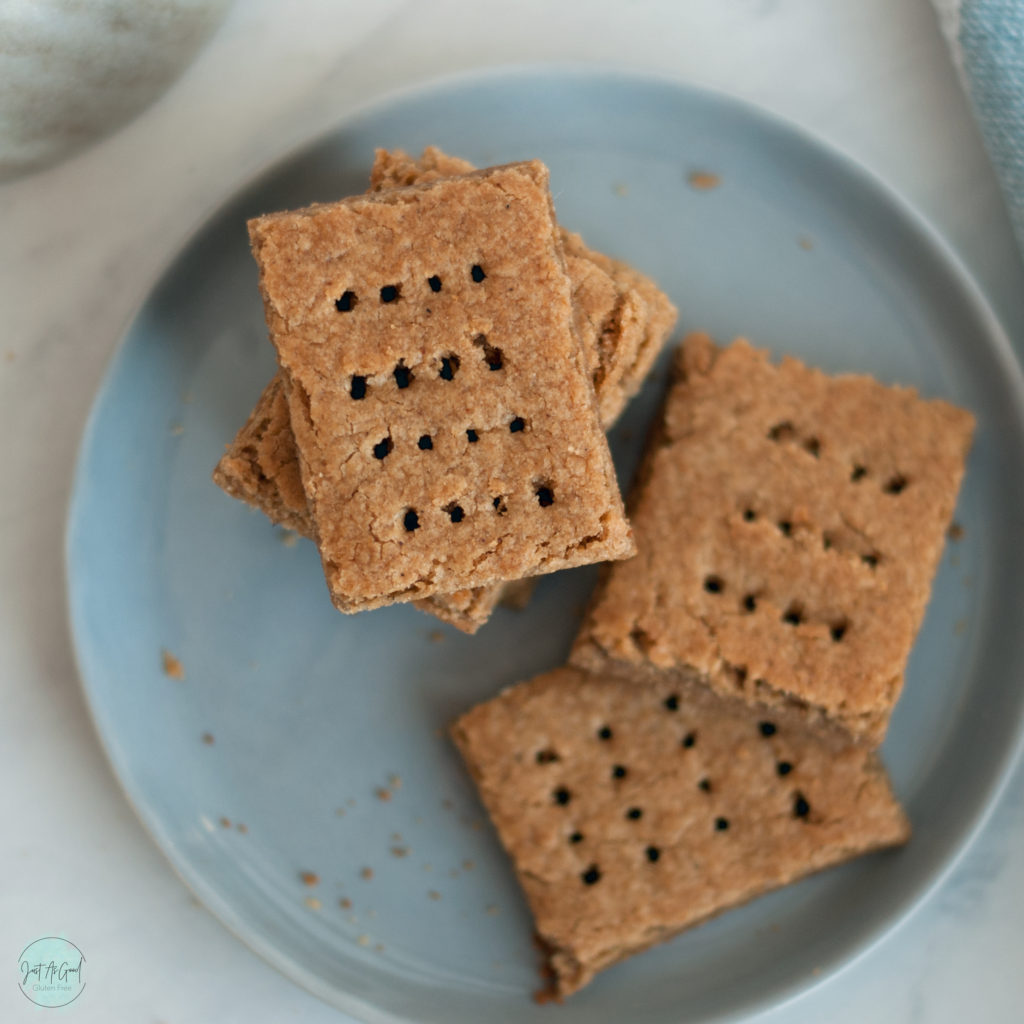
Tiger Nut Uses and Benefits
Before we dig into the details of the recipe, let’s talk about tiger nuts because they’re pretty fascinating! Contrary to its name, tiger nut is NOT a nut, but rather derived from a tuber of a grassy plant.

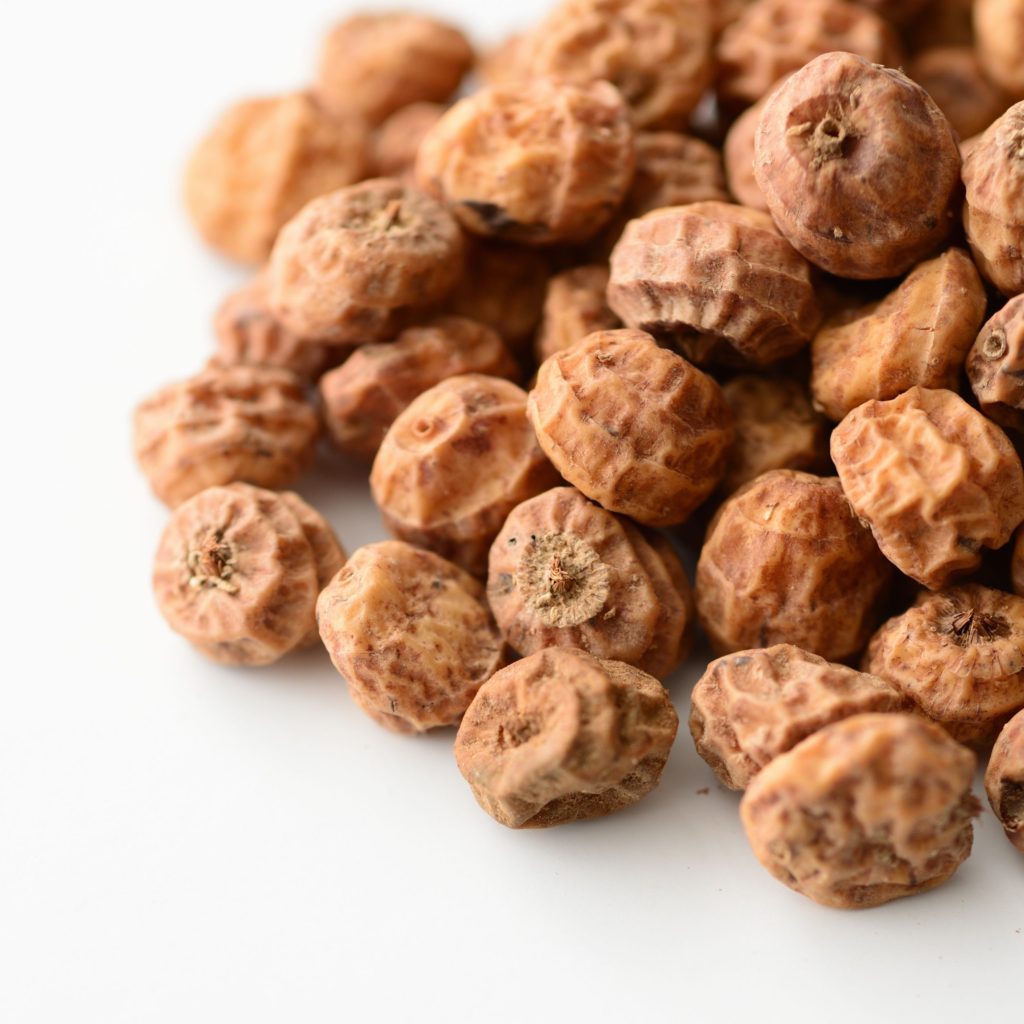
According to Specialty Produce, tiger nuts are cultivated all over the world, primarily originating in Africa, and is one of the oldest cultivated crops at over 9,000 years old. Each plant can produce up to 2,500 tubers of tiger nuts which are consumed raw, roasted, dried, baked, juiced, floured, or processed for oil. In fact, tiger nuts have a similar fat composition to olives.
What really impresses me about tiger nuts is their nutritional value. According to WebMD, one quarter cup of tiger nut flour contains 10 grams of fiber…10 grams! On the flipside, each quarter cup of flour contains about 19 grams of carbohydrates and 9 grams of sugar, so something to be mindful of if you need to watch your carbohydrate intake. Tiger nuts are full of vitamin C, B6, iron, magnesium, calcium, zinc and potassium.
Because tiger nut flour is slightly sweet, I’ve found I can use less sugar in my baked goods. In fact, I had to keep scaling the sugar back in these homemade gluten free tiger nut flour graham crackers.
Hey there! Just As Good Gluten Free LLC participates in the Amazon Associates Program, which mean many outgoing links on Just As Good Gluten Free are affiliate links. After clicking on a link, I may receive a small percentage of the sale for referring you, which comes at no extra cost to you. This allows me to continue creating gluten free recipes for you! Many thanks – Amy
Tiger nut flour is becoming more common in grocery stores, but if you’re having difficulty locating it try purchasing on-line. This is the tiger nut flour I usually purchase because it’s a brand I use often and trust. I also use Anthony’s Goods to purchase brown rice flour.
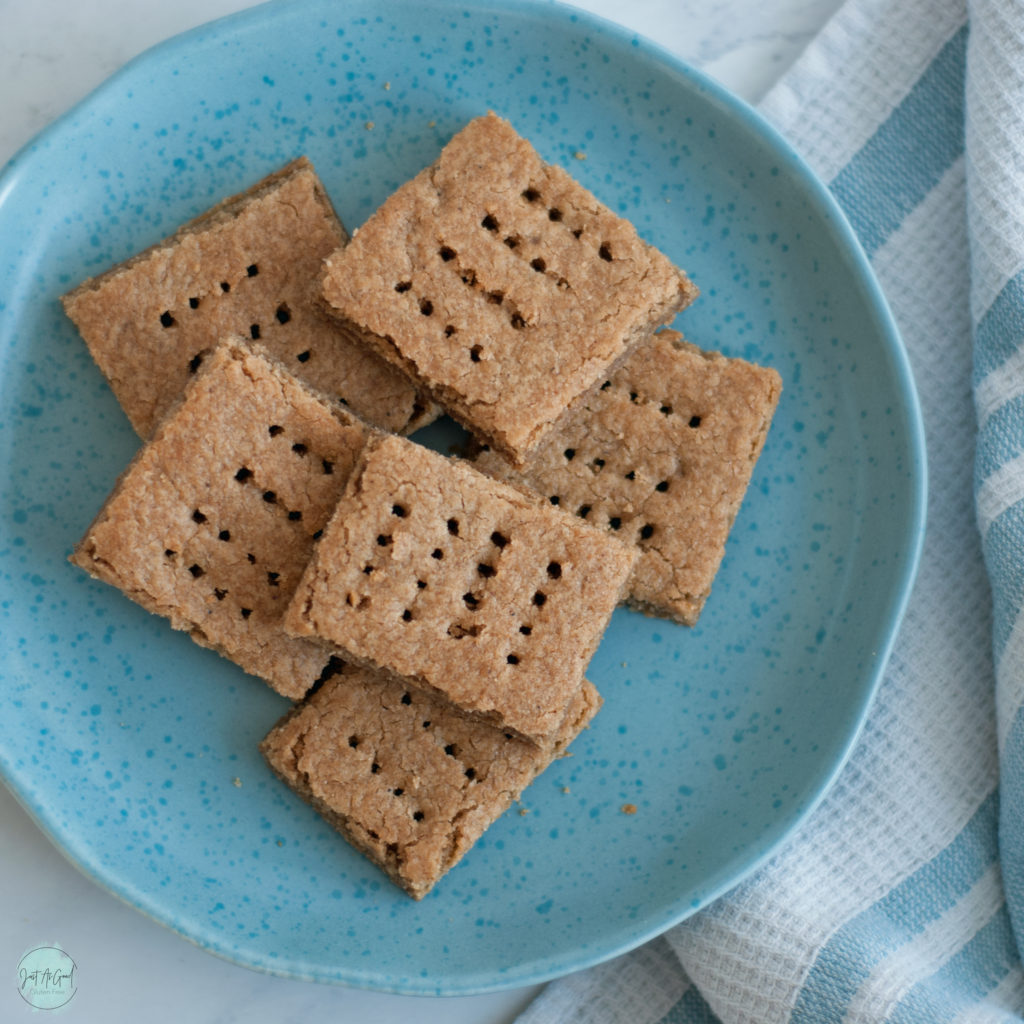
There are only two flours in the bowl below. Can you guess which one is brown rice flour and which one is tiger nut flour?
If you said the bottom flour is tiger nut you are correct! ⭐ Look how golden brown the tiger nut flour is. If you could touch it, you would find it to be more coarse than brown rice flour, almost sandy.
I use a pastry cutter to blend the butter and flour mixture together. In the picture below, the small chunks you see are little pieces of butter. You can leave some chunks of butter, just make sure they are smaller than a pea.
A food processor will make quick work of this stage as well.
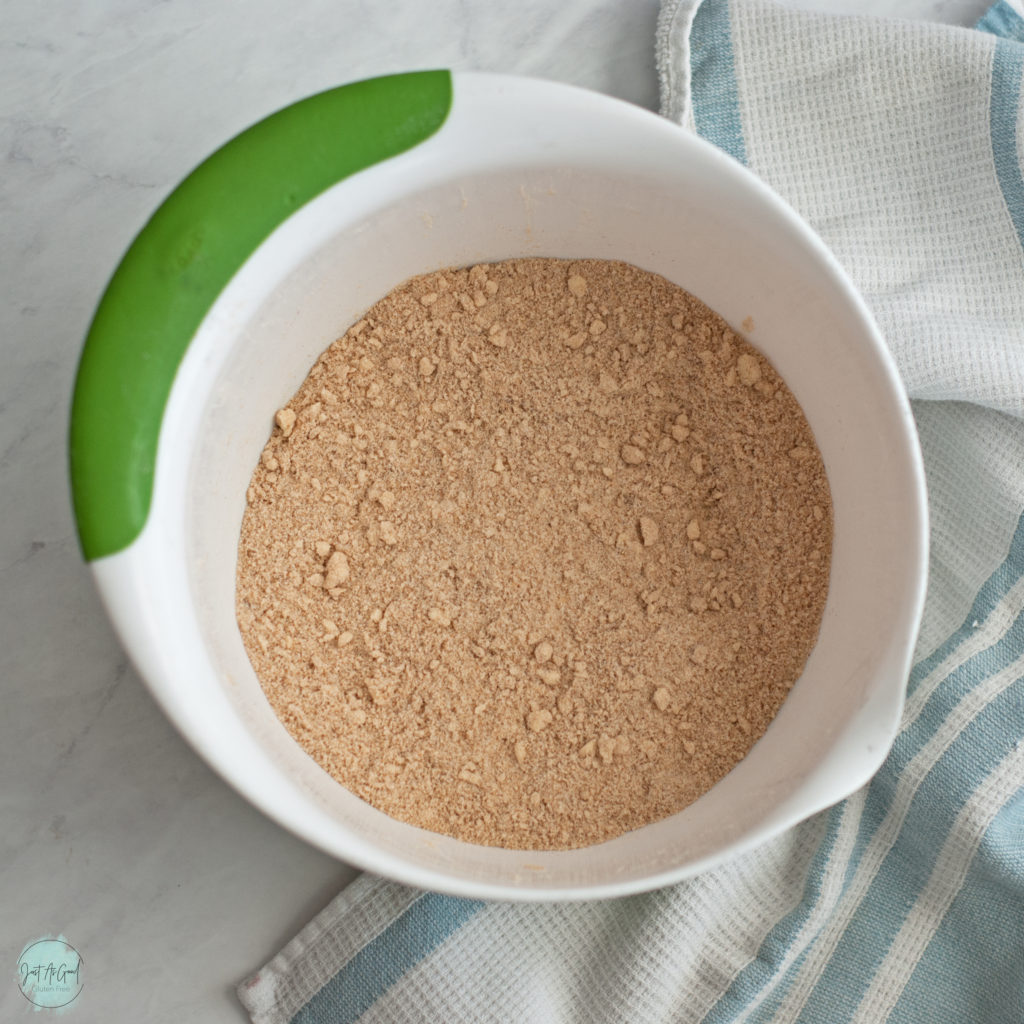
After you’ve cut the butter into the flour mixture, you can add the liquid components – milk, honey and vanilla extract. At this point, switching to your hands is probably the easiest way to pull it together. (If you’re unable to work with your hands, consider using a food processor or stand mixer). It may take a good minute to press the dough together and knead until all of the flour is mixed in. You may have little chunks of butter but that is nothing to be concerned about! Once it’s formed into a ball, you can transfer the gluten free graham cracker dough onto a work surface for rolling out.
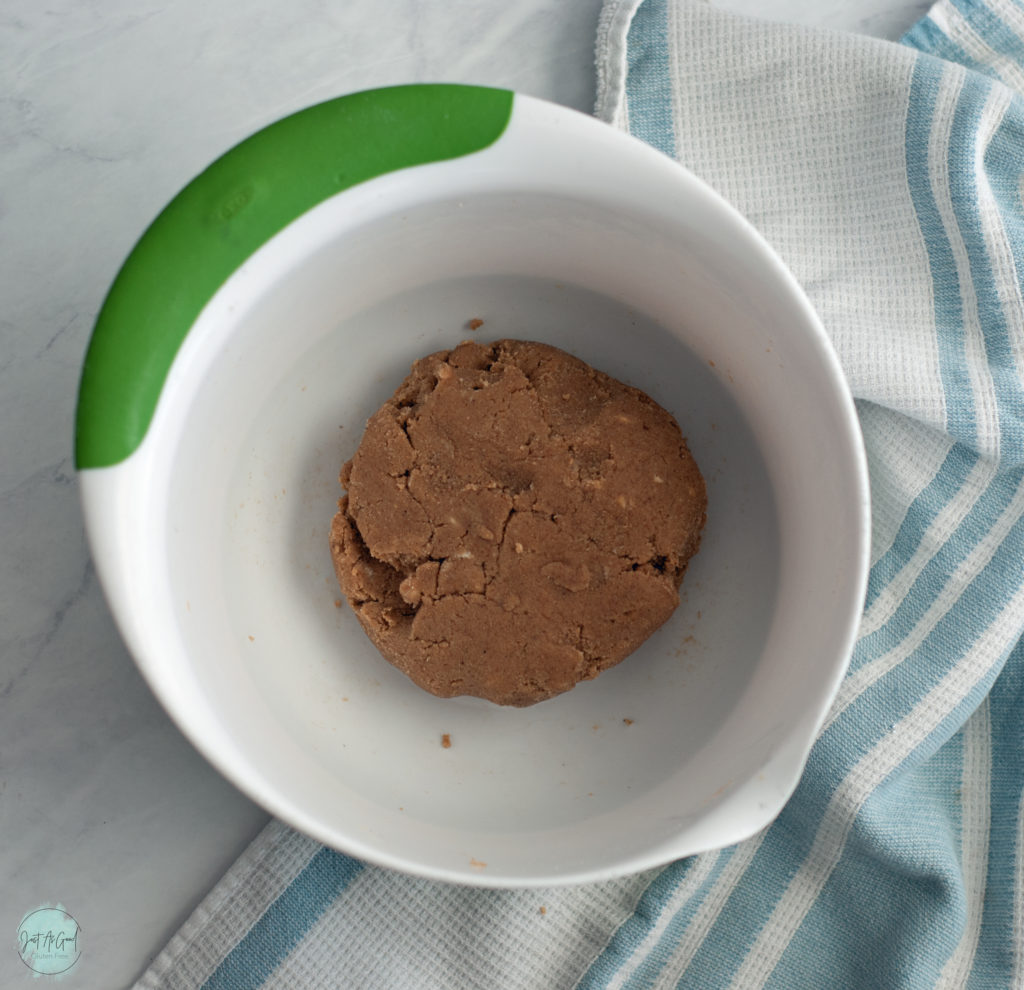
I love to roll dough out on parchment paper (shown below) or on a silicone mat. Silicone mats are nice because they don’t slide around when you’re rolling the dough; however, you have to be careful when cutting your crackers that you don’t cut the mat. I opted for parchment paper on this one. Because of the butter content, you can use neither one and go straight for the baking sheet, but you’ll have to use some skills when transferring the dough to bake.
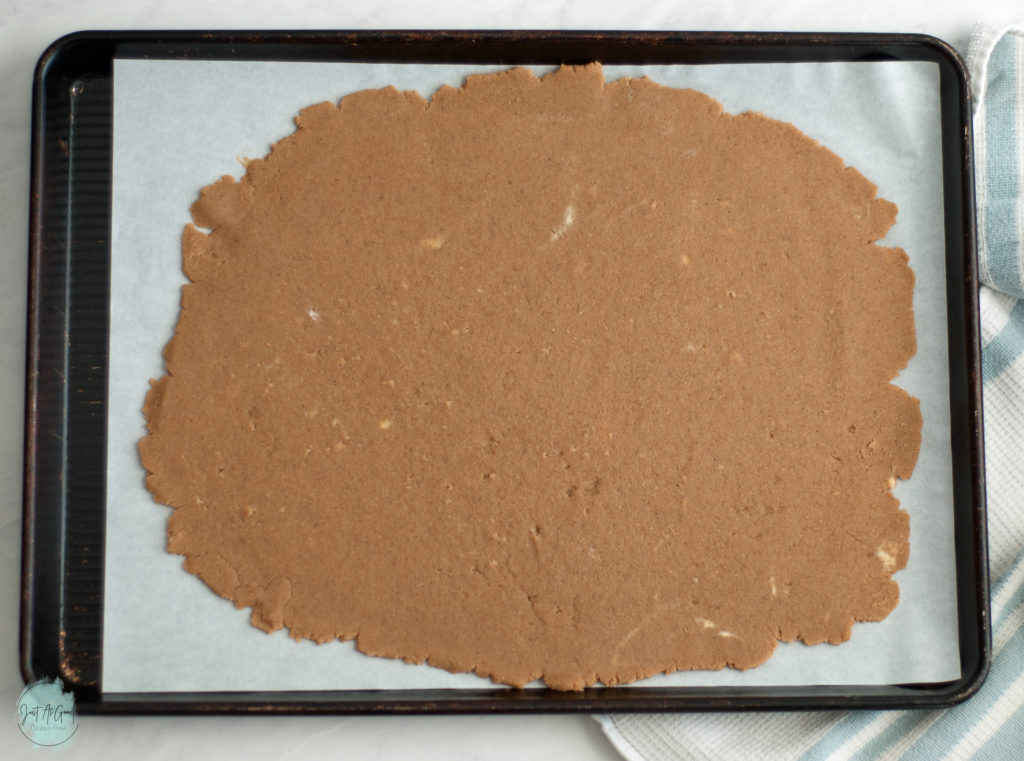
This bake is a little unusual in the sense that almost half way through baking, we’re going to remove the crackers from the oven and cut them, and place them back in the oven to finish baking. I’ve tried these gluten free graham crackers so many ways and have found this way to work best. If you cut and score before baking, it puffs up too much and you lose the shape. If you wait and cut until after its baked, the cracker is too crispy and breaks. So we’re going with something in-between!
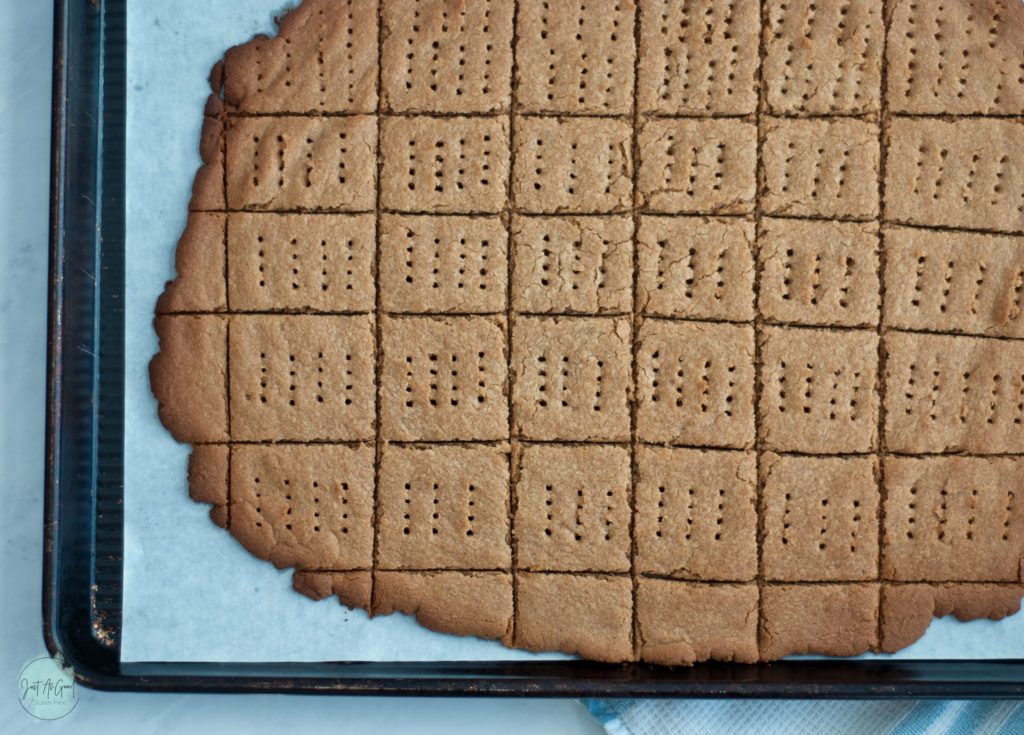
If you’re the kind of person who loves/needs identical cuts, pull out a ruler. I’m a little more free form and for the general purpose of kids snacking, I opted for the “I don’t care if they’re uneven” kind of cut. 😊
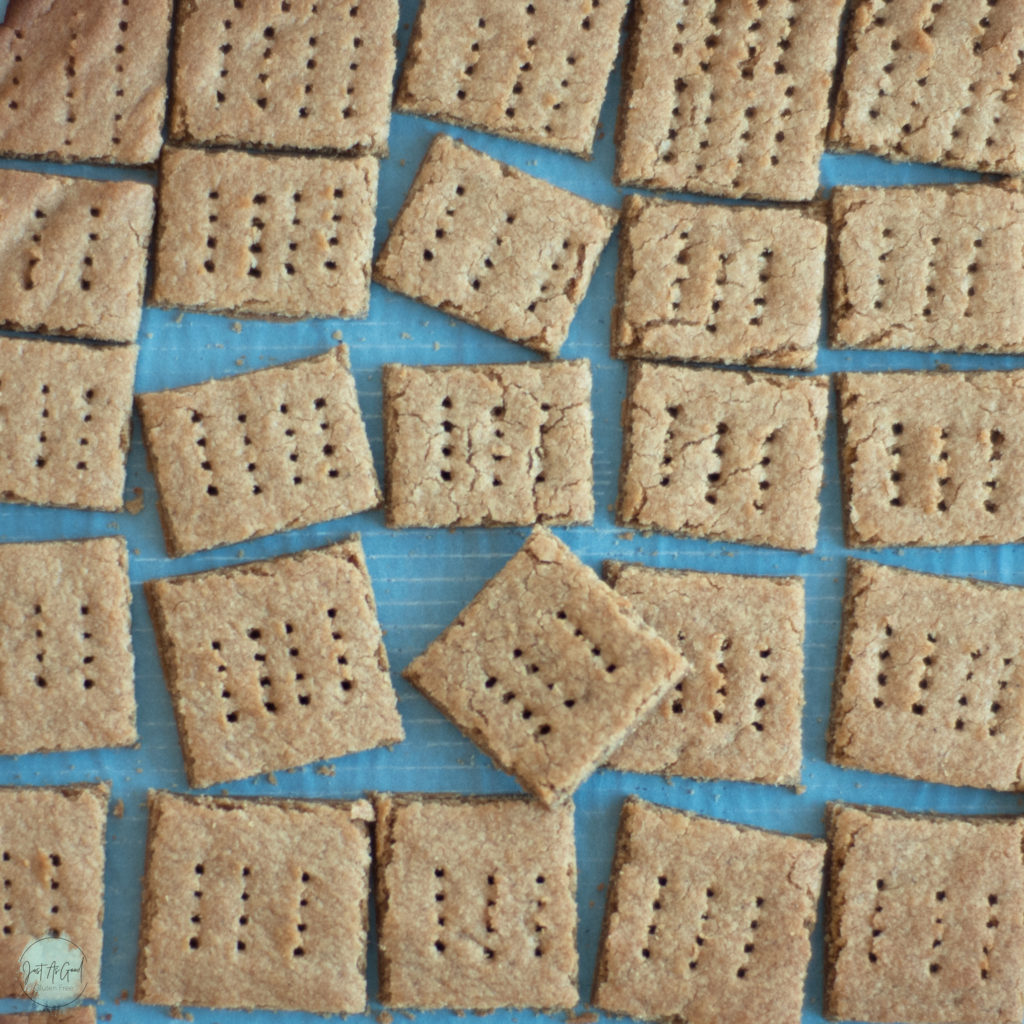
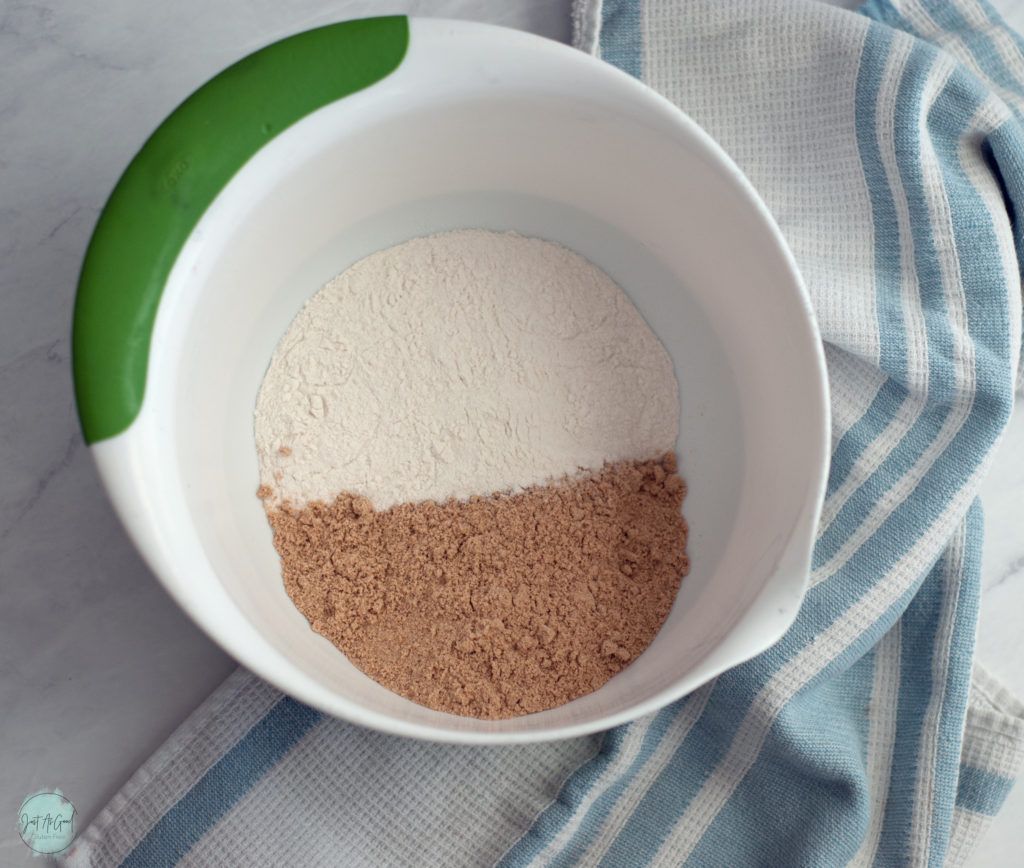
The fun thing about these crackers is that you can shape or cut them any way you want! If you want the traditional holes on top, use fork tines or a skewer, or leave them off. Circle, square, heart, star…whatever you fancy.
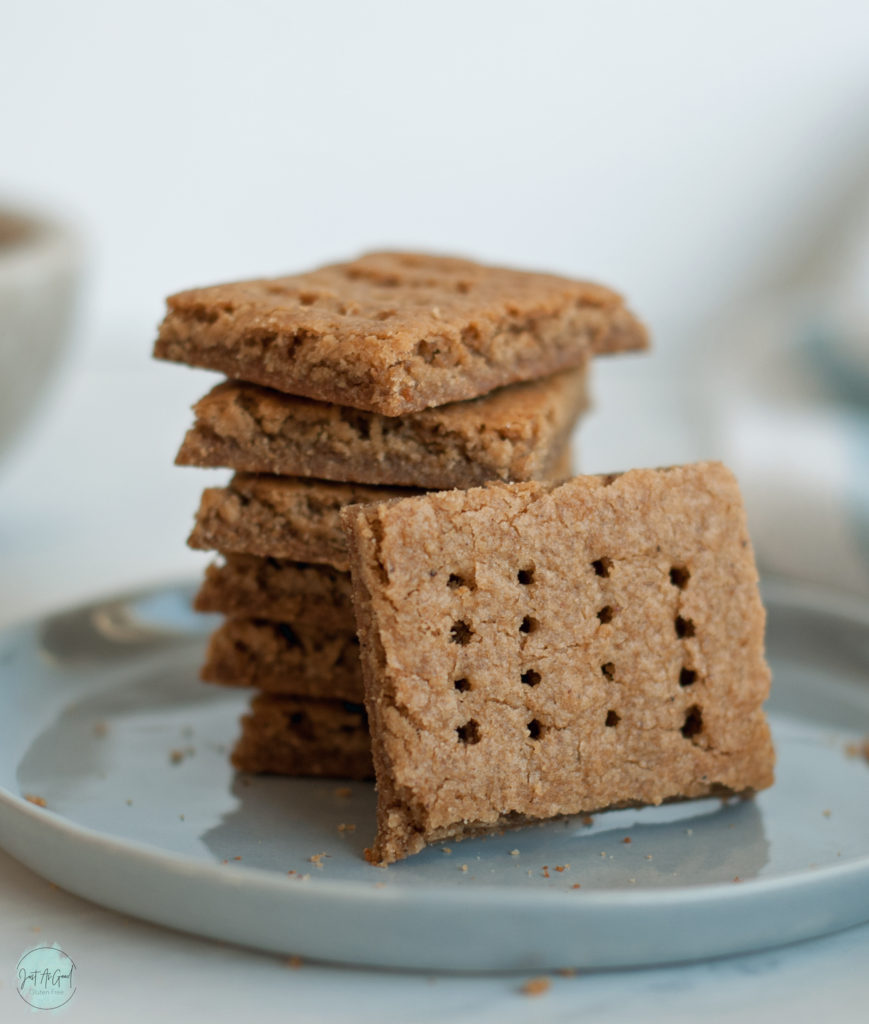
If you made this recipe would you please share a comment below, share a picture on Instagram or Pinterest, join our Facebook group, or sign up for occasional email updates. I’d love to see your pictures!
Homemade Gluten Free Tiger Nut Graham Crackers
Ingredients
- 1 cup (120 grams) tigernut flour
- 1 cup (128 grams) brown rice flour
- ½ teaspoon cinnamon
- ¼ teaspoon salt
- ¼ teaspoon baking soda
- ¼ cup white granulated sugar
- ⅓ cup brown sugar
- ½ cup (8 Tbs) unsalted butter, cold and cubed
- 1 teaspoon vanilla extract
- 2 Tbs milk
- 2 Tbs honey
Instructions
- In a medium bowl, combine brown rice flour, tiger nut flour, cinnamon, salt, baking soda, white sugar and brown sugar.
- Using a pastry blender or your hands, crumble in cubes of butter until the dough looks like coarse sand. You can also use a food processor for this step – if you do, transfer the dough to a bowl after mixing.
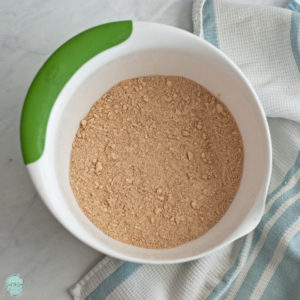
- Add milk, honey and vanilla and stir. Switching to your hands, begin pressing the dough together until all flour is combined. This may take a minute of pressing the dough to absorb all of the flour mixture, but it will come together. *Be cautious against adding additional liquid as it will make your dough very sticky, be patient and keep working the dough.
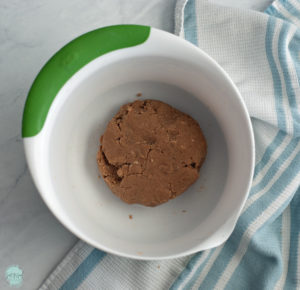
- Line a standard baking sheet with parchment paper or silicone mat. Roll the dough out in a rectangle, measuring approximately 12 in. x 16 in. Your dough should be about ¼ inch thick.
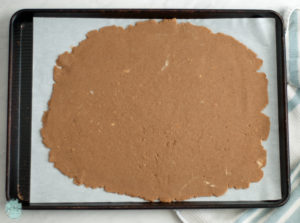
- Place the rolled out dough in the freezer for 15 minutes, OR, the refrigerator for 30 minutes.
- Preheat oven to 350° F. Bake the graham cracker dough for 8 minutes. Remove from oven and using a knife, cookie cutter, or pizza wheel, cut the dough into your desired shapes. You can also use the tines of a fork or a skewer to poke holes into each cracker.
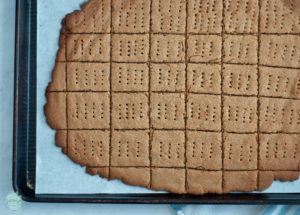
- Place the cut crackers BACK into the oven for an additional 6-8 minutes. The total bake time is 14-16 minutes. The longer you leave the crackers in the oven, the more crispy they will be. The edges will be darker that the middle and the cracker will be slightly soft when you remove them from the oven.
- After 2-3 minutes of removing them from the oven, use your knife or pizza wheel to make sure the crackers are cut completely through by following your previous cuts. Allow the crackers to cool on the sheet for at least 10 minutes before transferring to a cooling rack.
- Store in an airtight container. Eat plain, with peanut butter or hazelnut spread, use for s'mores, or pulse in a food processor and use for a graham cracker crust.
If you’re looking for more gluten free snack ideas, check out my Pinterest page below:
https://www.pinterest.com/JustAsGoodGlutenFree/gluten-free-snacks/keywords:
gluten free graham crackers
tigernut flour, health benefits of tigernut flour, what is tigernut flour, brown rice flour



Leave a Reply