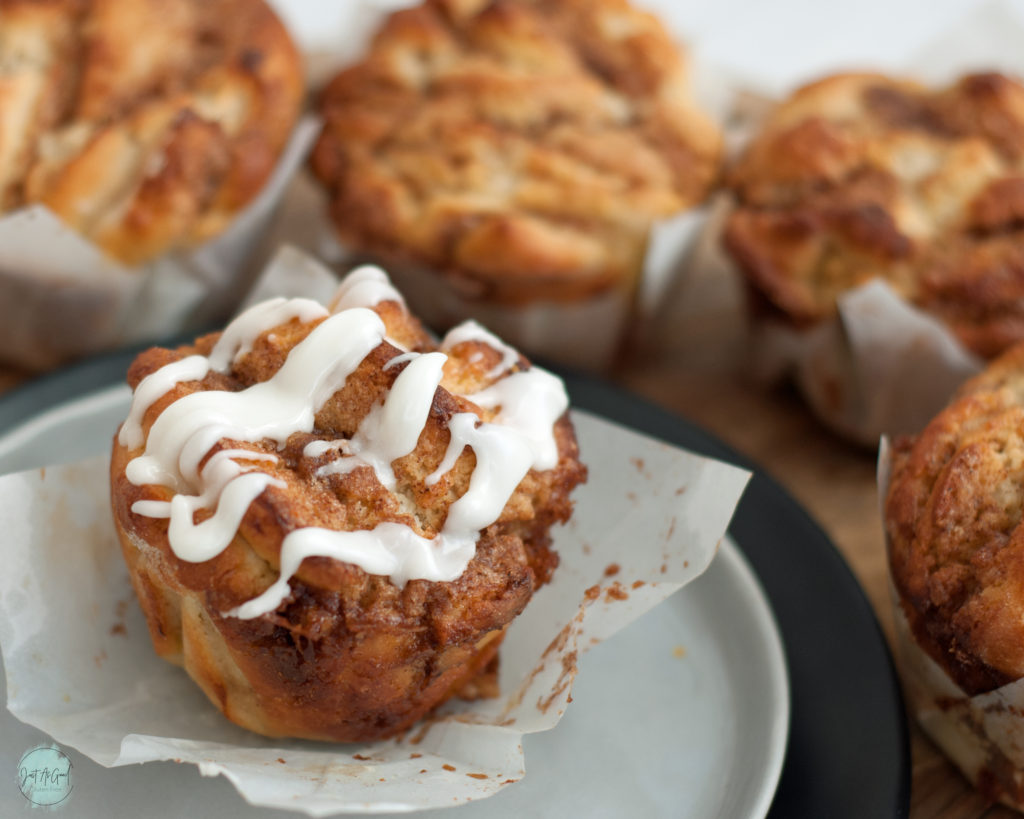
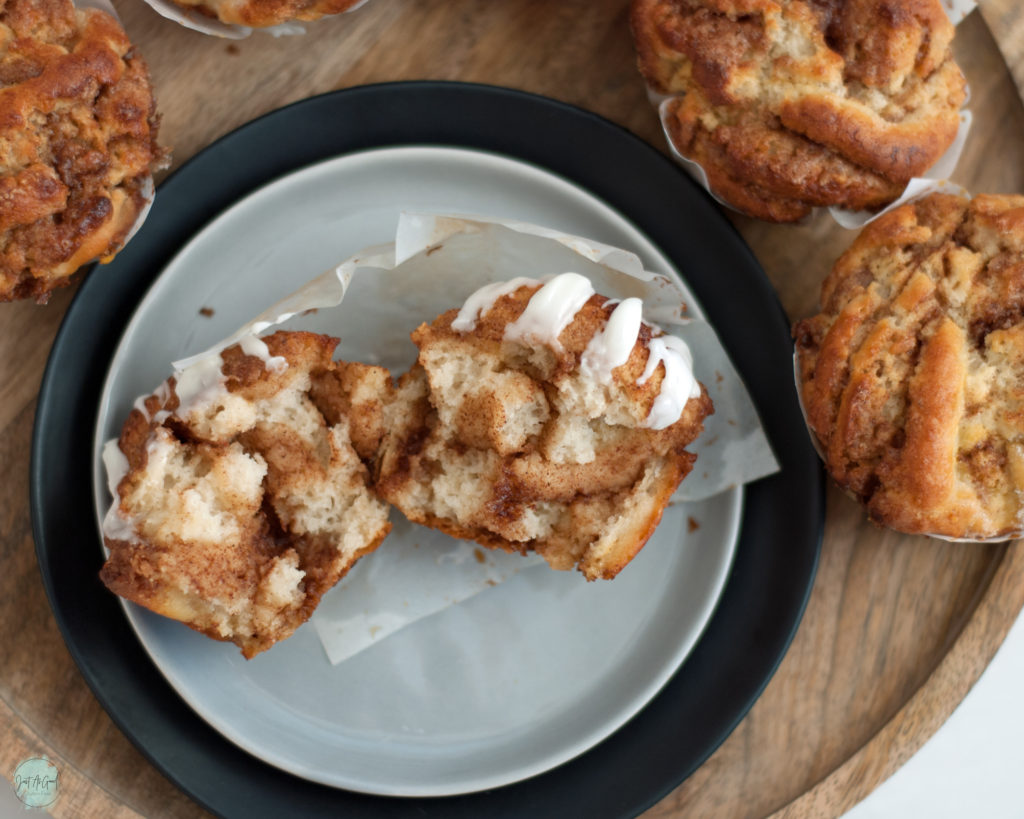
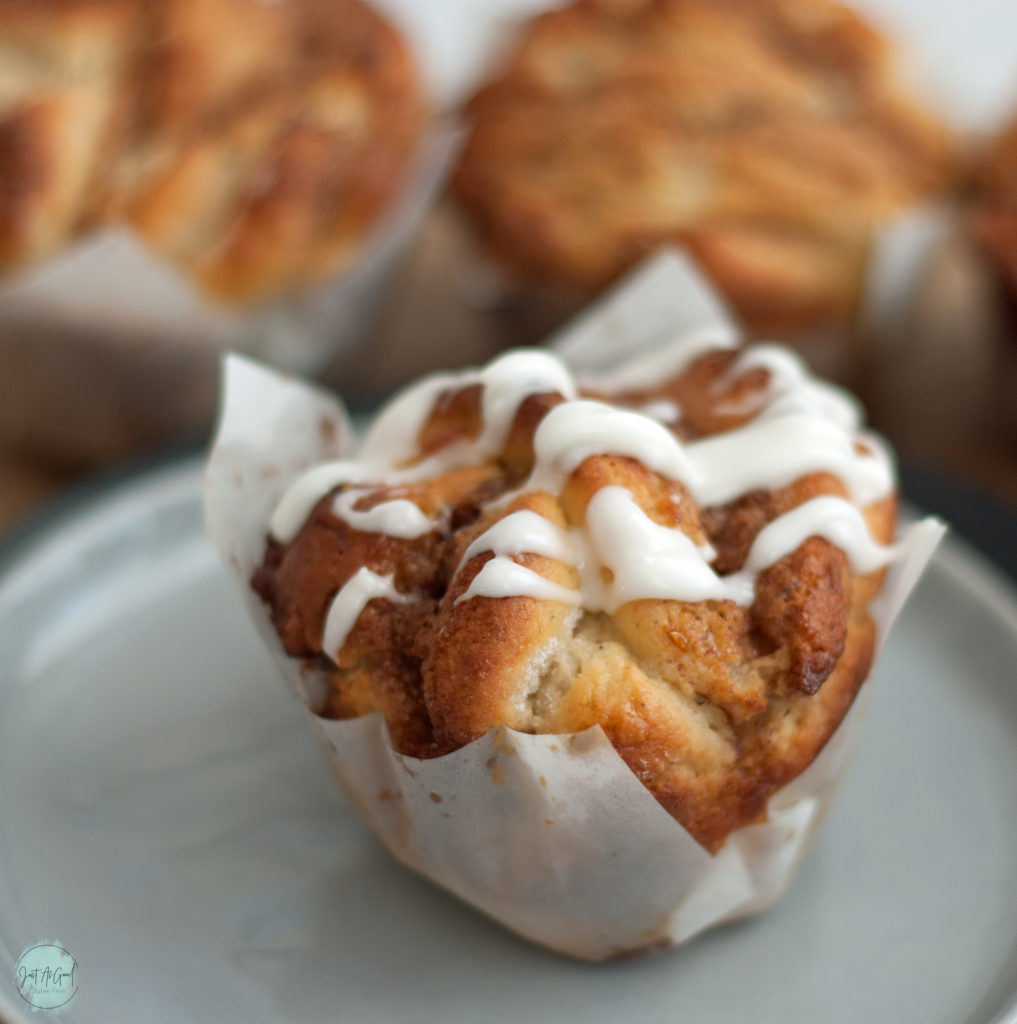
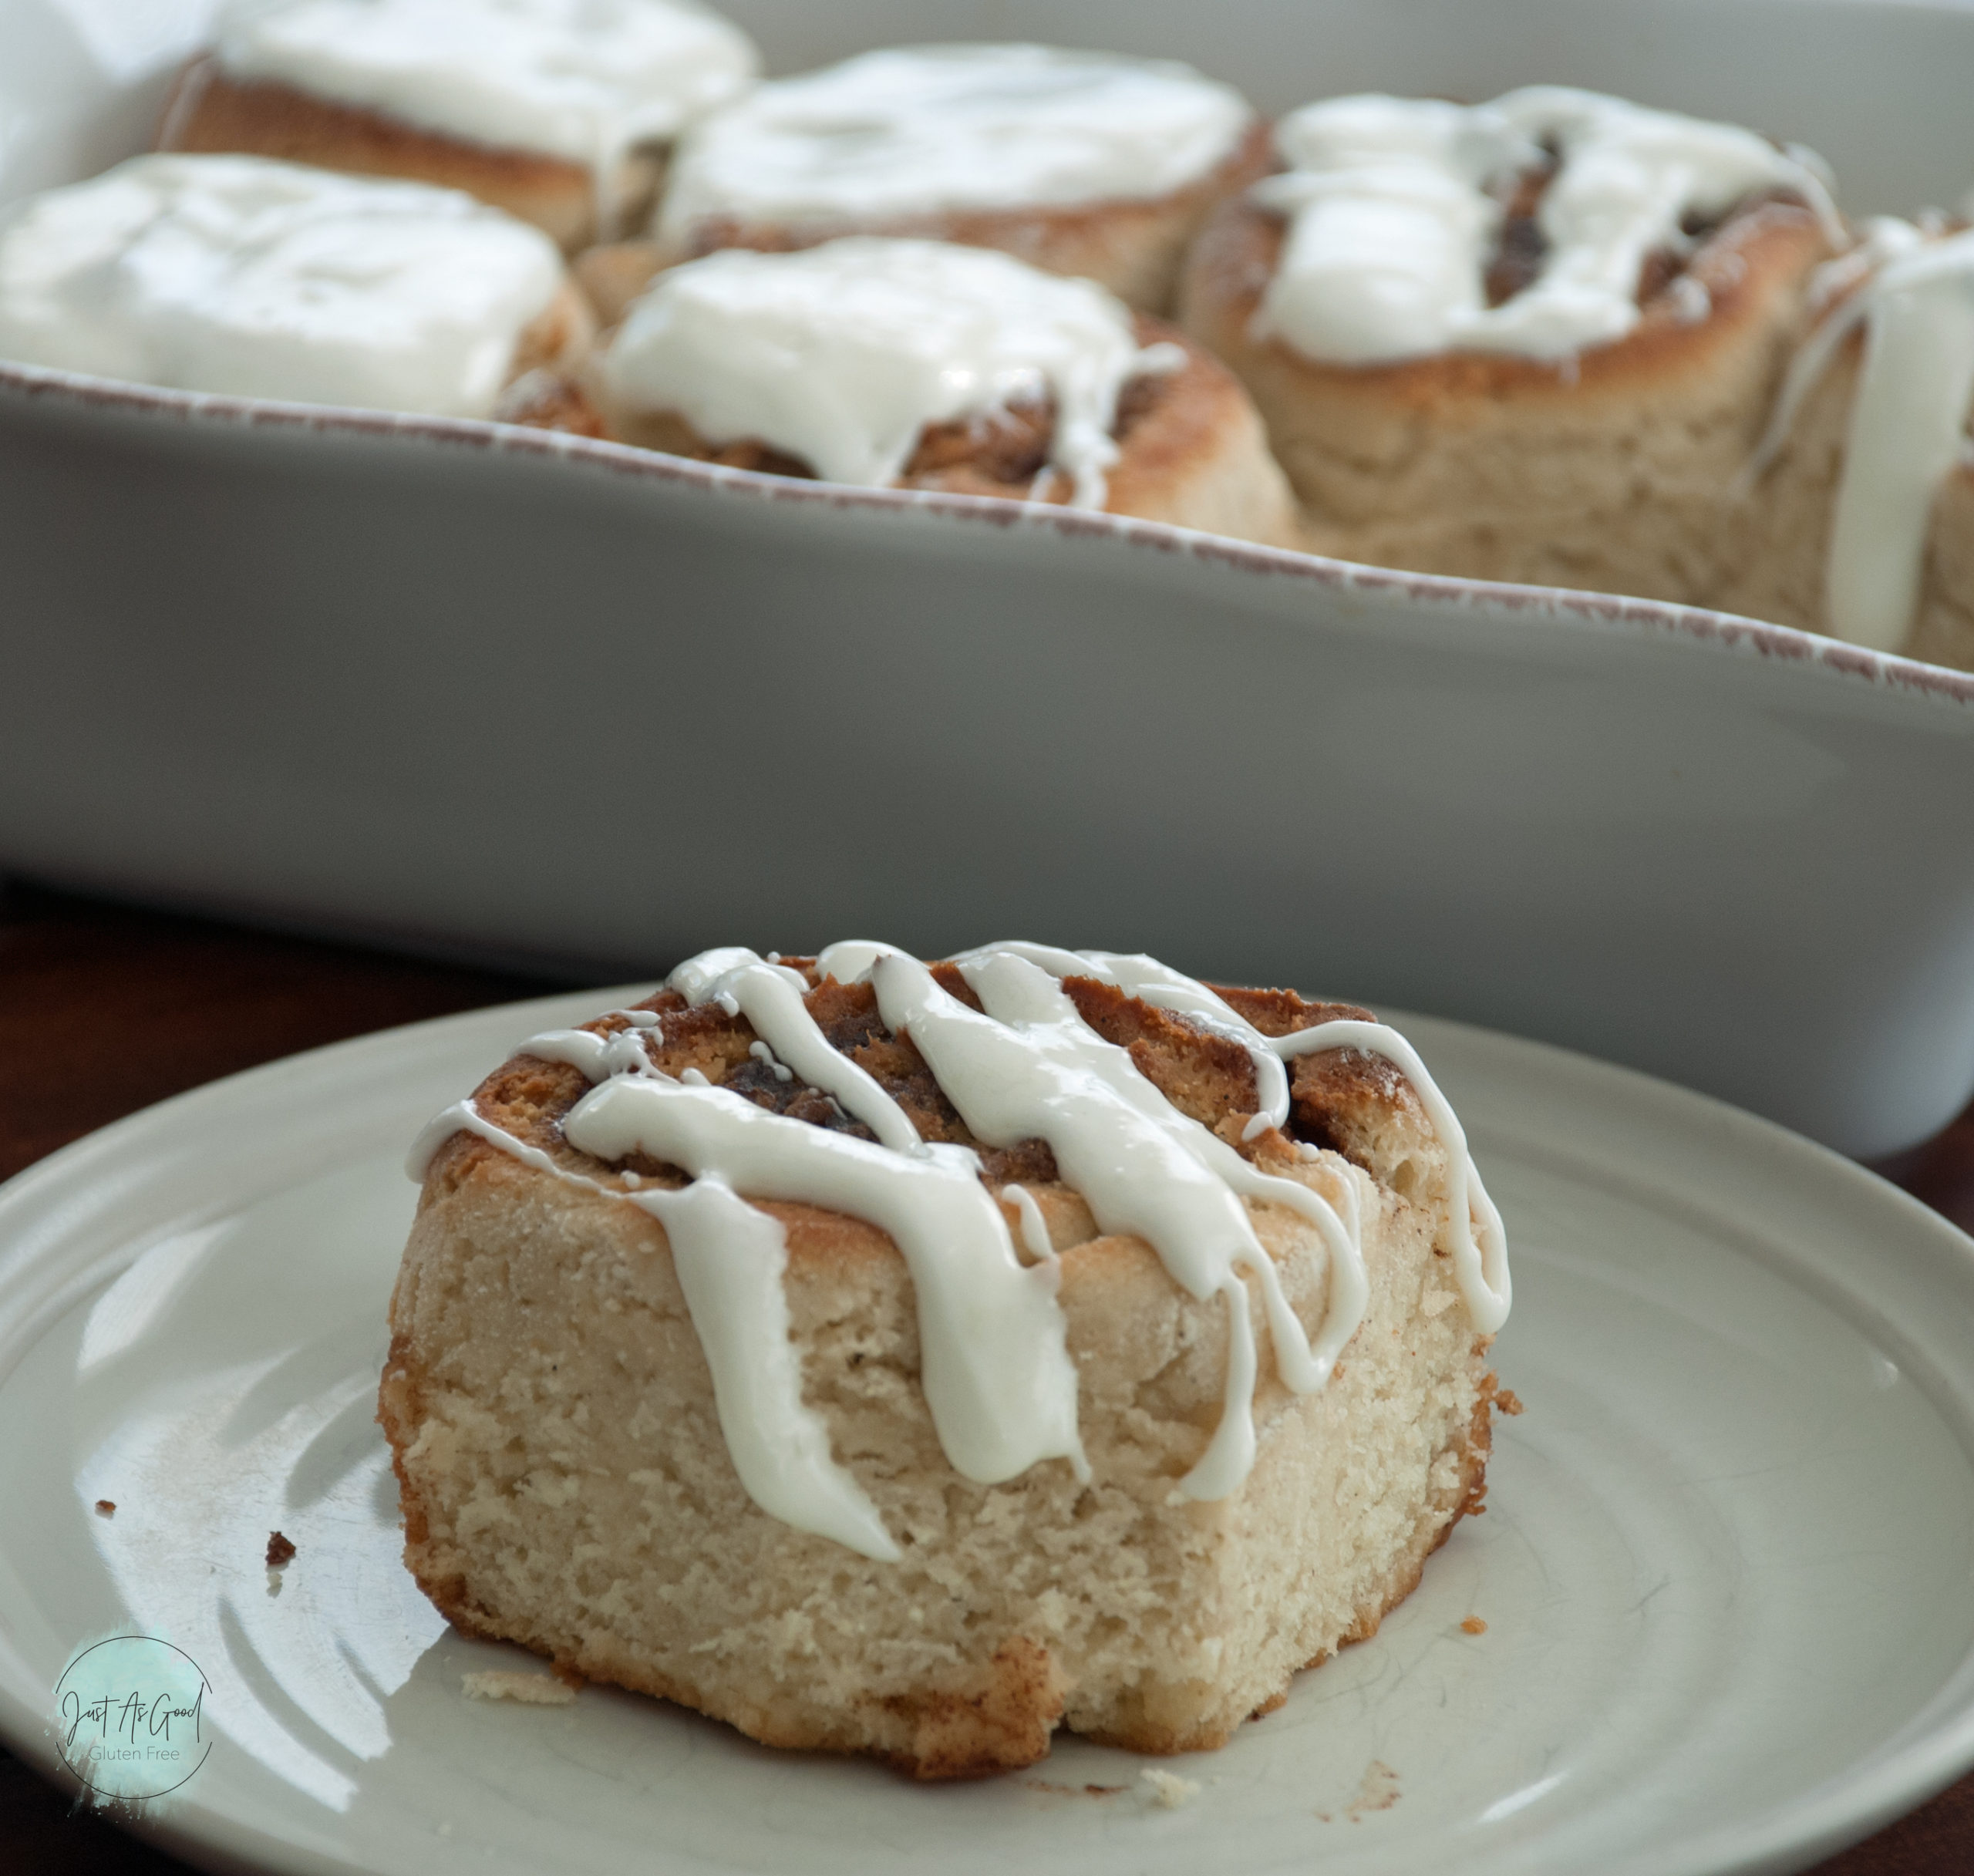
Move over cinnamon rolls because these gluten free twisted cinnamon buns are the new favorite! Wrapped in their own parchment paper and coated in delicious icing, I dare you to only eat one. I couldn’t! They are perfectly soft – not dense and heavy like a lot of gluten free bread you often find.
Making and shaping the gluten free twisted cinnamon bun:
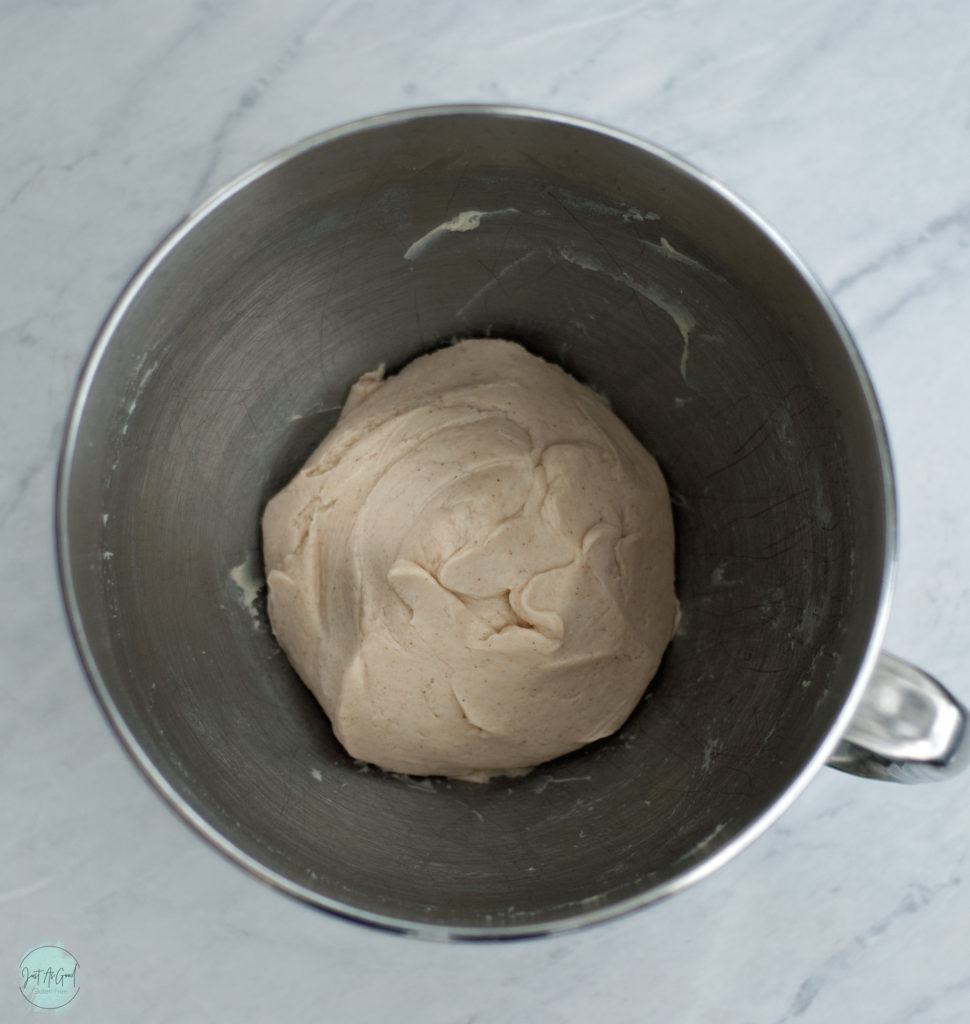
To begin, your dough needs a good rise. The picture below is the beginning of a rise. Simply shape your dough into a ball, cover with plastic wrap, and place in a warm location for 20-30 minutes. Gluten free dough doesn’t require as much time to rise as wheat dough.
I often place my bowl in the oven on the ‘proof’ setting, which is around 100 degrees F in my oven. Depending on the season and weather, sometimes I will turn the oven on ‘proof’ and then turn it off when I put the bowl in the oven. Other times I will leave it on the entire proof. In short, if its warm outside you probably don’t need the warm oven.
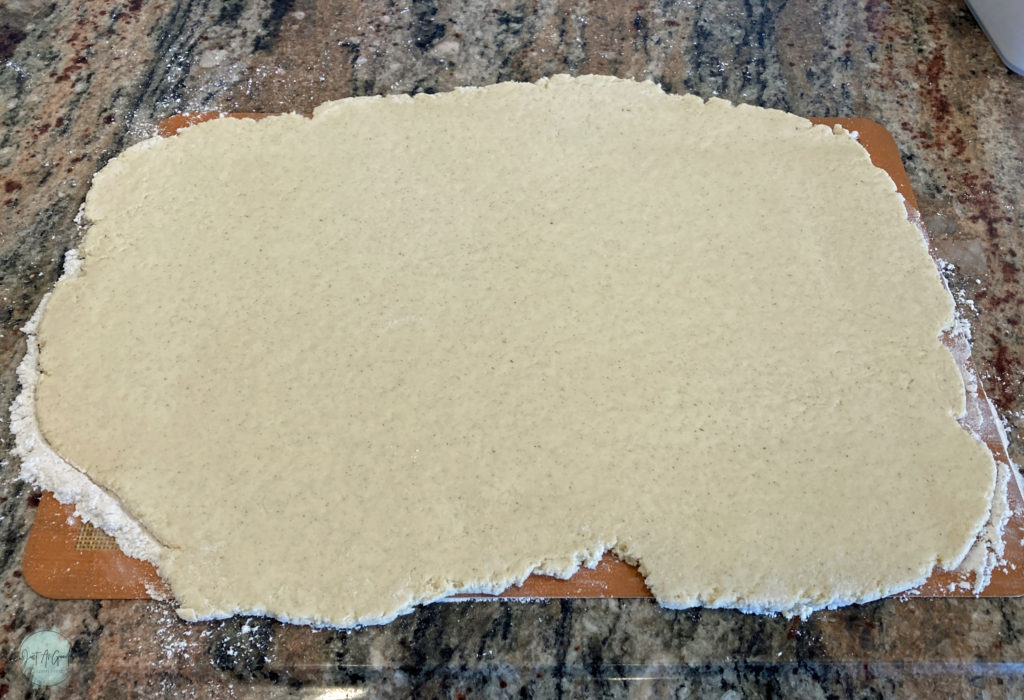
This cinnamon bun dough is so soft and fluffy and nice to roll out. I like to use a silicone mat to roll the dough on. I’ve used parchment paper in the past, but the moisture from the dough disintegrates the paper and the dough sticks.
Very lightly coat your surface and rolling pin with gluten free flour to prevent it from sticking. I also like using the silicone mat because it gives me a good idea how far to roll the dough. This mat is about 12 x 16 inches.
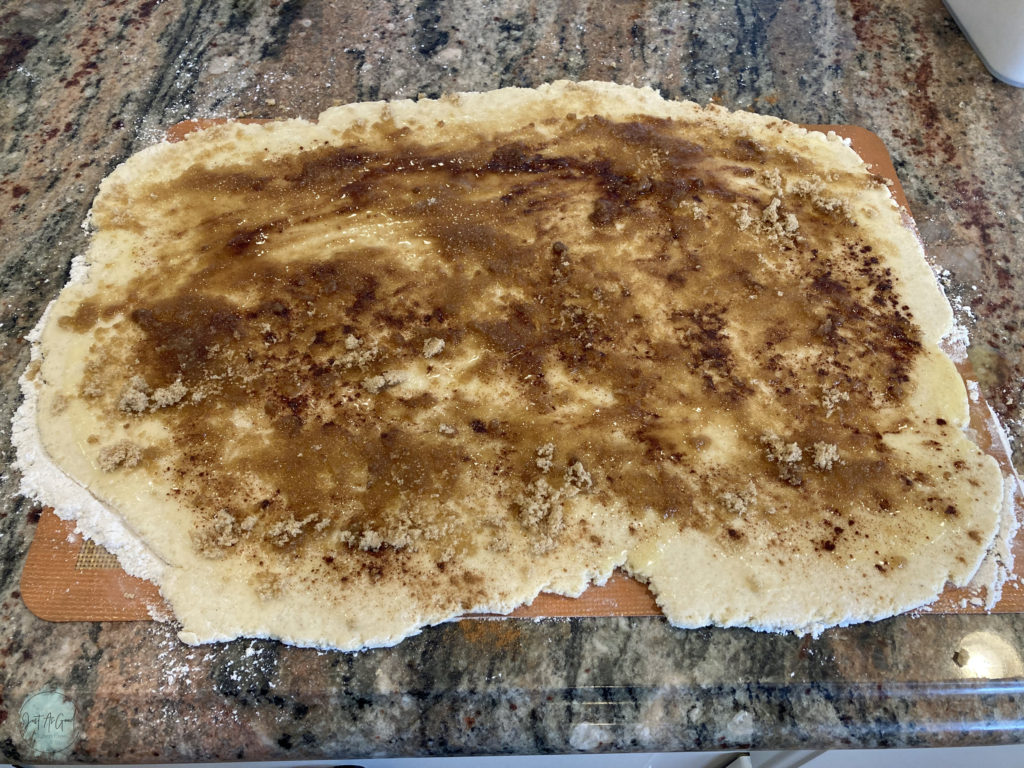
Once the dough is rolled out to even thickness, you can use a pastry brush to spread the melted butter, then top with cinnamon and brown sugar.
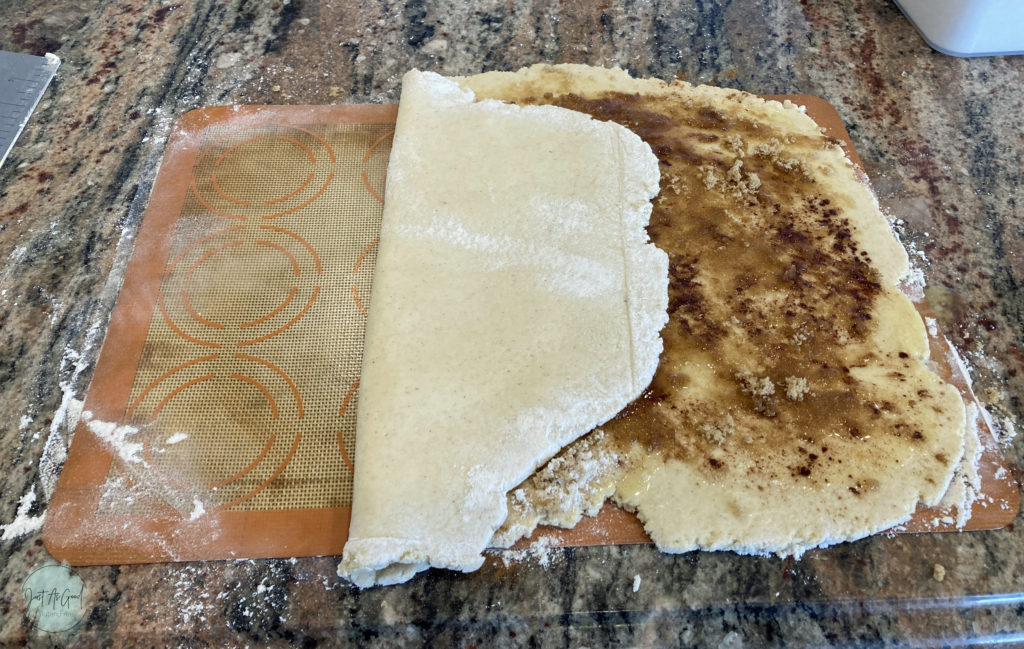
Next, fold the dough into thirds. This is another reason why I love the silicone mat – I can pick it up and fold the dough over itself very easily.
Now…if I were to go back and do this again I would make a point to get the edges of my dough more square instead of what you see below. It isn’t terrible as in the end you will never know, but it would make it easier to cut and shape each bun.
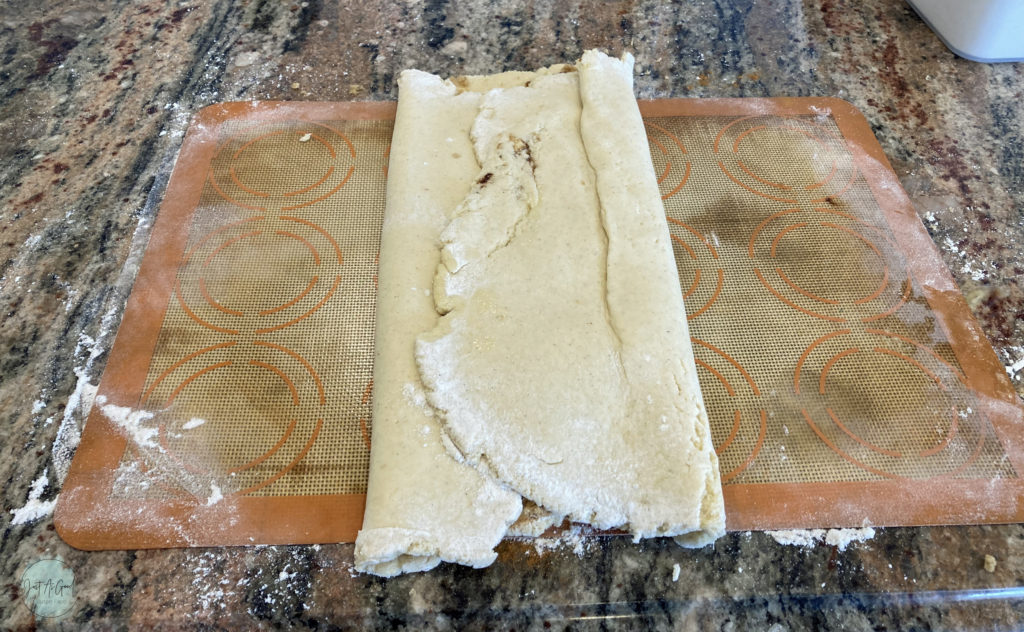
Now you can make cuts in the dough to form each ball. You can use a knife or a bench scraper (like I used below) which has handy measurements on the tool. Each bun will be about a 1 inch cut. For this batch, I cut off the both scraggly ends and twisted them together to form one bun. I couldn’t let a good dough go to waste!
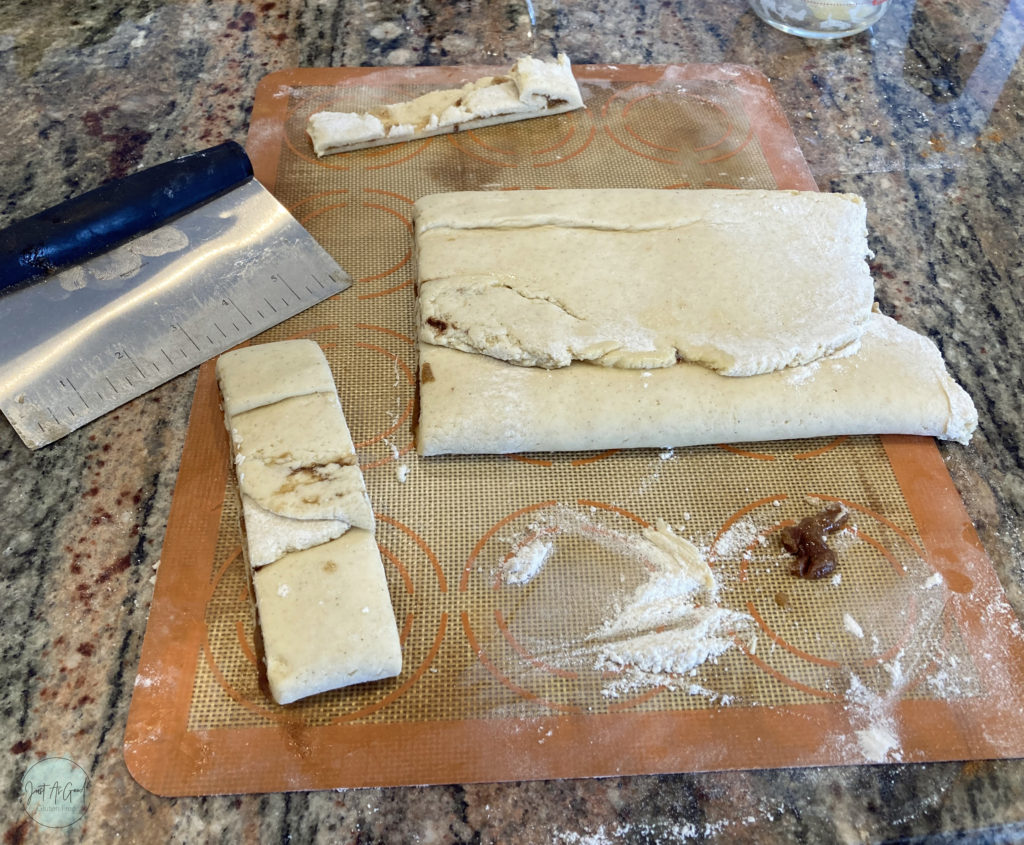
Cut each strip of dough up to within a ½ inch of the top. Your top and bottom of this strip should be folded dough.
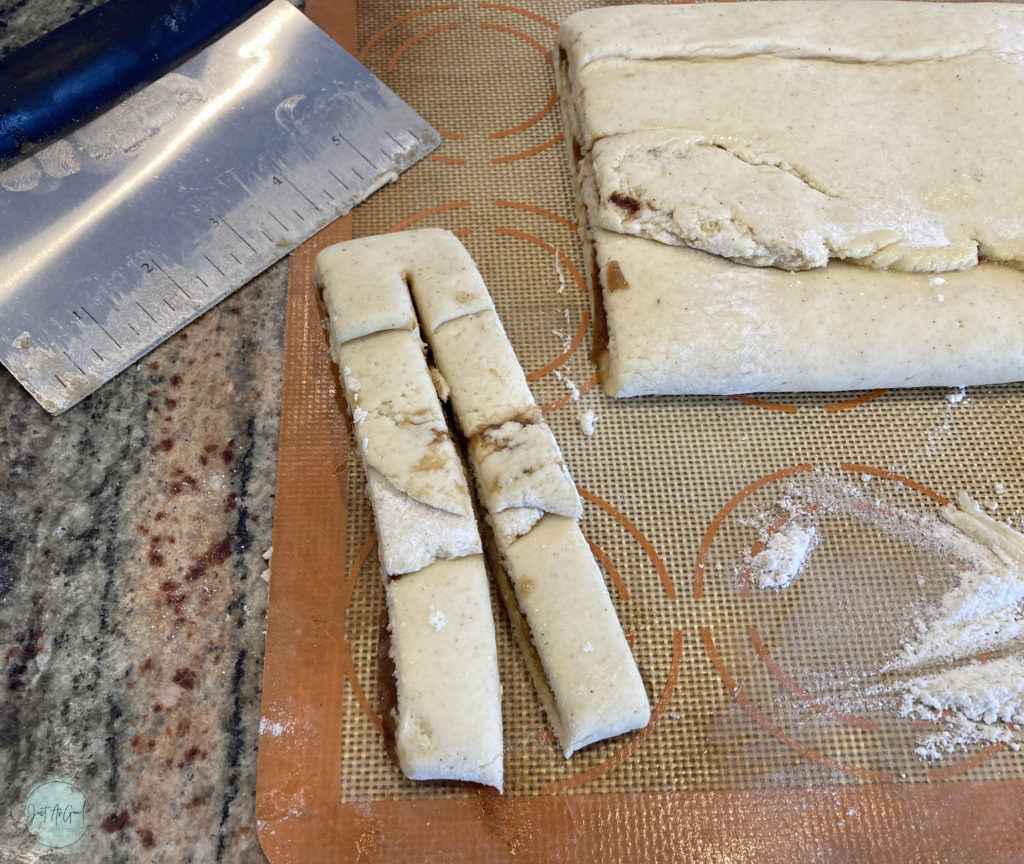
Gently twist the dough, turning the inside edges up.
Note: in the first version I made of these gluten free twisted cinnamon buns, I cut each strip into thirds and braided it. Because gluten free dough is so delicate, it was difficult to keep the strands from breaking. In the second version, I opted for a simple single cut and twisting the two strands, which worked better. It is really difficult to tell the difference in the final bake.
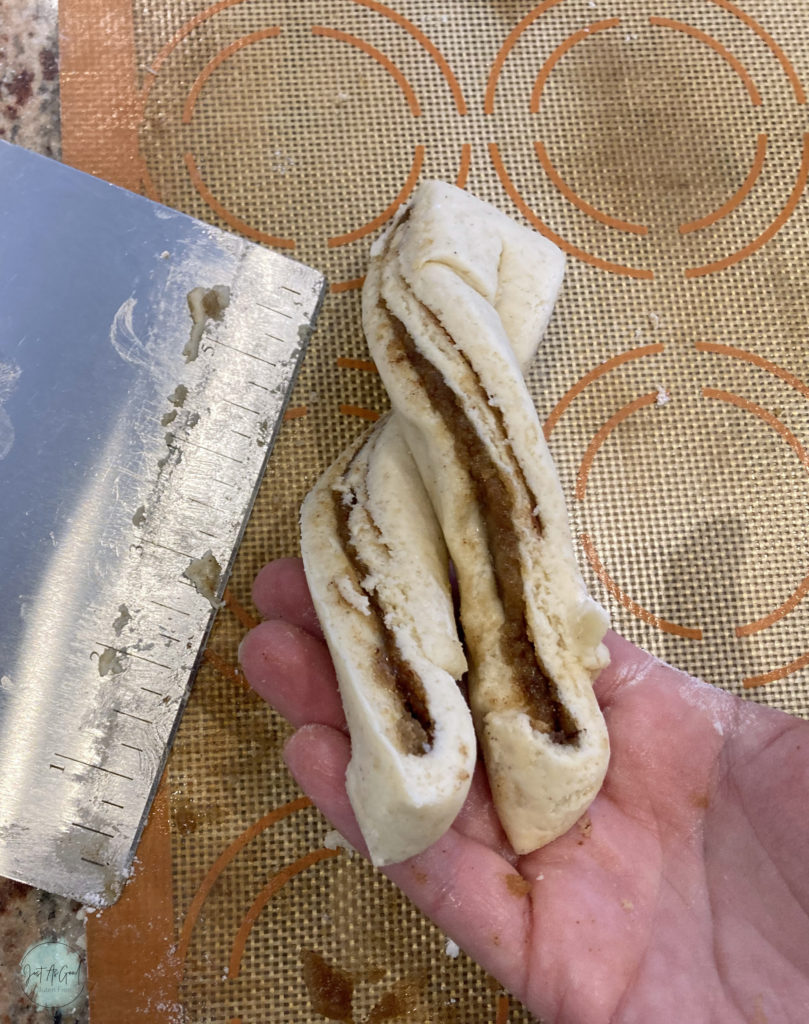
Take both ends of the dough strip and tuck them together to form the bottom side of the ball. Basically, the middle of the strip of dough is now the top of the bun.
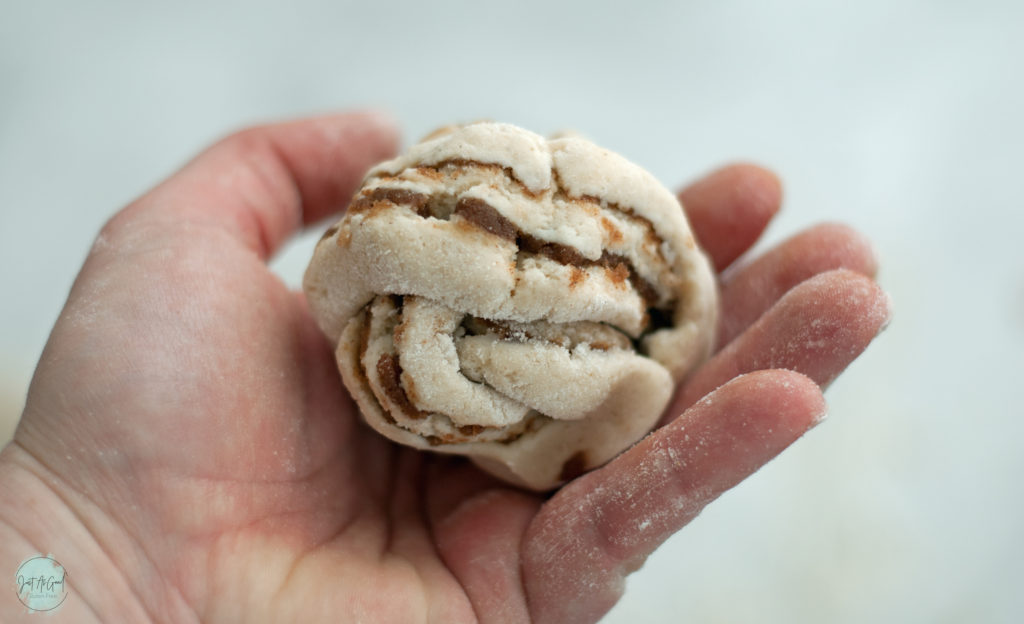
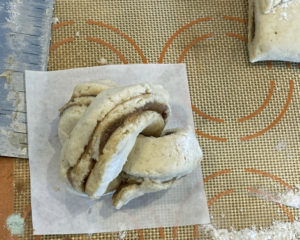
Place the bun on a piece of parchment paper (or other options below!) and place in a standard sized muffin tin.
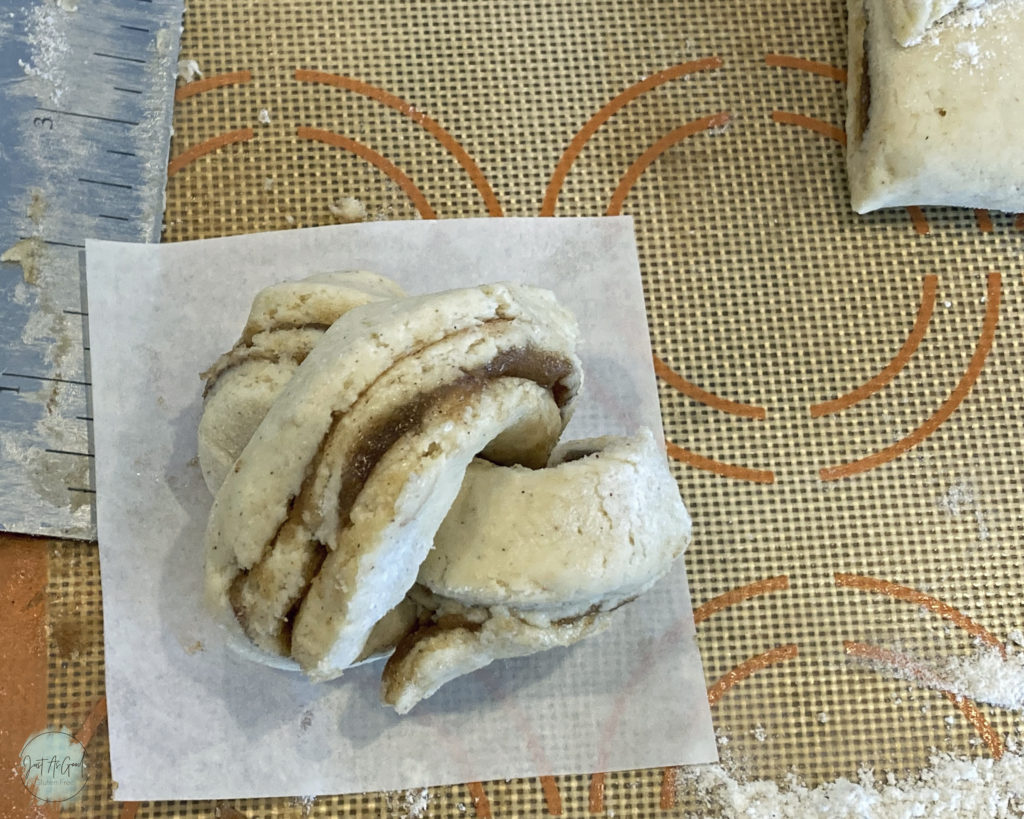
How to create parchment bun liners
You can definitely make these cinnamon buns without a liner in your muffin tin. Lightly coat your pan with cooking spray…just in case.
Instead of using a paper cupcake liner – which would totally work – I cut 4 inch x 4 inch squares of parchment paper for each bun. There’s really no need to shape or press the parchment paper, simply put the bun on it and drop it in the muffin tin.
Hey there! Just As Good Gluten Free LLC participates in the Amazon Associates Program, which mean many outgoing links on Just As Good Gluten Free are affiliate links. After clicking on a link, I may receive a small percentage of the sale for referring you, which comes at no extra cost to you. This allows me to continue creating gluten free recipes for you! Many thanks – Amy
The best gluten free flour blend to use
Most gluten free flour blends you purchase contain xanthan gum, which I found out early on does not settle well with my stomach! As a result, I make my own flour blend using a variety of flours and starches, blended and measured to create a perfect blend I prefer over any other blend to date. Guar gum or Tara gum are great replacements for xanthan gum; however, I prefer to add it to the recipe as needed and you’ll see notes in every recipe on Just As Good Gluten Free with the recommended amounts to use. You can find the recipe to make your own mix here.
I completely understand this takes time, effort and space to make your own mix. Believe me, I’ve tried purchasing blends from stores, but I ALWAYS come back to this one. If you do not have the margin or desire to make your own blend, here are two I would recommend as a suitable substitute: King Arthur Measure for Measure Flour or Bob’s Red Mill 1to1 Baking Flour. NOTE*** If you use a different gluten free flour blend than what is stated in the recipe, please check your brand to see how many grams per cup is recommended. It varies significantly in flour blends and can entirely throw the recipe off.
In the case of these rolls, a gluten free flour blend like Cup 4 Cup would work well because Cup 4 Cup contains milk powder. The addition of milk powder really helps the rolls keep a soft texture. IF you use Cup 4 Cup, make sure to omit the added milk powder in the recipe. Also, Cup4Cup measures 140 grams per cup, so please make a note in your recipe if you weigh the flours. In this case, you would use 280 grams of Cup4Cup flour.
What is psyllium husk powder and do I really need it?
Psyllium husk is a great binder for gluten free bread. In the case of these rolls, I used whole psyllium husk (because that is all I have in the pantry) and combined it with the warm milk and allowed it to sit for 5 minutes before adding it to the flour. Honestly, I’ve always been hesitant to add ‘yet one more thing’ to my baking, but I’m learning to love adding psyllium husk in my baking as it really does make a different in gluten free breads and the quality of the texture.
This article does a great job of explaining the use of psyllium husk powder in gluten free baking and goes in depth of the difference between powder vs whole husk.
This is the brand of psyllium husk I used for this recipe. I’m almost out of it and will probably purchase psyllium husk powder next time as I think it would work better in gluten free breads in terms of dissolving and final rise on the bread.
How to make perfect icing for gluten free twisted cinnamon buns
Do you go for a solid white icing that goes on thick? Or maybe a thin icing that covers and coats the entire top of the bun? I love the look of solid white icing, but there is something so delicious about every nook and cranny filled with sweet icing. Whatever your preference, it is easy to make and I’ll share a few tips of what I look for when I make icing.
Start by combining your powdered sugar with vanilla and half of the heavy cream. It will be clumpy to start, but its best to slowly add in heavy cream to get the desired consistency. Use a small whisk to make quick work of getting rid of clumps. Keep stirring and occasionally lift the whisk and see how quickly the icing falls. If it sticks to the whisk, you’ll need more cream (but add it by the tablespoon).
In general, I add cream until I lift the whisk and it takes about 5 seconds for the icing that falls to meld back into the bowl. So if I gently shake the whisk and it creates lines on the icing below and stays as lines, it’s probably too thick. If it pours off the whisk and doesn’t leave any lines, its probably too thin. In this case, you can add more powdered sugar in to help thicken it up. Again, start small. You can add more but you can’t take away 🙂
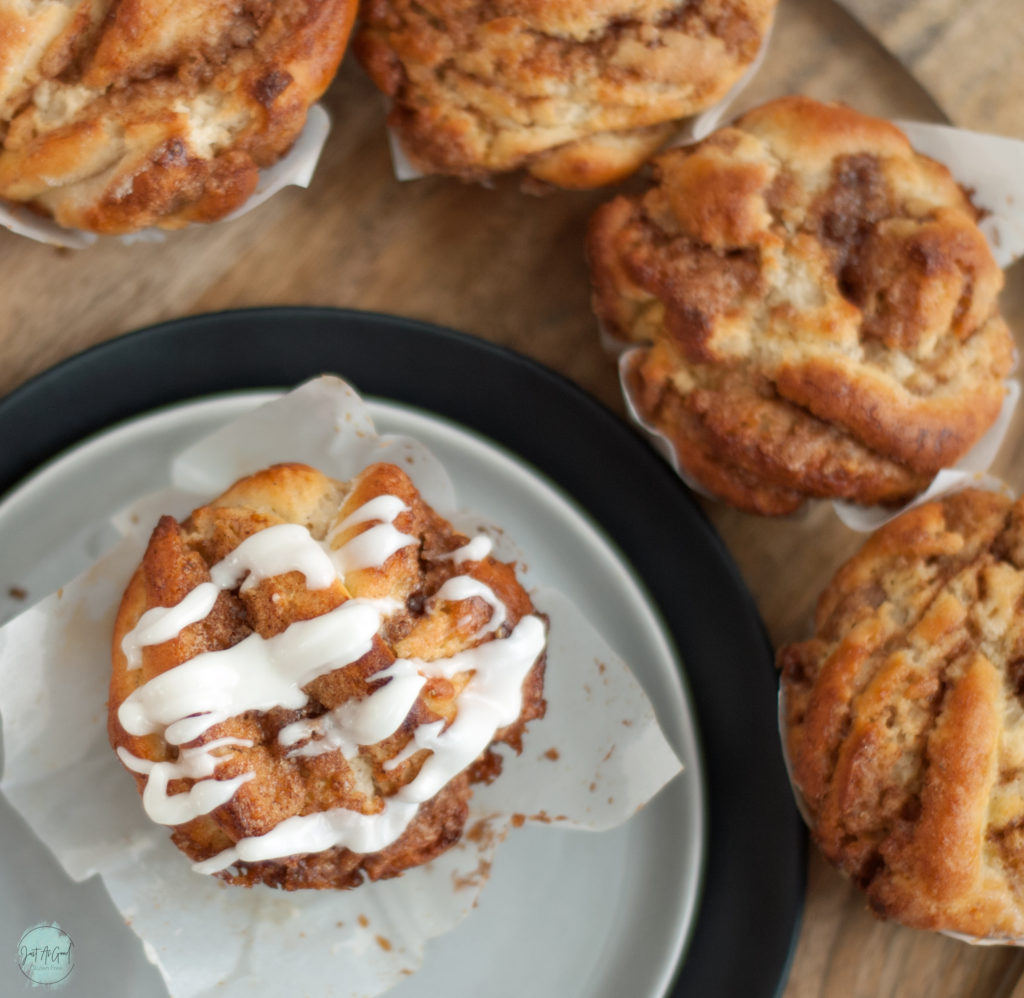
Confession time – I normally have pretty good self control when it comes to eating baked goods. I ate so many of these rolls one snowy afternoon that I actually spoiled my dinner. And it was homemade mac n’ cheese. There was simply no room. But my goodness it was so worth it! These gluten free twisted cinnamon buns are epic and I hope you enjoy them too!
If you made this recipe would you please share a comment below, share a picture on Instagram or Pinterest, join our Facebook group, or sign up for occasional email updates. I’d love to see your pictures!
Gluten Free Twisted Cinnamon Buns with Icing
Ingredients
- 1 cup (8 oz.) warm milk (105°-110° F)
- 4 Tbs (2 oz.) unsalted butter
- 1 Tbs (15 grams) whole psyllium husk
- 2 Tbs (30 grams) sugar
- 2 ¼ teaspoon (7 grams) yeast
- 1 large egg
- 2 cups (300 grams) gluten free flour blend
- 2 teaspoon (7 grams) xanthan, guar or Tara gum (omit if in blend)
- ½ teaspoon (3 grams) salt
- 2 Tbs (14 grams) milk powder
Dough Filling:
- 5 Tbs unsalted butter, melted
- ½ cup brown sugar
- 2 teaspoon ground cinnamon
Icing:
- 2 cups powdered sugar
- 1 teaspoon vanilla extract
- 3-4 Tbs heavy cream
Instructions
- Turn oven on 'proof' setting, or set oven to 175° F.
- In a microwave safe bowl, combine butter and milk and heat for about 1 minute to 1 minute 30 seconds until the butter is melted and the temperature is 105-110 degrees F. Stir in psyllium husk, sugar, and yeast and allow to sit for 5 minutes. Add egg and stir until combined.
- In a stand mixer (or large mixing bowl if mixing by hand), sift together gluten free flour blend, gum (if not in blend), salt and milk powder.
- Pour the milk mixture into the flour blend and mix on medium speed for 2-3 minutes. Scrap the dough from the edges of the bowl to form a ball in the center. Cover the bowl in plastic wrap and place inside the oven that is set to 'proof'. If you set your oven to 175° F, turn the oven off and place the bowl inside the warm oven. Allow the dough to rise for 20-30 minutes. Once risen, the dough will look puffier than when you put it in the oven, but may not double in size which is ok. **If the outside temperature is warm, you can cover the bowl and place in a warm location besides the oven.
- If the bowl was placed in the oven, remove from oven. Preheat your oven to 375° F and grab a standard-sized muffin tin. You'll create about 8-9 buns.
- Very lightly coat a silicone mat (or parchment paper, or a clean countertop) with gluten free flour. 2-3 Tbs should be enough. Also make sure to lightly coat your rolling pin with flour in case your dough is sticky.
- Place the dough on the mat and roll out to about 12 x 16 inches rectangle.
- Pour melted butter over the dough, making sure to gently brush the butter to the edges using a pastry brush. Sprinkle with cinnamon and brown sugar evenly over the top of the butter.
- Taking the short edge of the dough, fold ⅓ of the dough over itself. Fold the opposite ⅓ side dough on top of this.
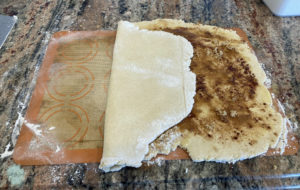
- You should have two 12 inch edges that are closed.
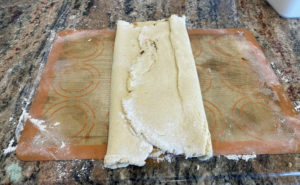
- Rotate the dough by 90° so you can easily make cuts in the dough. Using a knife or bench scraper, make 1 inch cut. The long edges of the strip will have two layers of filling, and the top and bottom will be closed.
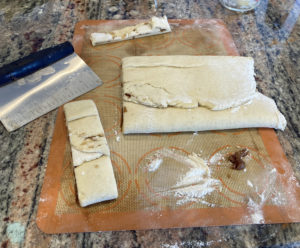
- Using your knife or bench scraper, make a cut half way up the strip, stopping ½ inch from the top.
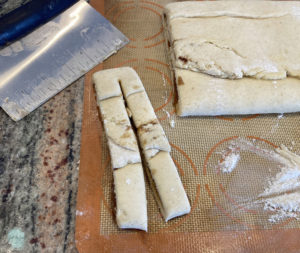
- Gently twist these two strands around each other being careful not to tear the dough. Take each end of the strand and wrap them together, forming the bottom of the bun. Basically, the middle of the strip will now be the top of the bun.
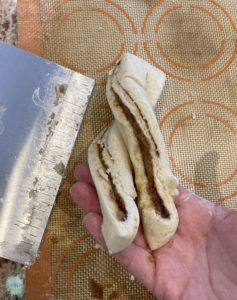
- Place this bun inside a 4×4 inch square parchment paper, lightly greased muffin tin, or baking cup and place inside muffin tin. Repeat this with remaining dough, you should get about 8-9 buns in total. Allow the buns to sit for 10-15 minutes to rise a little before baking.
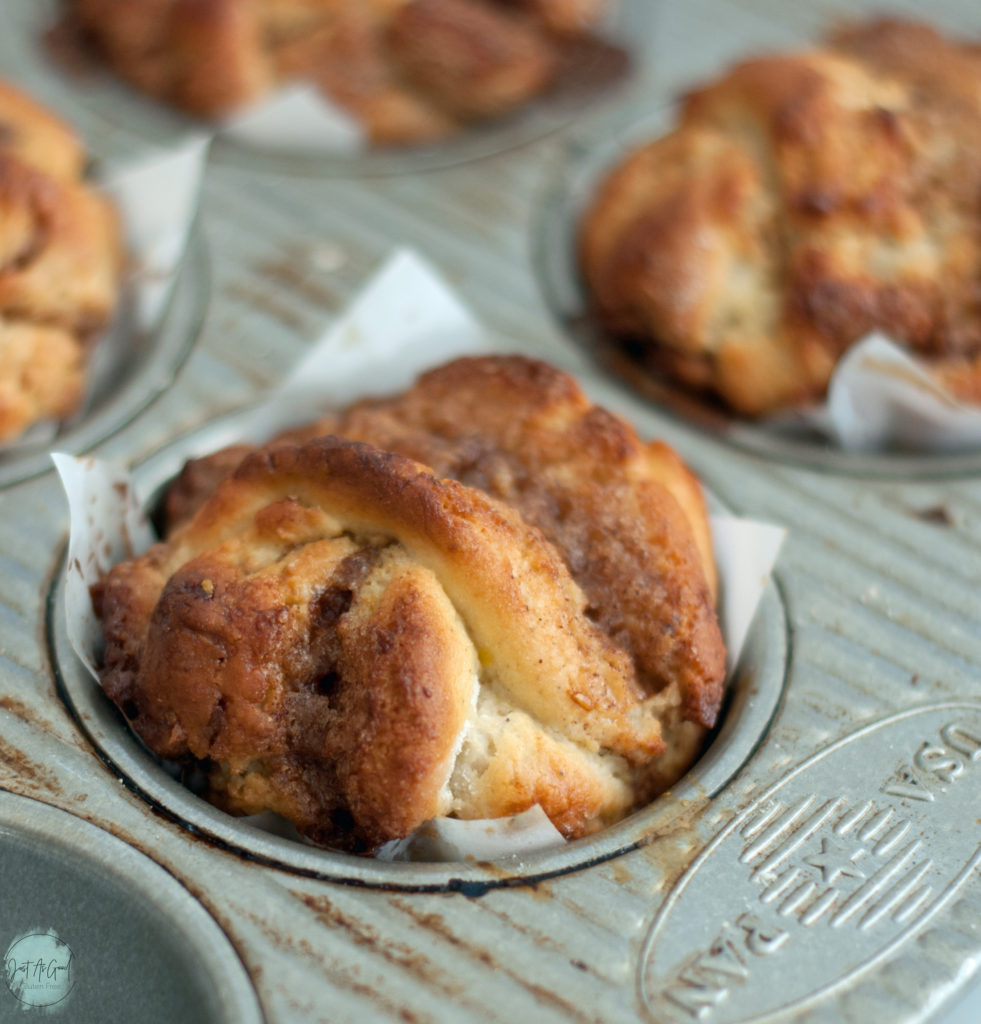
- Bake for 18-20 minutes, or until tops are golden brown. Remove from oven and allow to cool for 10-15 minutes before icing.
Icing:
- Combine powdered sugar, vanilla, and 2 Tbs of heavy cream with a whisk. Combine until powdered sugar is dissolved. Keep adding 1 Tbs of heavy cream at a time until you reach the desired consistency of the icing. Pour the icing over the twisted cinnamon buns and serve.
- Store any leftovers in an air-tight container.
Would you like to check out more recipes on creating delicious gluten free bread? Check out my ‘Gluten Free Bread’ board in Pinterest for more recipes.
https://www.pinterest.com/JustAsGoodGlutenFree/gluten-free-bread/

Leave a Reply