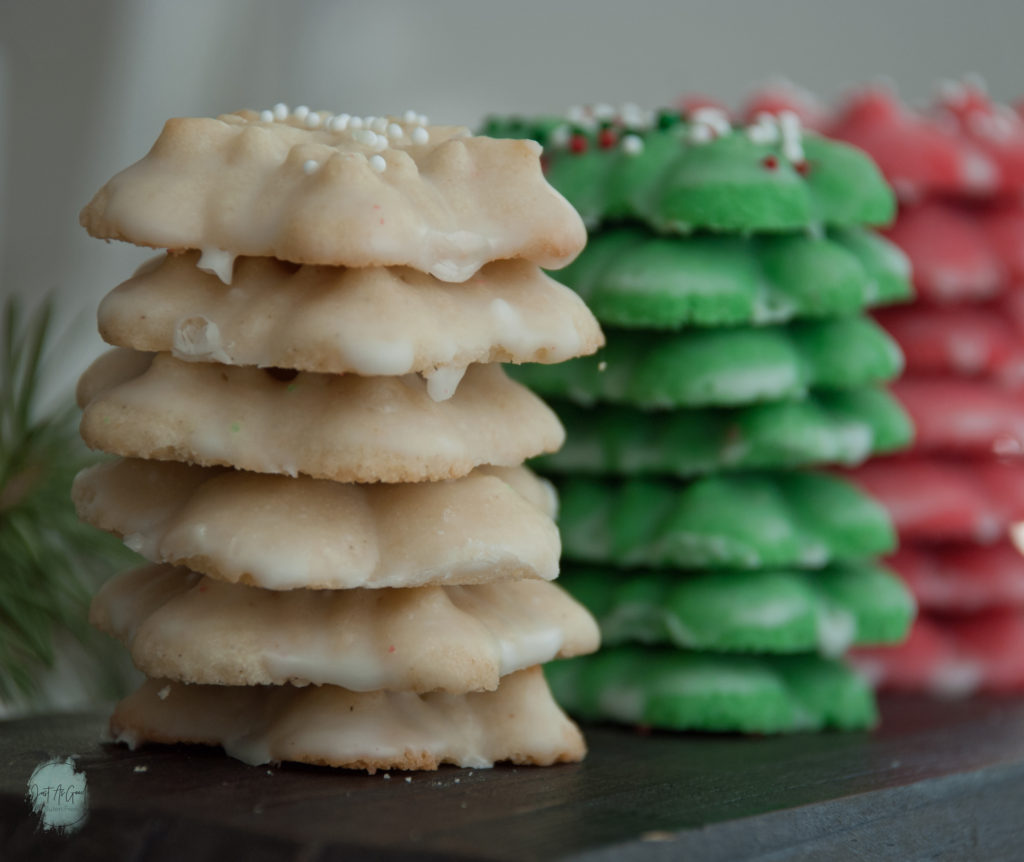
If there was only one Christmas cookie that could be made in our home each year, this would be it! Gluten free spritz cookies are bite-sized, melt-in-your-mouth, almond-flavored delicious little treats that are colorful and fun to bake. Follow a few basic steps below, and the most difficult part about these cookies is deciding what cookie shape to use!
Spritz cookies are not a make and bake kind of cookie, so make sure you have a few extra hours to chill the dough before baking. I like to make the dough and refrigerate overnight.
When you first remove the dough from the refrigerator, it will be firm and slightly difficult to separate and smoosh into the press. The longer the dough sits out, the softer it will get. Unfortunately, the softer the dough gets the more the cookies spread when baked. So, keep your dough refrigerated until ready to use even though its a little more difficult to work with.
Coloring the Dough
Coloring your gluten free spritz dough can be very fun and festive! First, decide how many colors you would like to use. Next, separate the dough into however many colors you decided on. I chose three colors, basically leaving ⅓ of the dough without adding any food coloring so it was white. It was then sealed in its own plastic bag and refrigerated. Then, I put ⅓ of the dough in my stand mixer (because I don’t like to get food coloring on my hands!) and added two drops of this gel food color.
Gel food colors are nice to use because they require WAY less material to achieve a very bright and vibrant color than your standard food coloring from the store. Another reason I like using this particular brand is that is comes in a squeeze bottle, which means there is no dipping a toothpick in the gel and then the dough and back and forth, etc.
I then wipe the bowl and paddle clean and repeat with the remainder dough and color, storing each color in its own sealed bag or container.
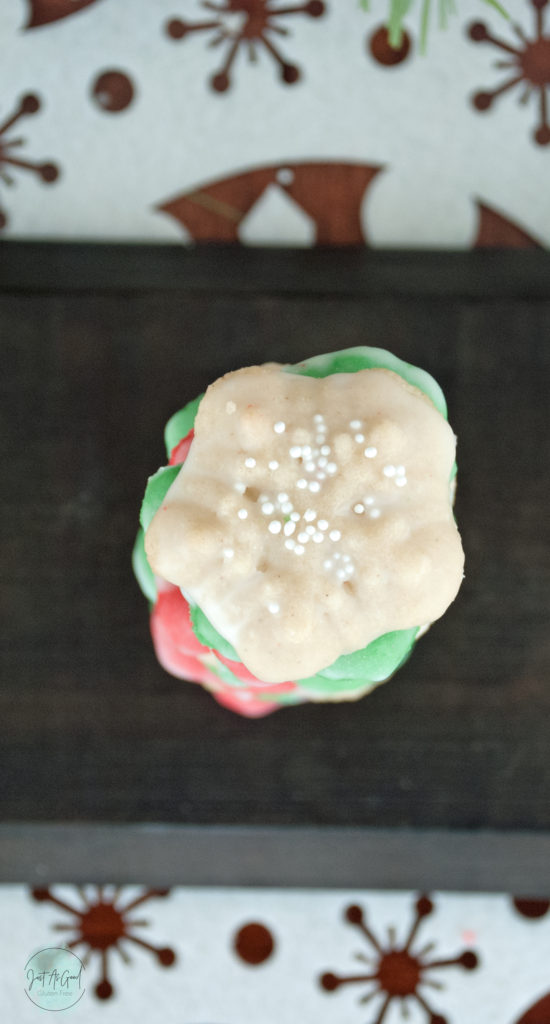
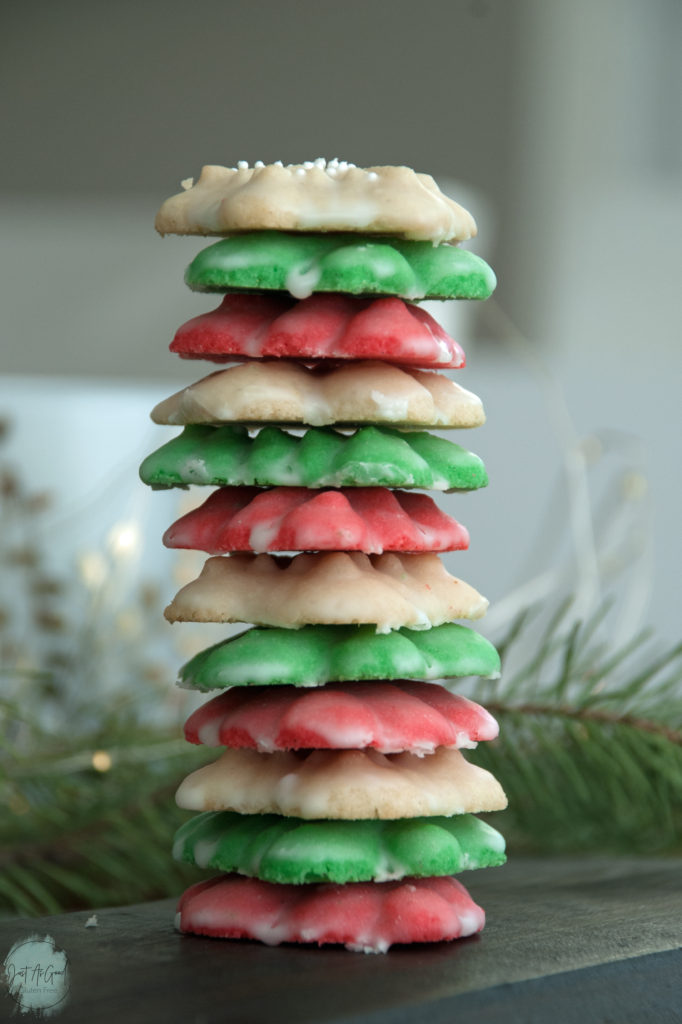
What is a cookie press and do I really need one for gluten free spritz cookies?
While I’ve never made these cookies without a cookie press, you could roll the dough and use a cookie cutter. But if you do, I would keep them on the smaller size to prevent breaking.
However, I would highly recommend using a cookie press if you have one or can borrow one! I’m on my second cookie press because the first one I owned broke during the middle of a batch of cookies. My first press had a metal tube which slid into a plastic housing unit. The plastic housing unit is what failed on me after it cracked and rendered the entire press useless. Since I was in the middle of baking, I ran over to Bed, Bath and Beyond and purchased this Oxo Good Grips Cookie Press. I believe this is my second year using it and so far it has worked well!
If you’re in the market to purchase a cookie press look for something that is easy to clean and take apart. A tube that screws off on the top and on the bottom is helpful for changing cookie cutters mid-way through pressing your dough and it helps to remove any excess dough. Look for a plastic or stainless steel press that will hold up to the weight of pressing on the pump, because you will have to push down on it to get the dough through. Something like this Wilton Cookie Press would work well if you don’t want spend a ton of money and just need it for once or twice a year. The Wilton press is something you squeeze in your hand, whereas the Oxo press is a lever you push down. Something to consider when purchasing!
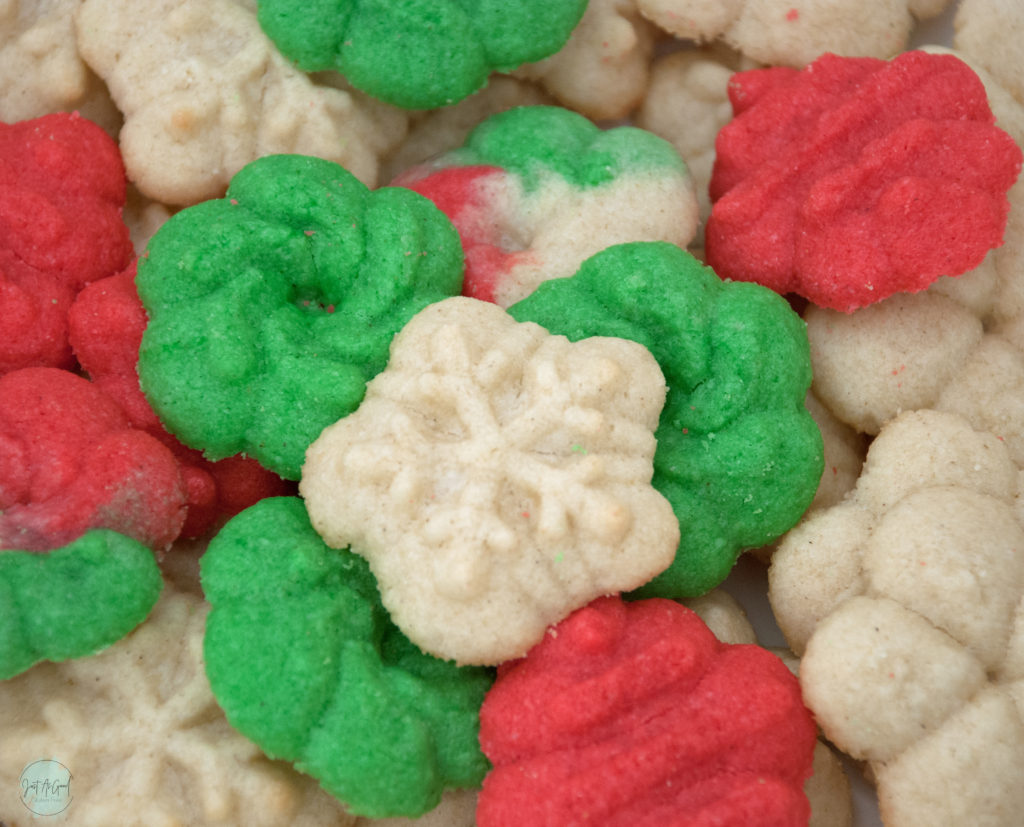
Why won’t my cookie dough release from the cookie press???
So you have your cookie dough in the press, ready to rock and the dough won’t release onto the pan. So frustrating!!!
It’s actually a simple little solution…wait. Seriously, wait about 3 seconds after pressing the lever down. Place your cookie press on the pan, push the lever down, and count to 3. You’ll probably notice the cookie press life up on its own (if you’re not pressing down on it). Gently pull the press away and just like that, a cute little cookie has magically appeared.
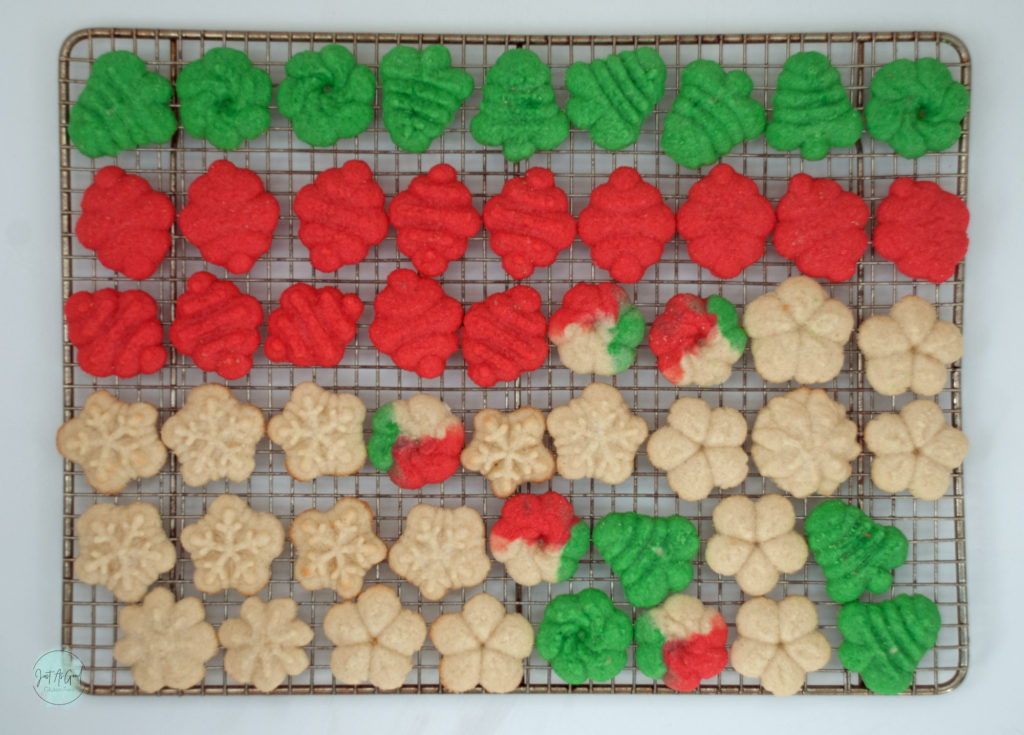
The best way to ice your gluten free spritz cookie –
I don’t know if it’s the best way, but it’s how I do it. First, start by placing a piece of wax paper the size of your cooling rack underneath the cooling rack. This will catch the little dribbles of frosting and make for easy clean up.
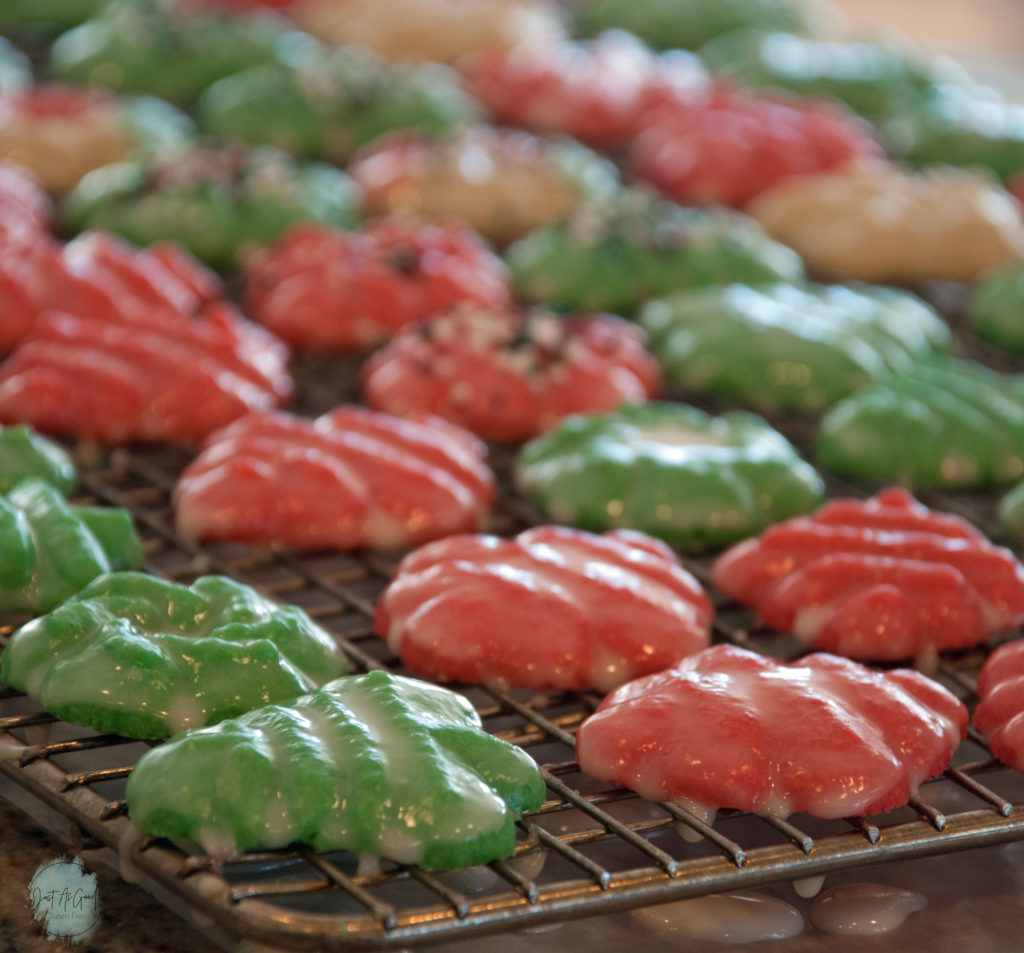
Second, use a bowl that is large enough to hold the amount of icing, but wide enough to dip a cookie into while holding it. My regular old everyday dishware bowls are the perfect equipment for this job. Your icing should be fairly runny, otherwise it will pool up on top of the cookie and you’ll lose the pretty decorations your cookie press worked so hard to make.
Gently hold the cookie (remember all the butter we used to make these? Delicious but handle with some delicacy!) by the edges, bottom of cookie facing your palm. Dip the top of the cookie in the icing and allow it to drip for a few seconds before placing bottom side down on the rack. As it sits and dries, any excess icing will drip down (now you’re thankful for that wax paper!).
Once the icing has completely dried gently remove the cookie from the rack. It may stick, but if you’re careful they should all come off. Drying times will vary depending on where you live, temperature, humidity, etc. I live in a very dry climate and it was a warm day, so they only took about an hour to dry. Yours may take longer, but let them dry completely before moving or you’ll have a big clumpy mess when you store them.
Do I have to ice my cookies?
Absolutely not! If you want to toss a few sprinkles on them before baking they are still cute and tasty. I can’t get over how much I love the taste of the icing with the cookie, but the fun thing about these cookies is their versatility.
Storing your gluten free spritz cookie
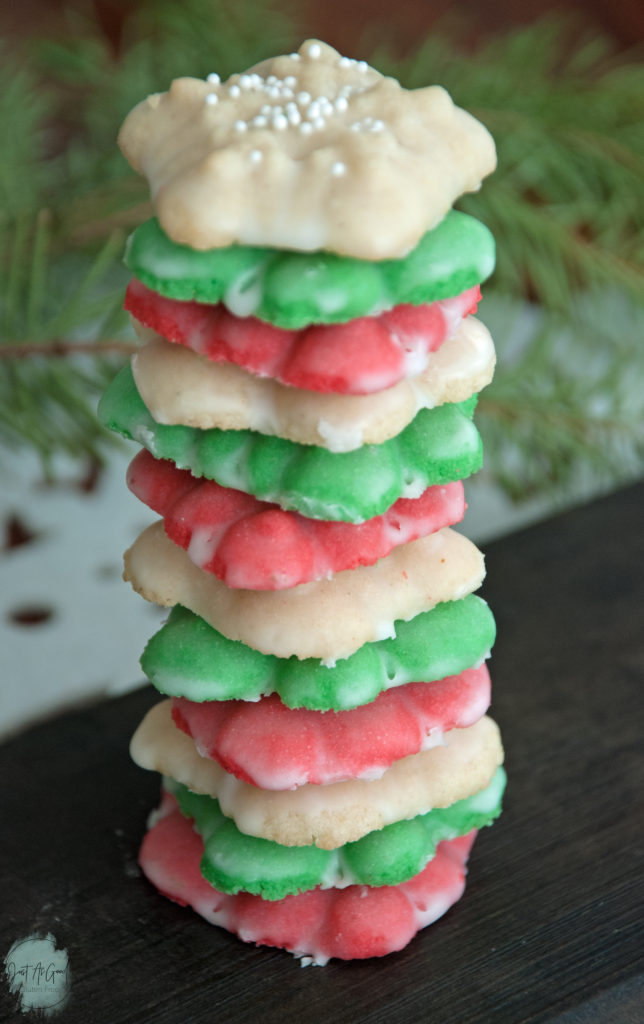
If these cookies need to last several days, an airtight container would be best. I find them to stay quite delicious for several days after baking, especially if they’re iced. While I’ve never frozen them for later use, I know people who do and it seems to work really well.
Would you like to keep in touch on a regular basis?
Me too! If you haven’t done so, sign up to receive e-mails for recipe updates here
.You can also go to Instagram and share your picture @justasgoodglutenfree and include #justasgoodglutenfree.
Your feedback is important to me and anyone else wanting to make this recipe. Please share your helpful comments below!
As always, every picture above has a ‘Save It’ button for you to pin on Pinterest. You can also find me at Just As Good Gluten Free on Pinterest where you can follow my boards. I love to keep them up to date and relevant to the current food and baking season and share anything else I found helpful.
Gluten Free Spritz Cookies
Ingredients
- 1 cup unsalted butter, room temperature
- ⅔ cup granulated white sugar
- 1 egg
- ½ teaspoon almond extract
- 1 teaspoon vanilla extract
- 2 ¼ cup gluten free flour blend
- ½ teaspoon guar or xanthan gum (omit if in flour blend)
- ½ teaspoon salt
- Optional: food coloring of desired colors
Icing
- 2 cups powdered sugar
- 5-6 Tbs milk
- ½ tsp almond extract
- ½ teaspoon vanilla extract
Instructions
Cookies
- In a stand mixer using a paddle attachment, cream butter and sugar until well-combined, scraping down the sides of bowl before adding next ingredients.
- Add egg, vanilla and almond extracts and combine for 1-2 minutes. Scrape down the sides of the bowl.
- Add gluten free flour blend, guar gum, and salt. Mix until everything is combined and pulls away from the bowl.
- At this point you can add whatever color(s) you desire with food coloring, or you can leave it as is.
- Remove dough from stand mixer and wrap in plastic wrap. Place in refrigerator for at least 4 hours or overnight.
- When ready to bake, preheat oven to 375° F and prepare your baking sheets by lining them with silicone baking mats or parchment paper. Using a cookie press, place your dough inside with the desired shape to cut. I like to use about 1 pump per cookie, but you made need to determine what looks best with your cookie press. The cookies will not spread much, so you can place them close together, about 1 inch apart.
- Bake for 5-6 minutes. Be careful not to over bake as they brown quickly.
- Allow to cook on cookie sheet for a few minutes before transferring to a cooling rack. They are delicate little cookies while they cool, so make sure to give them as much time as you can to cool before transferring. They firm up the longer they sit.
Icing
- In a small to medium sized bowl, combine all icing ingredients with a whisk. The icing should be fairly runny and will drip down the cookie, but you want this so the decorations on the cookie will come through.
- Once the cookies are completely cooled, dip each cookie into the icing mixture. I only dip the front side of the cookie (if you dip the entire cookie it's difficult to remove from the rack once it's cooled) and place on a cooling rack until completely dried. To make clean-up easier, place wax paper under the rack to catch any drippings. If you would like to add sprinkles, do so before the icing dries, close to right after the cookie is iced.
- Once the icing is completely dry, you can place in an air-tight container and enjoy for several days.
Hey there! Just As Good Gluten Free LLC participates in the Amazon Associates Program, which mean many outgoing links on Just As Good Gluten Free are affiliate links. After clicking on a link, I may receive a small percentage of the sale for referring you, which comes at no extra cost to you. This allows me to continue creating gluten free recipes for you! Many thanks – Amy




Leave a Reply