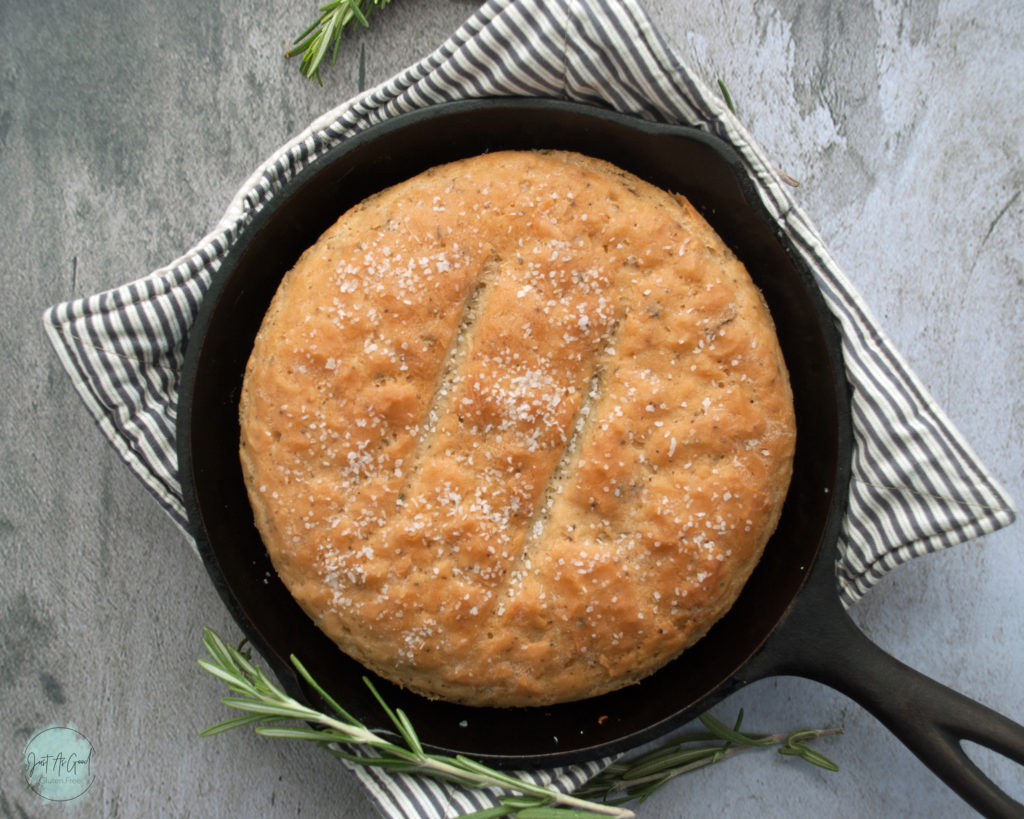
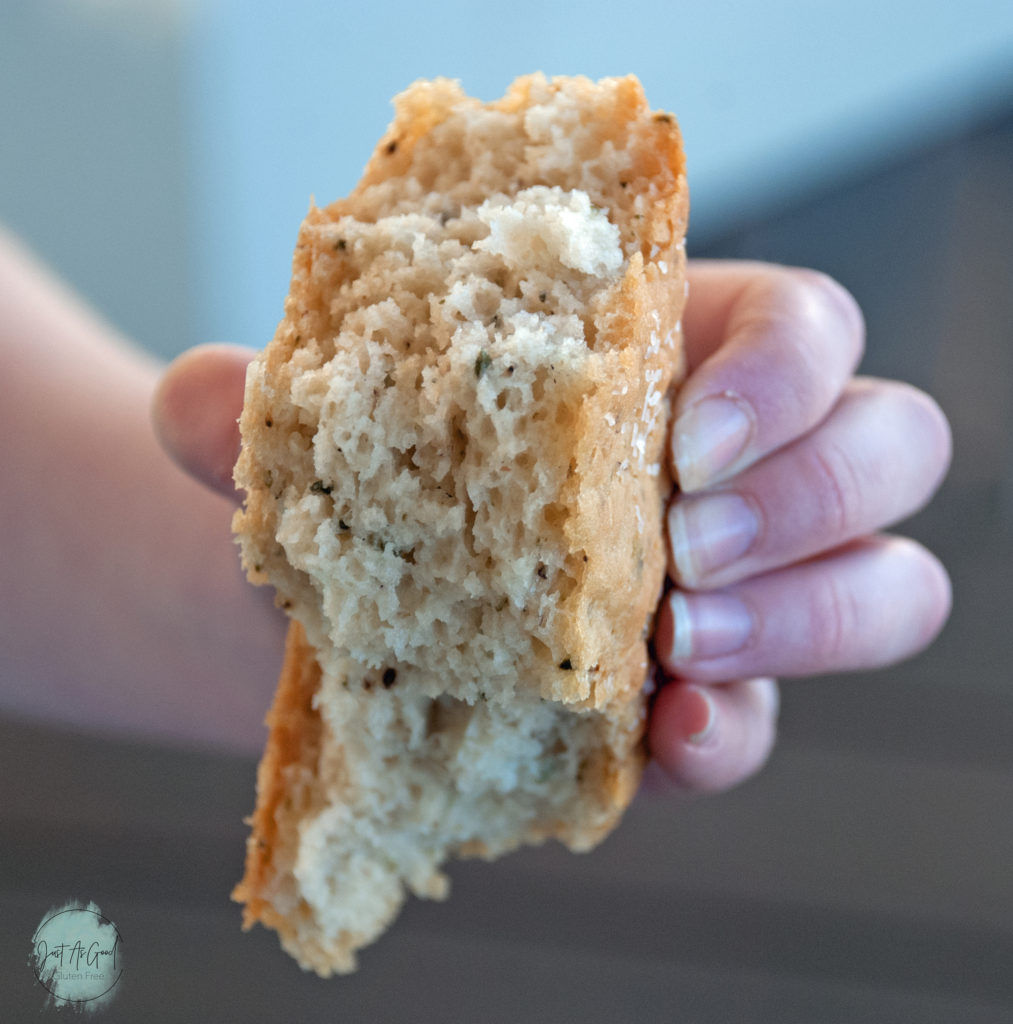
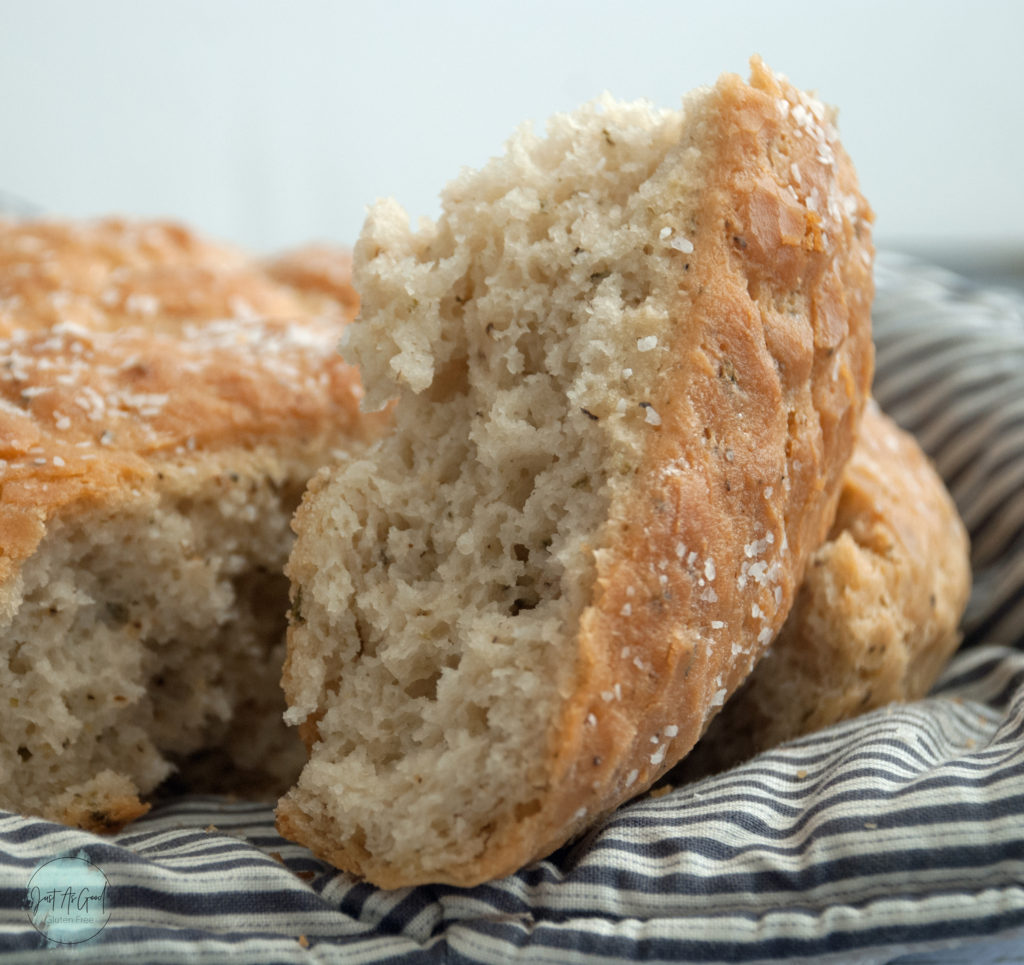
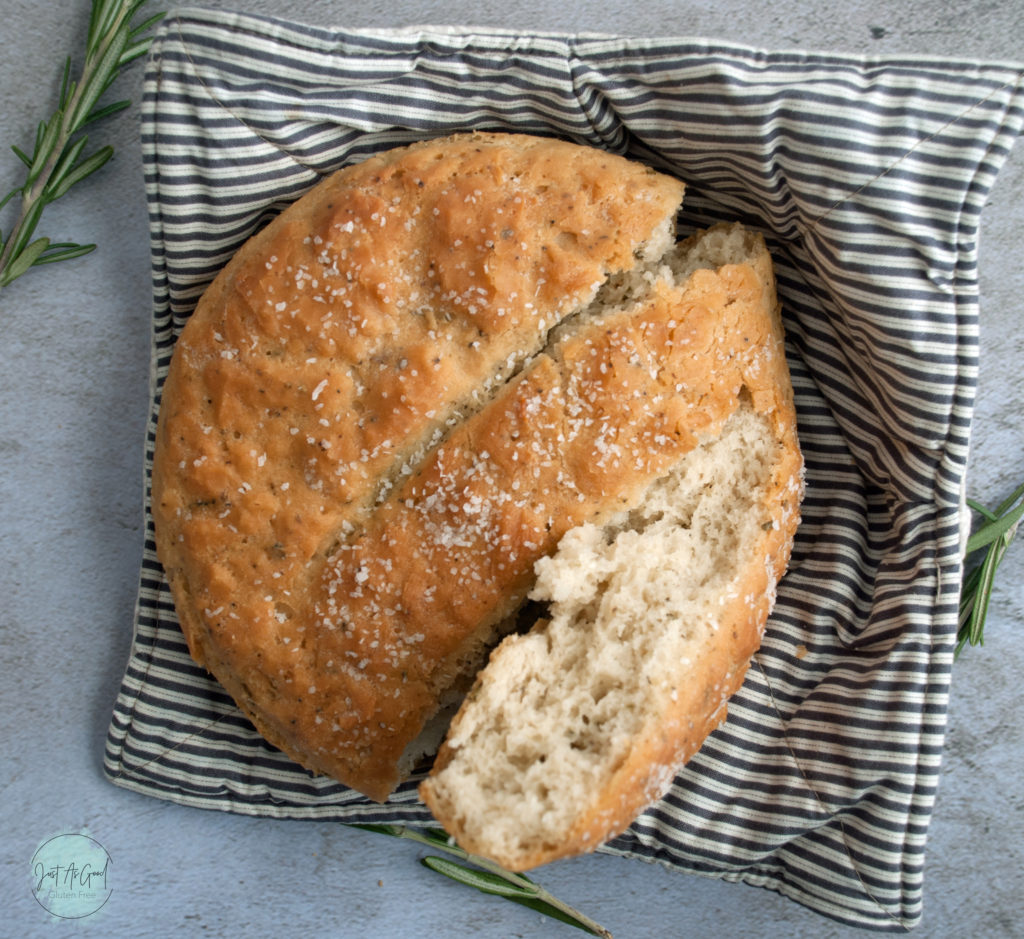
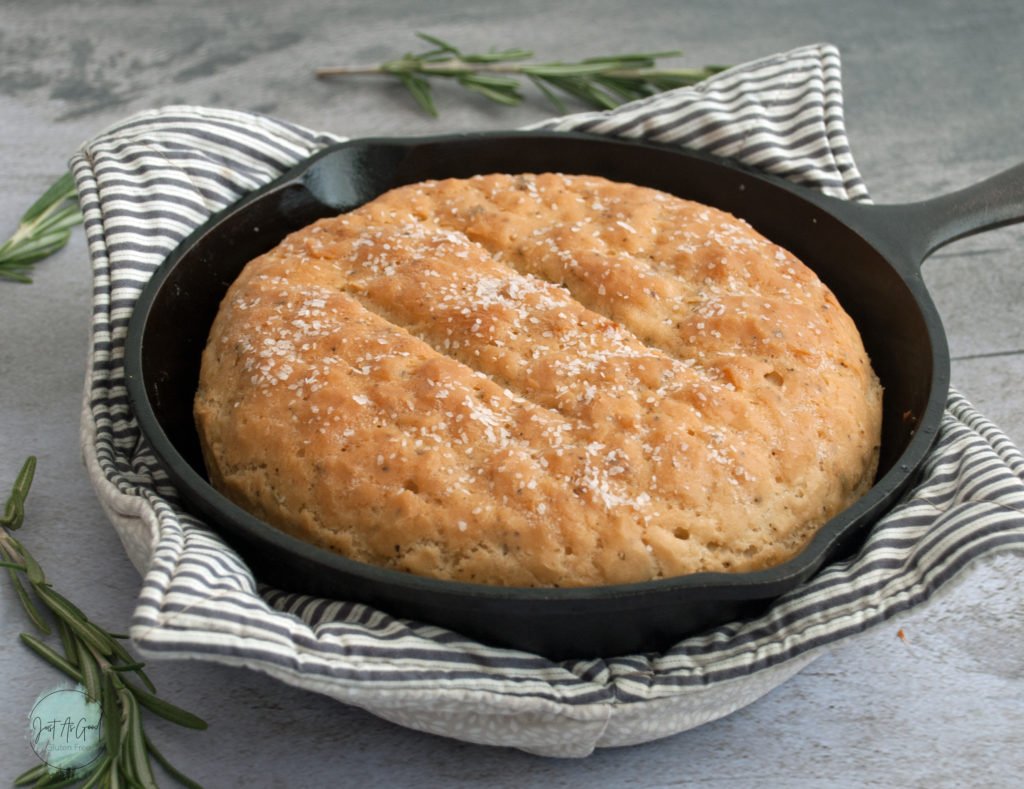
This gluten free rosemary bread is perfectly crusty on the outside with a soft and flavorful interior.
If you’ve ever been fortunate enough to enjoy rosemary bread from Romano’s Macaroni Grill, then you’re in for a treat with this bread! Pre-gluten free, I could easily devour a few of those loaves. But as well all know, gluten free bread can be intimidating to make, and not always fun to eat. Not so with this rosemary bread!
I’ve spent years, and I do mean years, working on this recipe. Tweaking ingredients and procedures to create something simple, yet delicious. This is a gluten free, dairy free AND egg free bread. How often can you say that about a gluten free bread???
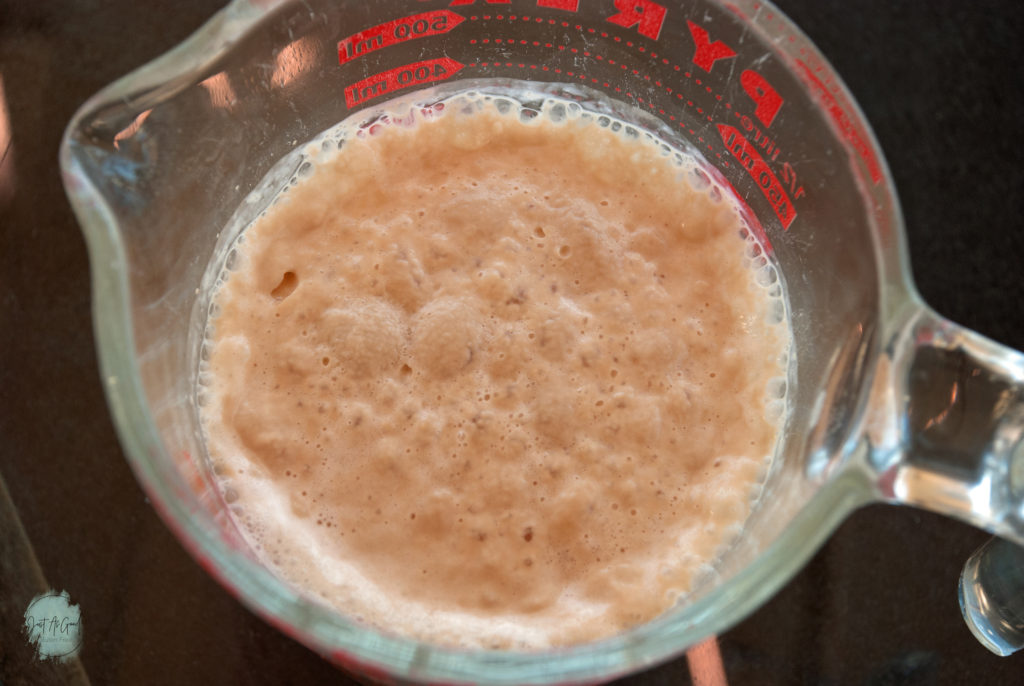
How do you know when your yeast is ready?
See the foamy-type bubbles sitting on top of this water? That’s what your yeast, water, and sugar need to do.
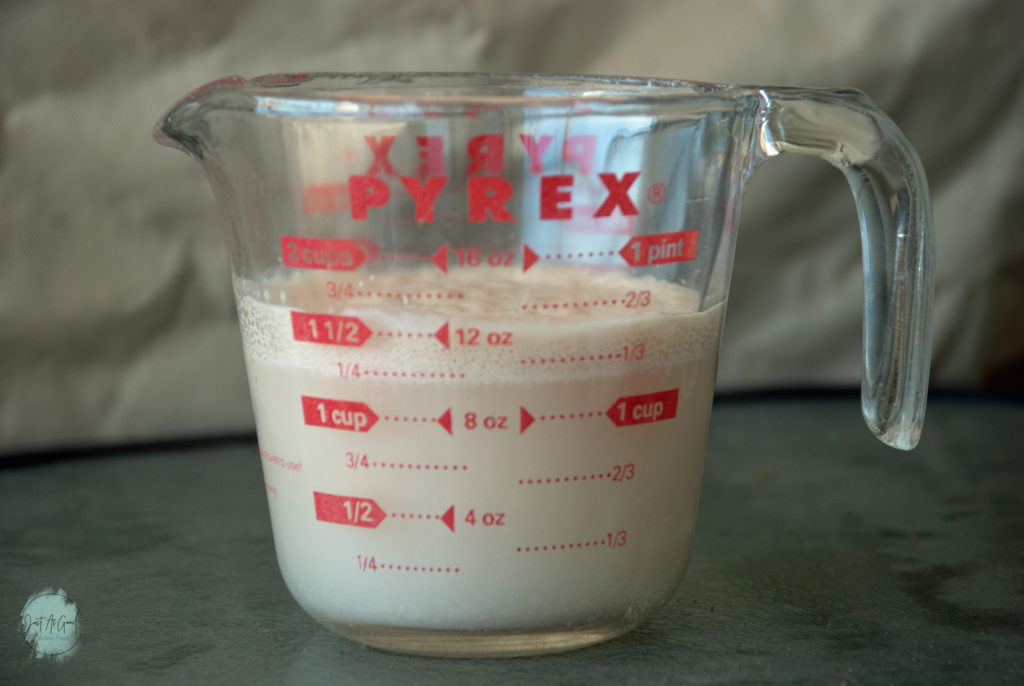
Warm water, about 110 degrees F mixed with a little sugar to “feed” the yeast and a few minutes later you have the great beginnings of bread!
There is always a chance your yeast is no longer good, which means your results will not look like the picture below. If it does, purchase new yeast and start over. If you think your yeast is good, double check your temperature of the water. Too hot and it will kill the yeast.
Shape your bread and let it rise once!
One of the benefits of making gluten free bread is that you don’t have to go through two rises like you do with wheat bread. In fact, the less you can handle the dough the better!
As you touch and move the dough, it releases all of the air pockets the yeast worked hard to create. Since we don’t have gluten to maintain structure the dough deflates, and in gluten free bread this is really difficult to get back. In cases like this where we’re baking the rosemary bread in one loaf, I find it best to let the dough rise right where you’ll bake it.
If you do two rises, it will not be detrimental to your final bread. The center may be slightly caved in. And if for some reason you rise the dough in one location and transfer it to your baking pan, give the bread time to rise again after moving.
Another piece of information to keep in mind is gluten free bread dough will take shape of whatever you bake it in!
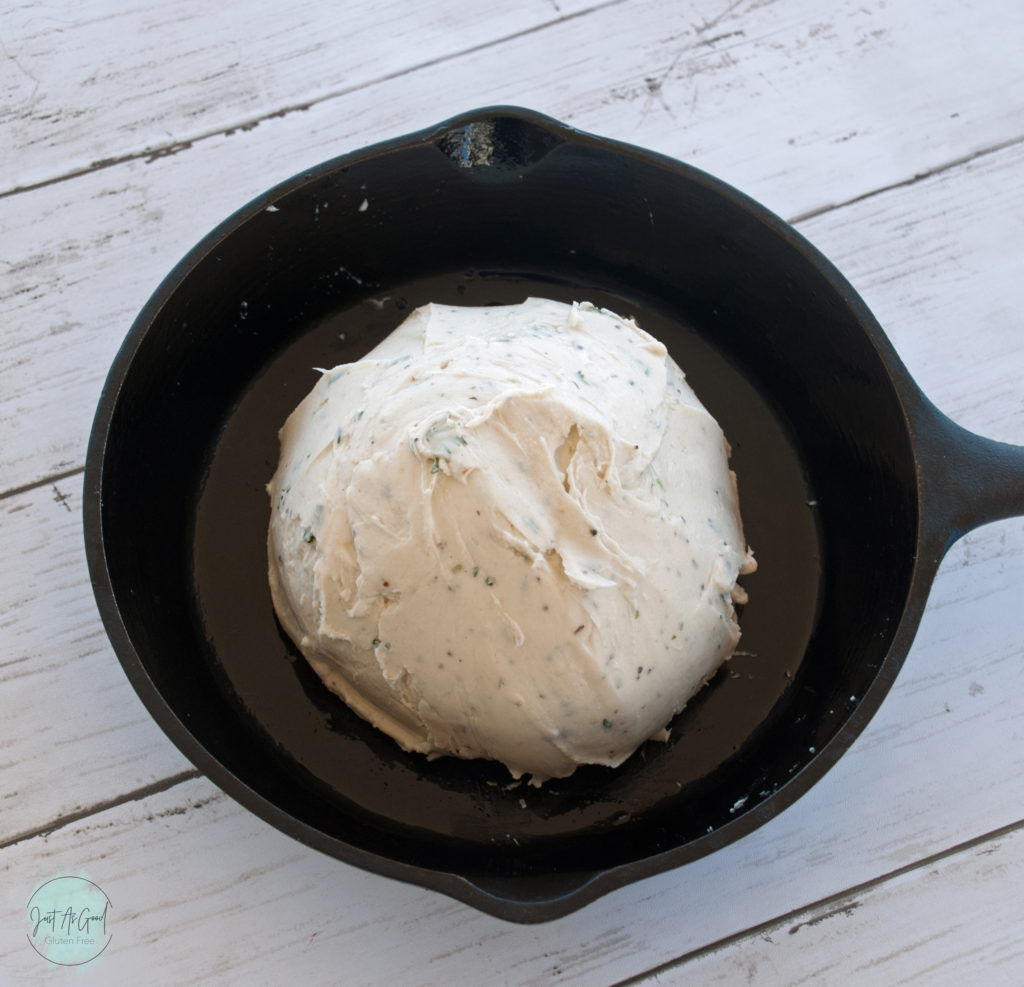
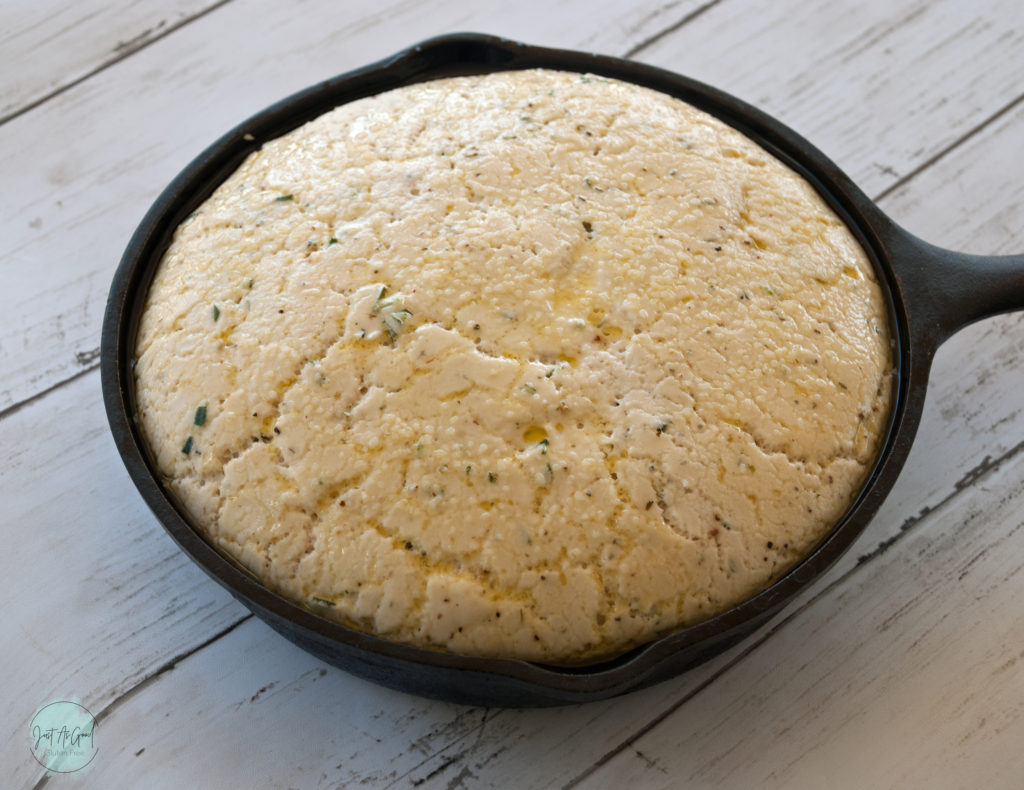
The picture below is after 40 minutes of rise time in a 100 degree oven.
What kind of gluten free flour is best?
My favorite gluten free flour blend to use is Gluten Free Flour Blend. Xanthan gum causes major stomach irritations (almost like being glutened!), so guar gum is my go-to. Unfortunately, not too many mixes are free of xanthan gum. So I make my own blend and have for several years!
I completely understand if you don’t want to purchase several flours and starches to make your own. Gluten free flour blends such as King Arthur Measure for Measure and Bob’s Red Mill 1 to 1 are very comparable. NOTE**if you use a brand other than what is listed in the recipe please check the brands recommendation on grams to cup to use. It varies significantly between brands!
On a side note, I have not tried using any nut flours. Although I have tried mixing in cassava flour. I found the difference to be negligible and not worth the extra effort.
Would you like to keep in touch on a regular basis?
Me too! If you haven’t done so, sign up to receive e-mails for recipe updates here
.You can also go to Instagram and share your gluten free rosemary bread pictures @justasgoodglutenfree and include #justasgoodglutenfree.
Your feedback is important to me and anyone else wanting to make this recipe. Please share your helpful comments below!
As always, every picture above has a ‘Save It’ button for you to pin on Pinterest. You can also find me at Just As Good Gluten Free on Pinterest where you can follow my boards. I love to keep them up to date and relevant to the current food and baking season and share anything else I found helpful.
Enjoy!
Gluten Free Rosemary Bread
Ingredients
- 1 ¼ cup warm water (about 110° F)
- 1 ½ teaspoon active dry yeast
- 1 teaspoon sugar
- 2 cups (300 grams) gluten free flour blend
- 2 teaspoon guar or xanthan gum (omit if in blend)
- 1 teaspoon kosher salt
- ½ teaspoon ground black pepper
- ½ teaspoon Italian seasoning
- 1 Tbs fresh rosemary, finely chopped
- 2 Tbs Olive oil
Top of Bread
- 1 ½ teaspoon olive oil
- ¼ teaspoon kosher salt
Instructions
- Prepare a 6-inch cast iron skillet (if you don't have cast iron, use a 6-inch round oven safe dutch oven or bowl). Using ½ teaspoon olive oil and a paper towel, lightly coat the entire inside of dish to help prevent sticking. This will also help the bread to develop a nice, crispy crust. Alternatively, instead of olive oil, you can line the pan with parchment paper, no need to coat with any oil or spray.
- If you don't have a warm spot to place the dough to proof, set your oven to the 'Proof' setting, which is about 100° F.
- In a small bowl, combine warm water (about 110° F), sugar and yeast. Gently stir and set aside for 5-10 minutes. The yeast should start to bubble and foam at the top, which indicates your yeast is good!
- In a stand mixer, combine gluten free flour, guar gum, salt, black pepper, Italian seasoning, and chopped rosemary until mixed (about 30 seconds).
- Once the yeast has become bubbly and foamy, pour into the flour mixture. Add 2 Tbs olive oil. Mix on medium speed for 2-3 minutes, scraping down the sides if needed. The dough will be sticky.
- Transfer the dough to your prepared cast iron skillet. Using a spatula (get it wet to help prevent sticking), gently mound the dough into a ball, smoothing out the dough as you go. The ball should be about 4 inches in diameter.
- Using the remaining 1 teaspoon olive oil, gently rub it over the dough (this prevents the dough from drying out as it will not be covered during proofing. It also helps the bread develop a crispy crust.) Place the pan in a warm spot (I like the proof setting on my oven!) and allow the dough to double in size. This can take anywhere from 35-45 minutes, depending on the temperature. Keep an eye on the dough starting around 35 minutes to make sure it hasn't developed beyond your pan.
- Toward the end of the dough proof, preheat your oven to 425° F (removing the pan from the oven if necessary).
- Sprinkle remaining ¼ teaspoon kosher salt on the dough. If desired, make two slashes with a sharp knife on the top (purely decorative), but be careful not to slash too deep. Place in oven and bake for 30-35 minutes, or until the outside crust is lightly browned.
- Remove from oven and allow to cool slightly before tearing into.
- Eat warm as is, or, our family favorite is to dip the bread into a small plate of olive oil and balsamic vinegar. This bread is best eaten the day of!
Recipe adapted from: Jamie Cooks It Up
Hey there! Just As Good Gluten Free LLC participates in the Amazon Associates Program, which mean many outgoing links on Just As Good Gluten Free are affiliate links. After clicking on a link, I may receive a small percentage of the sale for referring you, which comes at no extra cost to you. This allows me to continue creating gluten free recipes for you! Many thanks – Amy


Amy R
Hi—just curious about the yeast measurement. Is it really only 1 1/2 TEASPOONS, not tablespoons? Most bread recipes I’ve seen and worked with call for 1-1 1/2 tablespoons and similar amount of water so just checking.
Amy Wilson
Just 1 1/2 teaspoons
Adina
We’ve been making this bread (liberal use of “we” since so far, it’s only been my wonderful husband) over the last six weeks, almost every week, and it always turns out great! For us fresh rosemary is a key ingredient, and using sea salt to flavor. Thank you for this awesome recipe!
Bryan
Hi,
I recently made this with Bob Mill’s gluten free flour, ( i even did a deep dish pizza), but with the bread, once it was done, it was pretty much perfect! but unfortunately after 2 minutes out of the oven it went flat. LOL. any recommendations? It’s still delicious BTW!
Amy Wilson
Oh no! I’ve never had this bread flatten out. Sometimes over proofing can cause it to flatten. Do you remember how long you did the proof?
Nancy
Hi there we’ve tried this recipe twice and although we find the bread delicious, the inside seems a little doughy so we need to overcook it to be sure the inside is cooked. Any suggestions? Thanks.
Amy Wilson
Hi Nancy! I’m so glad you enjoy the taste of the bread and I’m sorry you’re having issues with gumminess. Gluten free bread is perplexing for sure – I have yet to find the perfect loaf! There are so many factors that come into play, but I have a few thoughts to check into. If you haven’t already, try using a separate oven thermometer (you can buy them for around $6 on amazon) to double check your oven temperature. I’ve recently been having issues with things being underbaked, despite making recipes for dozens of year with great success, and once I paid close attention to the temperature I realized what I set my oven temperature to is 25 degrees less than what it should be. Super frustrating, but at least I know and can adjust accordingly. If your oven, like mine, is not hot enough you could very well have to bake longer to get the right doneness. Second, if you use gluten free flours different from the recipe it could throw things off. Some blends have a lot more starch than others and will bake differently. Weighing ingredients is also key as adding or taking away even small amounts of flour can change your final outcome. I would also make sure to not over proof the dough – if it does it may collapse on itself because it can no longer support the weight of the ingredients (thanks to a lack of gluten structure!) resulting in a doughy interior. I have one final recommendation – bake your bread and let it sit for a few hours. Oftentimes cutting into gluten free breads too early after baking results in gummy middles. For some reason gf breads do well with a good sit after baking.
More than anything, if you know this bread is taking longer to bake than the recipe says, make note and go with it! It sounds like you have some good instincts and know what to look for. We could very well live in two different climates, mine is dry and yours could be humid. We could also live at very different elevations. There are so many factors in play. I hope this helps – Amy
Courtney
Mine didn’t spread out. It kept the shape of the round ball. Did I miss a step?
Amy Wilson
I don’t think you missed a step! This can certainly happen if you used a different gf flour blend or any measurements were slightly off. Was the inside dense? That would be a good indicator that too much flour was used. Gluten free baking certainly has it challenges!! There are so many factors that go into why something did or didn’t work. Just yesterday I WAY over-proofed some rolls I was making because I didn’t plan my timing right. I’m happy to help problem solve more if you could let me know what type of gf flour you used, and if you weighed it or used measuring cups.
Megan Thompson
I’m curious about this GF Rosemary Bread and whether I could make it in my larger cast iron pan. I think it’s a 10 or 12in pan. Could I still use it or would I need to double the recipe?
Amy Wilson
Hi Megan! I’ve never doubled this recipe and I’m a little hesitant to say go with it, because doubling gluten free bread recipes doesn’t always work right. I don’t know why, but I’ve found it’s best to stick with the single recipe on breads. This bread will spread out flat if given the chance, so any way you can give it boundaries the better off you’ll be!
I have a few ideas of how you can make this work! If you want to stick with your cast iron pan, create a circle of aluminum foil around the inside edge of the pan and then place your bread inside the ring. Alternatively, (and if you’re using parchment paper under your dough!) you could use pie weights to create a ring if you have them. Or, use a smaller baking dish that isn’t cast iron.
We have to get creative baking gluten free 🤪. I hope your bread-making is a success!
ronni
Hi. I’m a little late to this (about three years. lol.) but I just made this smack in the middle of my large dutch oven and while it didn’t expand to the walls it came out INSANELY delicious in a super crusty shallow loaf. If it’s any indicator, since I did it wrong;), I don’t think this recipe can fail. <3