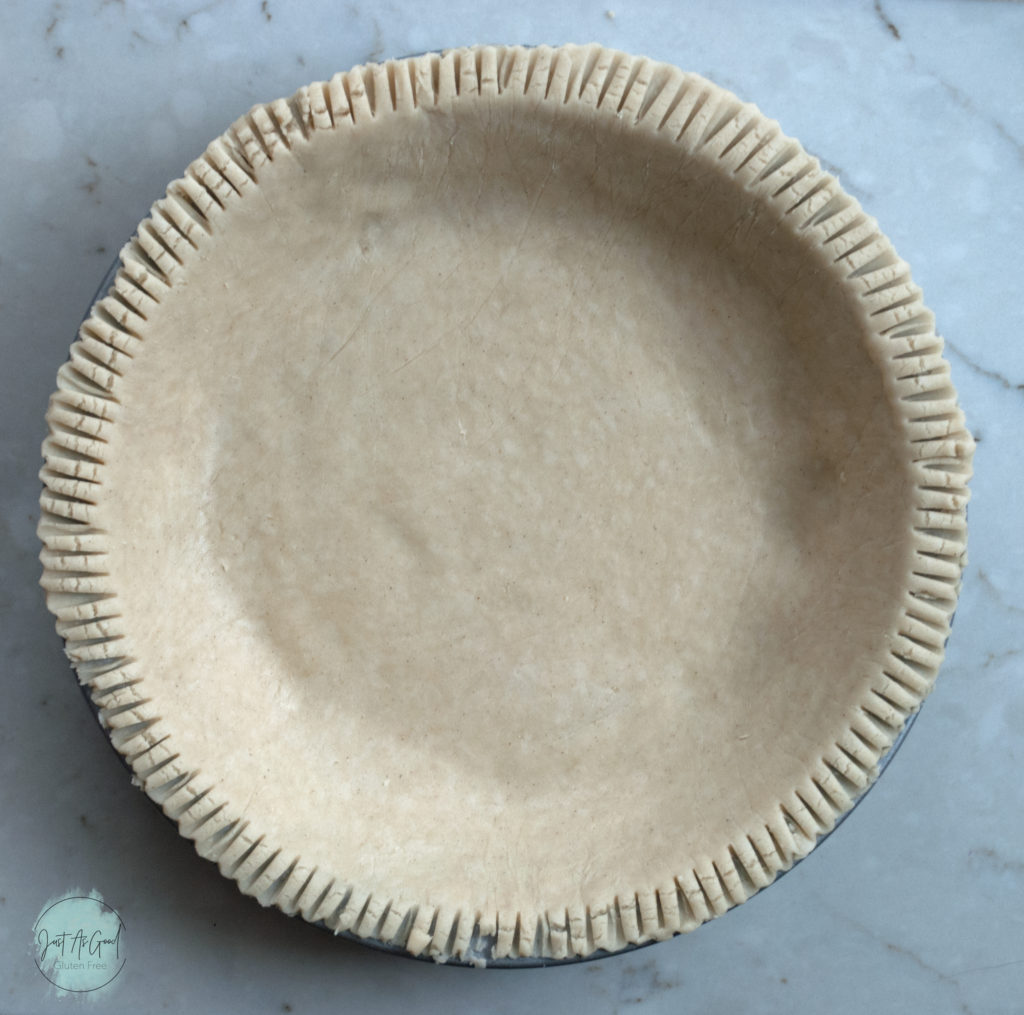
It seems to me you’re one of two kinds of people: you either love making pies, or you’re completely intimidated by the thought and will avoid it at all costs! I used to love making pies, but pie crust turned out to be a huge hurdle for me in my early gluten free baking years. Not only was it difficult to roll out, it tore easily, and never quite browned up or tasted the way I was used to with a wheat-based pie crust. I kind of gave up on baking pies for a few years because of it, or if I made a pie I would never make a top crust because it was way too much work and I was secretly thankful for everything that went on top of the pie crust to hide it.
But, like so many gluten free baking challenges, you have to conquer your fears, dig in, and keep failing forward in hopes something good will come out of it! After trying out a few different ingredients and techniques, this is the best flaky gluten free pie crust recipe I’ve used to date! The dough is simple to make, it rolls out relatively easy, and the best part about gluten free pie crust??? You can gently press it back together if it breaks. Bonus!!!
It turns out there is another bonus to gluten free pie dough…there is no concern of developing gluten! Go ahead and work that dough and get everything nicely incorporated.
I used my gluten free flour blend: Just As Good Gluten Free flour blend
You can always use a good quality flour blend like Bob’s Red Mill gluten free or King Arthur gluten free which should yield great results.
Learn from my failures… I thought I had this great idea of rolling out my dough and refrigerating it flat before transferring to the pie tin. Let’s just say that didn’t work out. The dough completely broke apart in large chunks which created a lot of patch work. I now stick to the old method of creating a disc with the dough, wrapping in plastic wrap, refrigerating, and then rolling out, which turns out to be the perfect way to make a pie crust!
Shortening???!!! Yes, this recipe has shortening. I use Crisco. I keep it in my refrigerator for the sole purpose of making pies (that way I can use it cold). Nothing else. You can use all butter if you wish, but it is really difficult to beat the shortening/butter combo in a pie crust because they do an amazing job of creating this perfectly delicious flaky crust.
Tips and Tricks:
- The addition of apple cider vinegar is for the sole purpose of keeping your refrigerated pie dough from turning gray. Have you ever put pie dough in the fridge to chill and pulled it out with a gray-ish tint? The dough starts to oxidize, so to prevent this you can add a small splash of apple cider vinegar. Regular old vinegar will work as well as vodka.
- Parchment paper and/or cling wrap are helpful in preventing the dough from sticking to your counter and rolling pin. It also helps when transferring the pie dough to your pan.
- A metal pie pan does a better job of browning and crisping the crust than a glass or ceramic pie pan.
- For an flaky, crispy crust, freeze your butter for ½ hour before using. Then grate the butter (as you would cheese) instead of cubing it.
- If your dough tears, gently press it back together (get your finger slightly wet with water if the dough is sticky).
Special Equipment:
- I like to use a pastry blender, mostly because I always have, like this one: pastry blender
- If you don’t have a pastry blender, feel free to use your hands to crumble the flours with the butter and shortening. Messy but effective!
- Or maybe you have a food processor, which I’ve heard many people use to make pie crusts. I’ve never done it so I can’t vouch for the method.
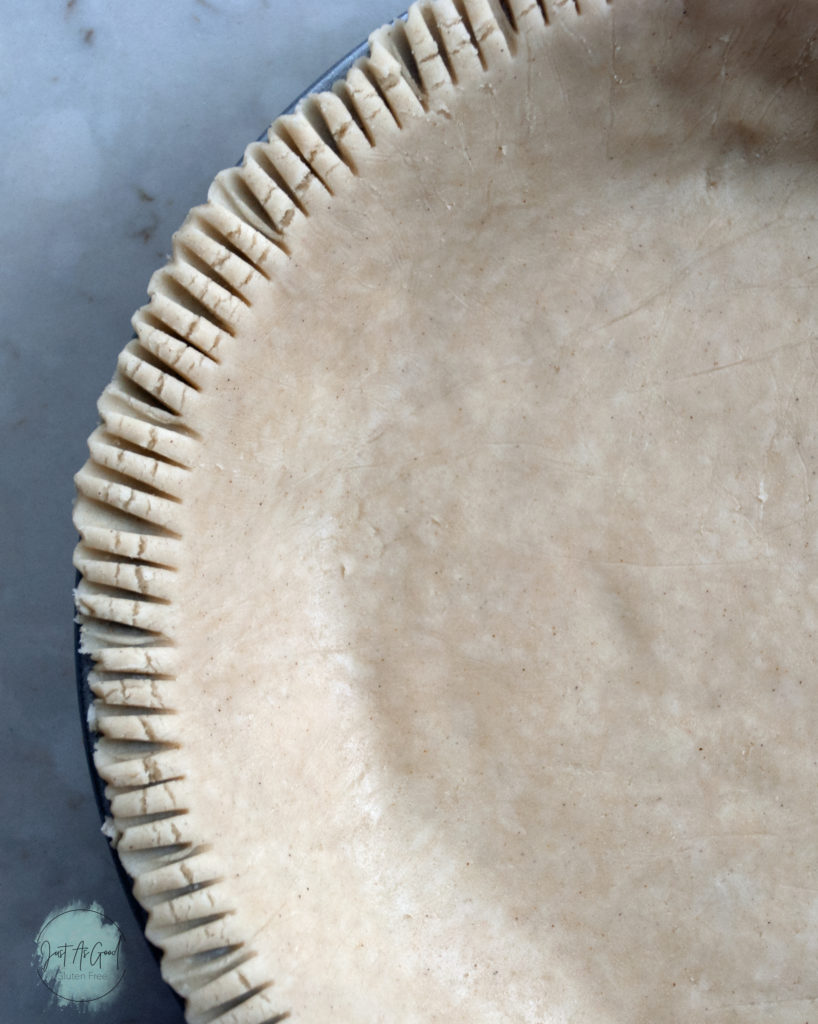
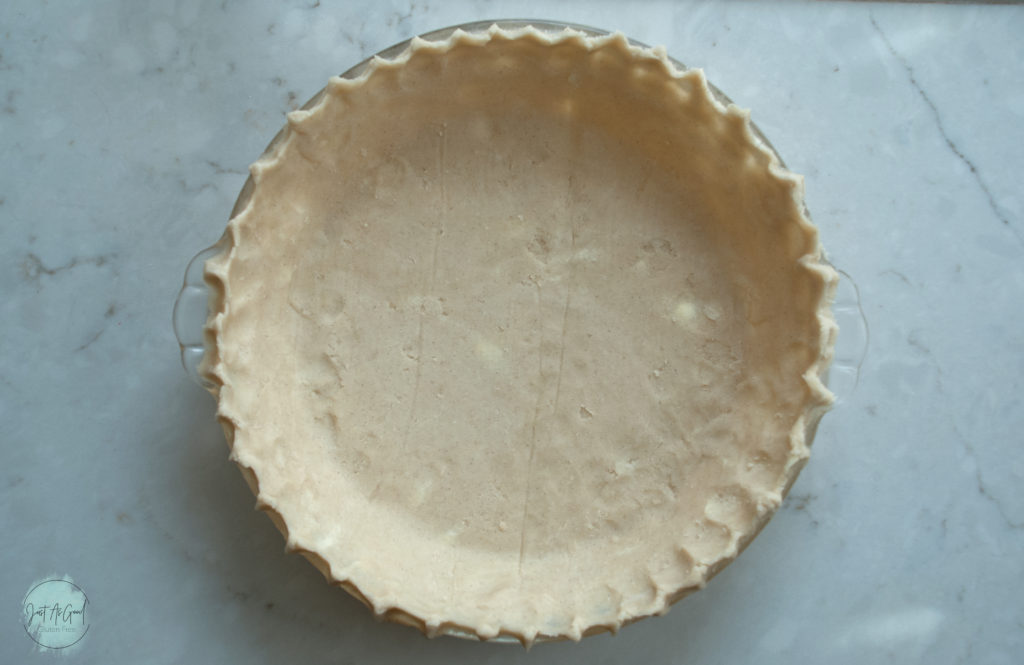
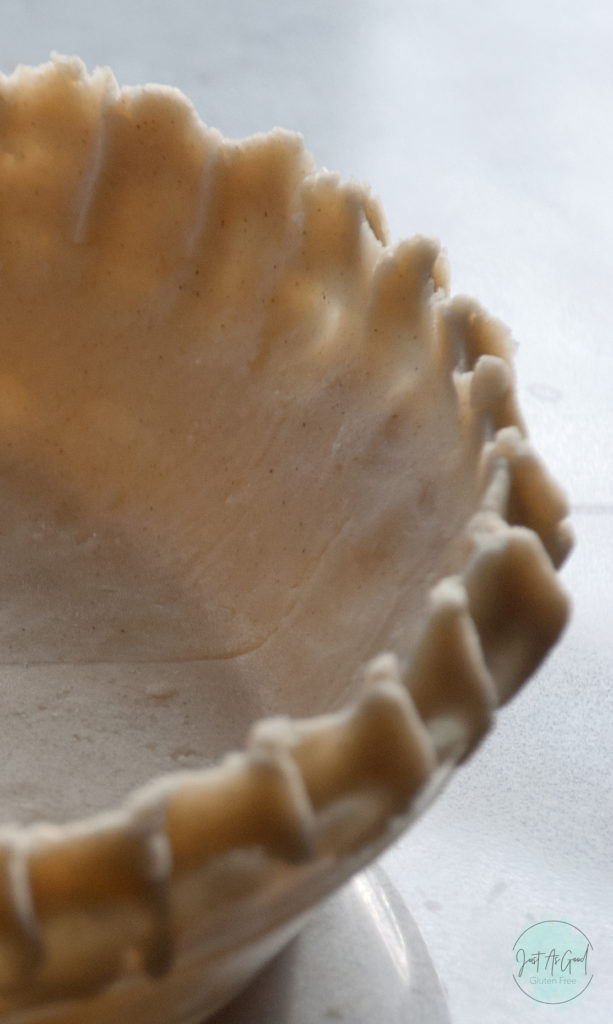
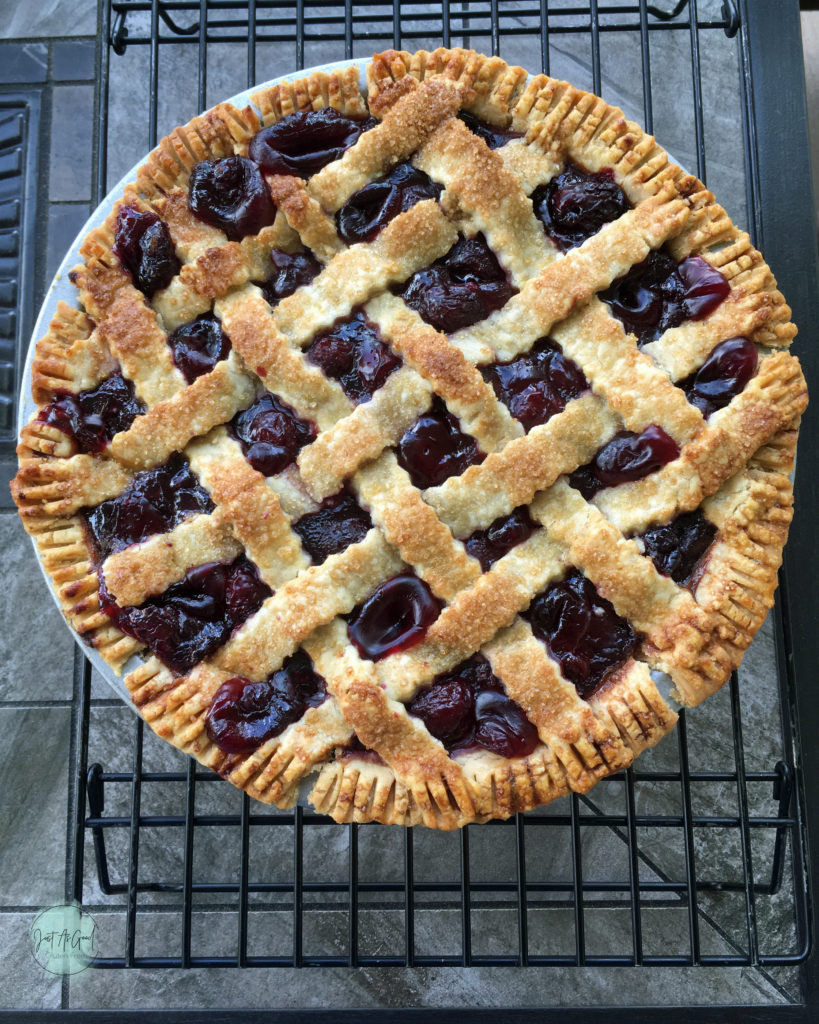
Did you notice the picture above is not the same pie as the one below? Well done! I put these in here for a reason, and that is to show you the difference between cubing your butter vs. grating your butter. The above pictures have grated butter, which is more uniformly distributed throughout the dough and will result in a very nice flaky crust. The pictures below have cubed butter, which you can see little chunks of throughout the pie dough. While I believe both methods will deliver a delicious, flaky pie crust, the grated butter pie had a super flaky, melt-in-your-mouth, no one thought it was gluten free kind of result (see cherry pie below for baked version) and will be my preferred method of making pie dough from here on out.
Final result! Tender, flaky pie crust. No gluten. Still drooling weeks later wishing I would’ve stocked up on cherries in season. This vanilla bean bourbon cherry pie coming soon to Just As Good Gluten Free after a little more tweaking to the filling!
Never miss a recipe by signing up to receive updates
Did you try this pie crust? Please comment below!
Enjoy – Amy
Gluten Free Flaky Pie Crust
Ingredients
- 1 ½ cup 225 grams gluten free flour blend
- ½ teaspoon guar or xanthan gum omit if in blend
- ¼ teaspoon salt
- 1 teaspoon sugar
- 5 Tbs cold unsalted butter frozen for ½ hour then grated with large holes
- 4 Tbs cold vegetable shortening cut into small cubes
- ¼ teaspoon apple cider vinegar
- 4-5 Tbs ice cold water
- 2 sheets of parchment wax or cling wrap, approx. 12 in. wide
Instructions
- In a medium bowl, sift together gluten free flour, guar gum, salt and sugar. Add cold shredded butter and shortening cubes. Using a pastry blender, cut through the dough until small clumps form about the size of a pea or smaller. Alternatively, you can use your hands to do this if you do not have a pastry blender. Add ¼ teaspoon apple cider vinegar.
- Add 3 Tbs ice cold water and use pastry blender until the water is incorporated. Add 1 TBS ice cold water, and this time use your hands to turn over the dough. If all of your flour has not stuck to a ball, add another 1 Tbs ice cold water. Continue rolling the dough into a ball until all the flour mixture is combined and the ball is nice and smooth. Be careful not to add too much water as this will make the dough very tacky and too sticky.
- Shape the dough into a disc (approx. 6 inches in diameter) and place the dough on a piece of parchment paper or wax or cling wrap. Cover the top of the dough with another piece of parchment, wax or cling wrap. Note: I like to use parchment on the bottom because it is wider than standard cling wrap. I then use cling wrap on the top so I can easily see the dough, gently lifting the cling wrap as needed to cover the dough as I'm rolling.
- Using a rolling pin, begin gently pressing and rolling from the center of the dough out to the edge. Each time you press and roll, slightly rotate the crust (think of a clock and rolling out every 5 minute increments). Continue this until your dough is approximately 11-12 inches in diameter and you have a nice, even layer of pie dough. Carefully remove the cling wrap.
- Use the bottom parchment sheet to help you gently turn your pie dough into your 9 inch pie plate. Gently press the dough down into the plate and crimp the edges as desired. If you have any tears in the dough, simply press the dough and it will go back together. Cut off any excess pie dough hanging over the edge. Loosely cover the pie dough with plastic wrap and freeze for 30 minutes or refrigerate for 1 hour.
- Remove from refrigerator and fill your pie dough with desired ingredients and bake according to whatever your recipe states.
Hey there! Just As Good Gluten Free LLC participates in the Amazon Associates Program, which mean many outgoing links on Just As Good Gluten Free are affiliate links. After clicking on a link, I may receive a small percentage of the sale for referring you, which comes at no extra cost to you. This allows me to continue creating gluten free recipes for you! Many thanks – Amy

Leave a Reply