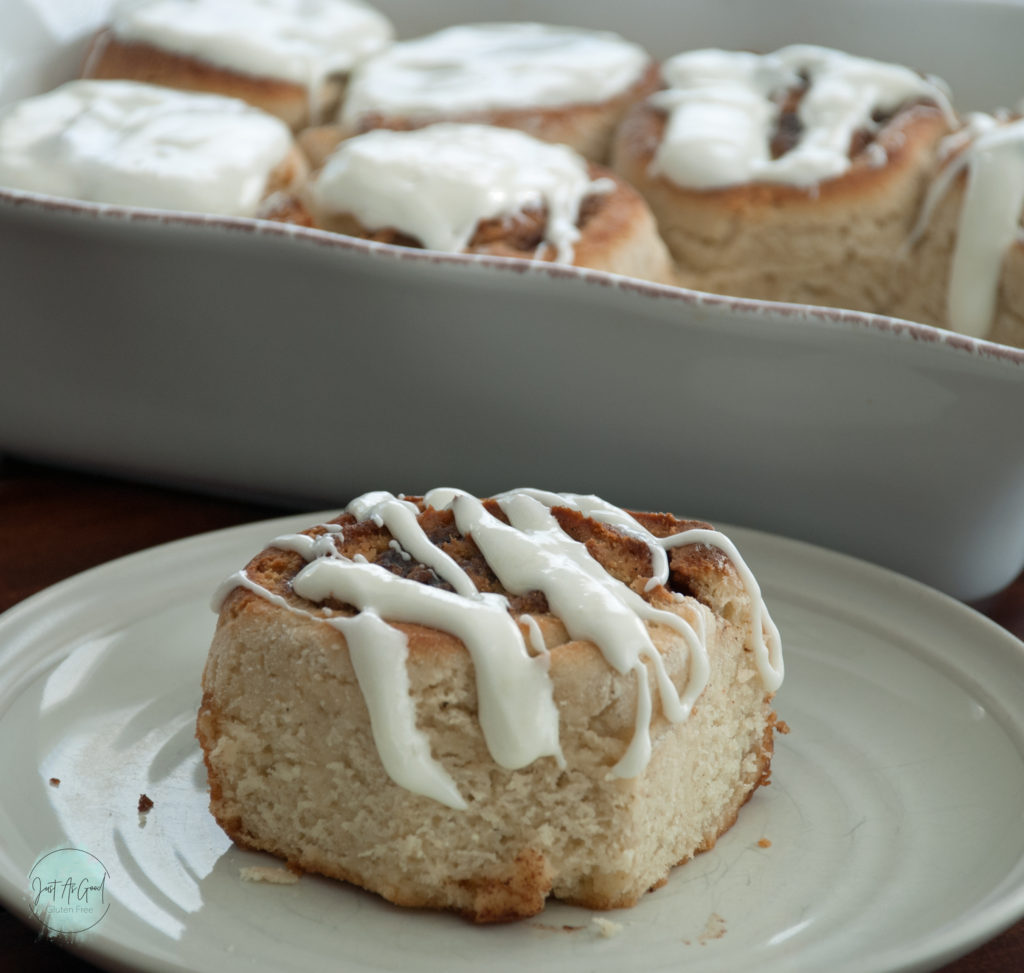
Is it possible to make gluten free cinnamon rolls that taste good enough to warrant the time and energy it takes to make them? Yes! Finally, yes! Although I wish that question hadn’t plagued me for so long. I’ve tried many gluten free cinnamon roll recipes and nothing really worked in a way that made me think I was done searching. Gluten free cinnamon rolls have been a high point of frustration in my gluten free baking and something I’ve really wanted to get right. Especially around the holidays, because there is something about the holidays that beg time-intensive, drool-worthy treats.
It wasn’t until I started playing around adding cassava flour to my regular gluten free flour blend that my gluten free cinnamon rolls finally had what they needed to look and taste like a normal cinnamon roll.
What is cassava flour and how does it help in gluten free baking?
Cassava flour is made from the yuca, or manioc, plant and is gluten, nut, and grain free. It is touted as one of the best wheat substitutes. It has zero protein, which means it is high in carbohydrates. Another fun fact, cassava flour and tapioca starch/flour come from the same plant, although they play different roles in your baking. While cassava flour and tapioca starch are made from the same tuberous root, tapioca starch is more processed and thus has less fiber and nutrients that cassava flour. I’ve tried completely substituting cassava flour and not using any other gluten free flours, and to be honest, it wasn’t my favorite. But I have found use for it when combining with other flours!
In instances where my gluten free baking requires more structure, such as cinnamon rolls, I’ve been removing ¼ of the gluten free flour blend and replacing it with cassava flour. Another bonus feature – it browns nicely on top of the baked good! Rice flour blends can leave baked goods a pale white color, which often leaves you wondering if its baked or not! How many times have you left something in the oven longer than you should because it didn’t looked baked on top? Classic gluten free problems. As always, I love to use Just As Good Gluten Free gluten free flour blend which I find time and time again to work brilliantly in my gluten free baking.
While I’m not convinced it’s a great one-to-one substitute for wheat, I am finding a place for it in certain baked goods and I’ll certainly be keeping stock of it in my pantry.
Step-by-Step Guide to Make Cinnamon Rolls:
Making the gluten free cinnamon roll dough:
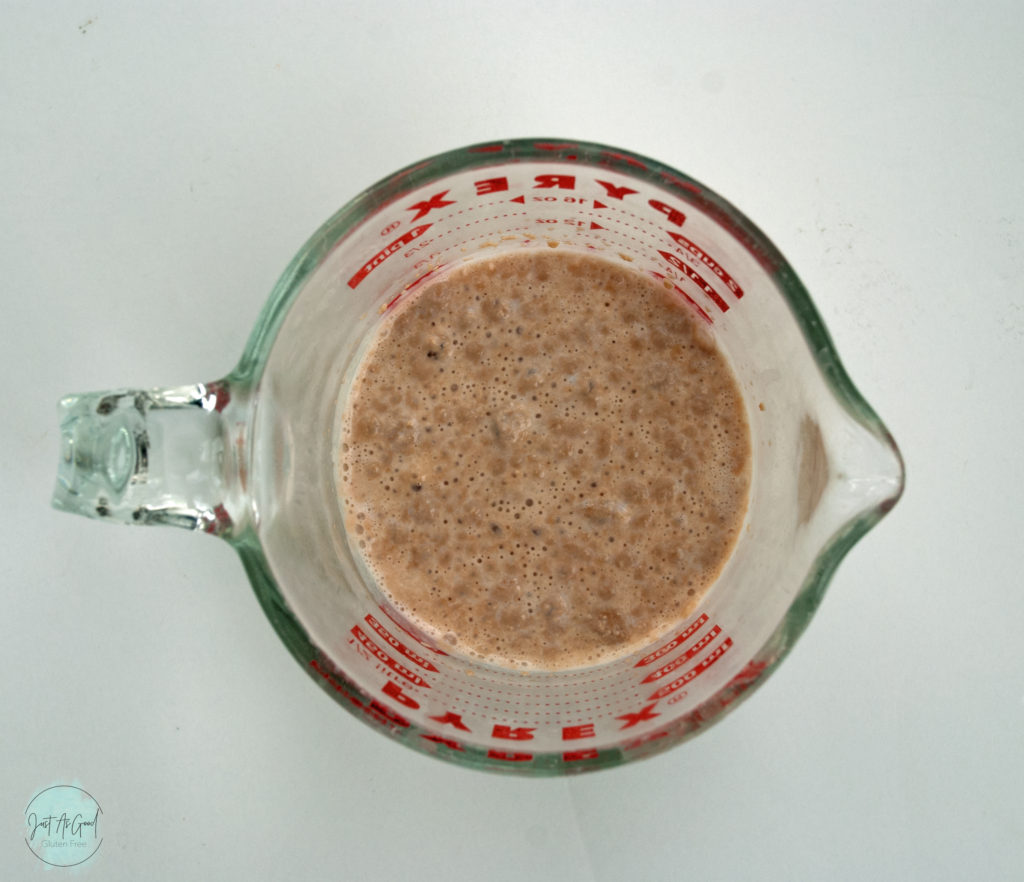
To get your yeast activated, make sure your milk is warm (about 110 degrees F). I like to pop my milk (I usually only keep 2% in the fridge) in the microwave for about 1 minute, which came straight from the refrigerator cold. I then add the yeast and gently stir, leaving it for about 5 minutes to start its thing. As you see below, it starts to ‘foam’ on the top and you can smell the yeast (which always smells like bread to me!). If this doesn’t happen to your yeast after 10 minutes, you may need to start over with a fresh batch of yeast. As with all living organisms, it has an expiration date and will not work if its too old.
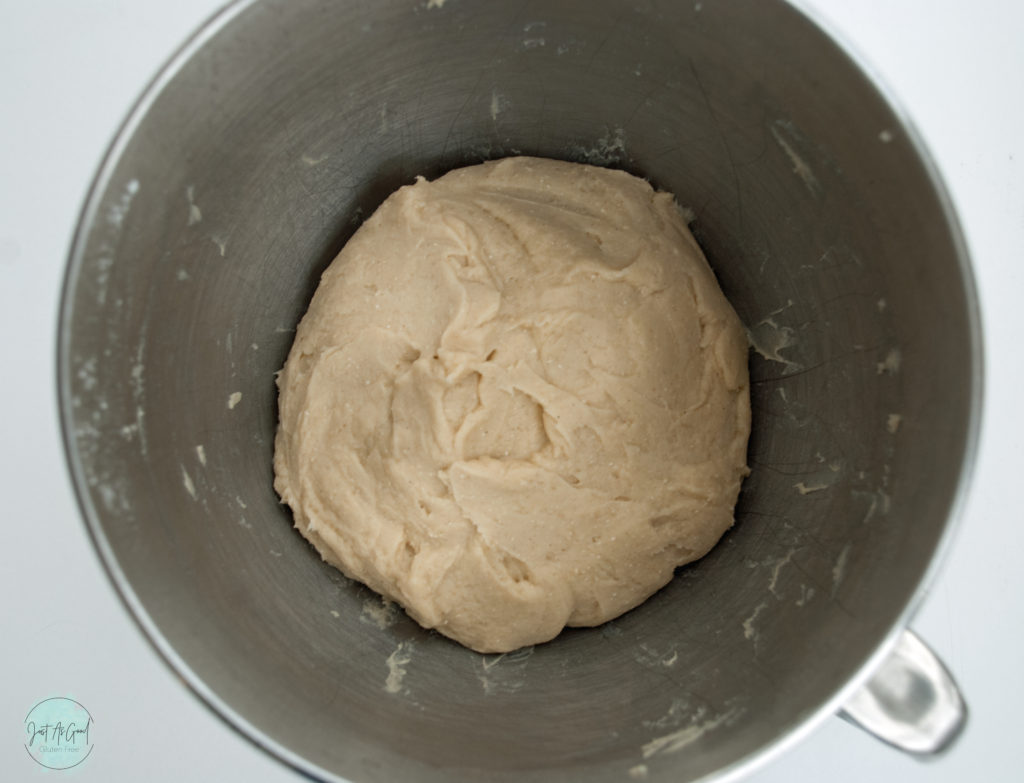
Once you’ve combined the ingredients for the dough, it’s time to give it a rest and allow the yeast to really do it’s job and double the size of your dough. The picture below is of the dough before the first proof, before the dough has risen. Scrap the dough from the edges of your bowl and gently shape into a ball. Cover your bowl in plastic wrap or a clean kitchen towel, and then place it in the oven on proof setting (which is 100 degrees F). I like to use the oven to proof because it’s often too cold where I live to create a warm enough atmosphere for the dough to do it’s thing. If it’s warm out, feel free to lightly cover and leave on the counter. This process usually takes about 45 minutes to 1 hour, but that is dependent on temperature.
Rolling out the gluten free cinnamon roll dough:
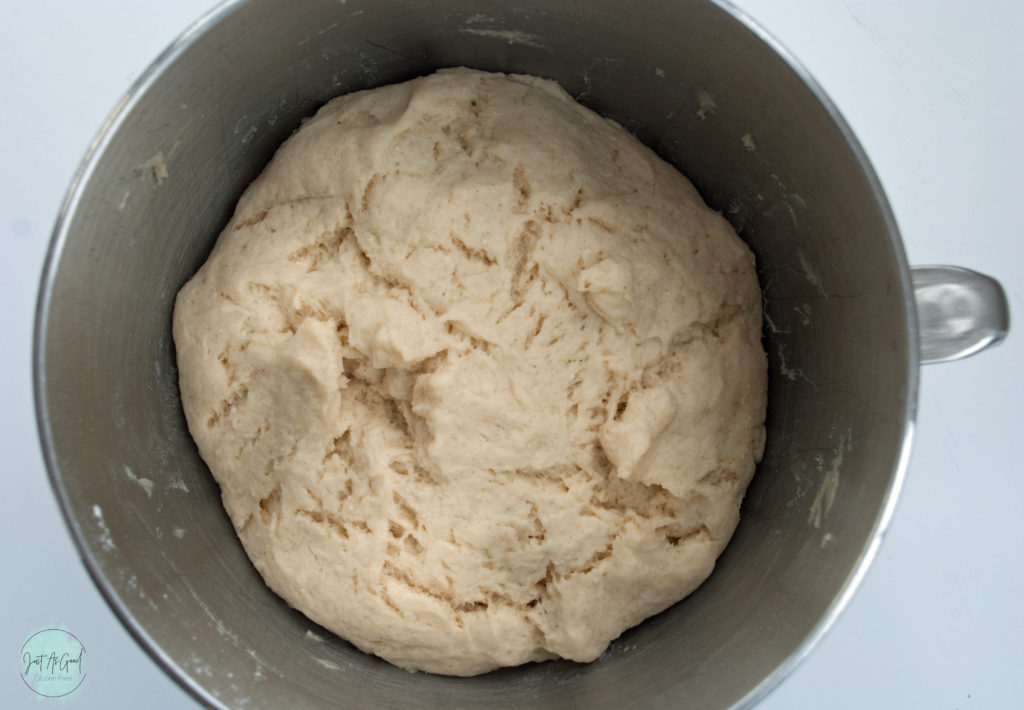
Aww…look how pretty risen dough is! I love it when you leave it and come back and it did what its supposed to do. It should look kind of pillowy and fluffy. One thing I like about this dough is that it won’t completely go flat when you roll it out. At this point, you can turn the bowl out onto a lightly gluten free floured surface, large enough for the dough to be rolled into a 12 inch by 16 inch rectangle. Keeping your rolling pin lightly floured will help with any sticky spots in the dough from catching on your rolling pin.
I would highly recommend using some sort of mat to roll the dough on, in particular a mat that can bend easily. I like to use a silicone baking mat to do this for a few reasons. First, the size of the mat just happens to be the size you need to roll the dough out to. Second, the bendy mat helps roll the dough to a nice log. I have silicone baking mats similar to these: silicone baking mat. You could also use a large pastry mat like this pastry mat which will give you plenty of space to work and it also includes measurements. While I own and use both of these, in the case of cinnamon roll dough I prefer the silicone baking mat because it’s large enough to do the job, but small enough to maneuver the dough.
For a rolling pin, I prefer my standard wooden rolling pin like this wooden rolling pin because I know the size of the dough I want to roll it out to and I’m not necessarily looking for a certain thickness of the dough. If I was I would use an adjustable rolling pin, but that isn’t need in this instance.
Filling the gluten free dough:
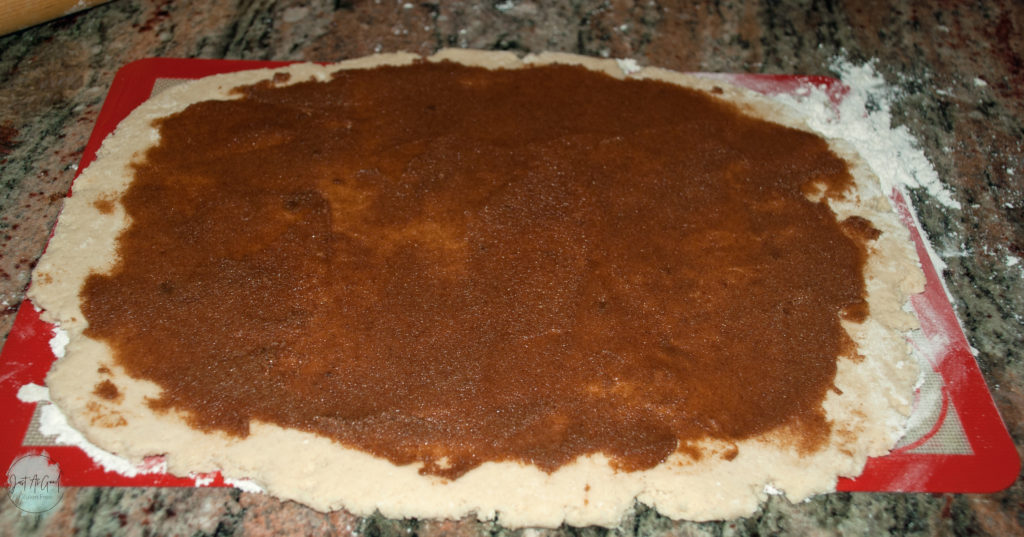
Now that your dough is rolled out, it’s time to fill it with yummy goodness in the form of butter, sugar and cinnamon. There are two ways you can go about this. The first is to melt your butter and then spread it over the dough, followed by topping it with cinnamon and sugar. The second (which is pictured below), is to combine the butter, sugar and cinnamon and then spread it over the dough. While both methods are perfectly fine, I would recommend going with the first method simply because it was minorly difficult to spread the butter and sugar over the delicate gluten free dough. I wanted to give the second method a try because I heard it had less oozing out when rolled, which is why you see it below, but in the future I will stick to the first method because it works better for gluten free.
I have also found that you have to use less butter than most recipes call for in the filling because it will simply ooze out when rolled. Gluten free flours can’t absorb the butter that fast so instead of holding it in, it squirts it out. So for once, thank you gluten free! You’ve saved us from using too much butter.
Rolling and cutting gluten free cinnamon rolls dough:
Now for the tricky part…rolling the dough and cutting it! Start at one short edge of the dough, and in my case it just happens to be on the left side (shout out to all the lefties!). Would a right-handed person start on the other side? Questions to ponder. Use the mat to help you roll the dough. Pick up one side and start rolling the dough as tightly as possible without tearing the dough. If you used enough gluten free flour under the dough it shouldn’t stick to the mat. If it does, gently wet your fingers with water and help it release from the mat by gently patting the dough back to where it belongs. Use the mat to help roll the dough over itself.
In my left hand, I hold the mat and gently pull it straight up while my right hand helps the dough roll to the other side. You should now have a gluten free cinnamon roll log. (I’m laughing at myself because in the past I’ve made it to this point only to have it go so poorly that I gave up and threw it in a loaf pan and called it cinnamon roll bread…oh how far its come!).
Using a sharp knife (grab a ruler if needed!), make a cut every 2 inches resulting in 8 buns. You can measure your cuts and make a small slice on top to know where to cut so any measuring device can be moved out of the way. I like to cut one at a time using a large sharp knife, and then use the knife to help move the bun to a baking disk (lightly coated in cooking spray!). They are delicate little buns, so transfer carefully.
Note – you can make 1 inch cuts and bake 12 buns. If you do this, watch your cooking time as it will need to be decreased to prevent from over-baking.
Proofing gluten free cinnamon roll dough:
The picture below is of gluten free cinnamon rolls after they’ve been rolled, but before they’ve had their second proof.
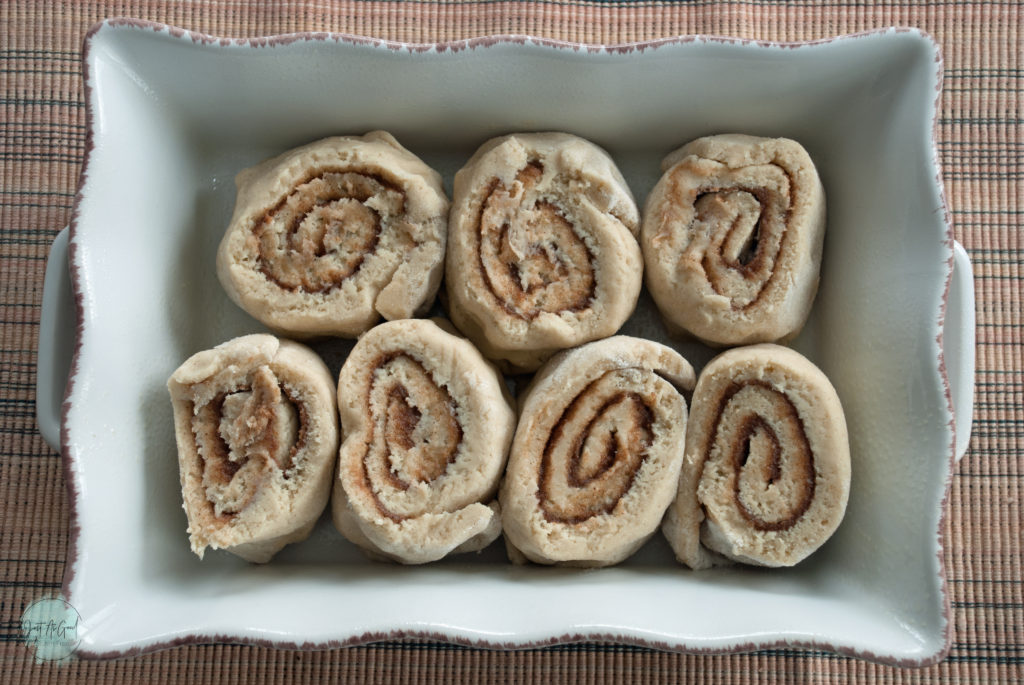
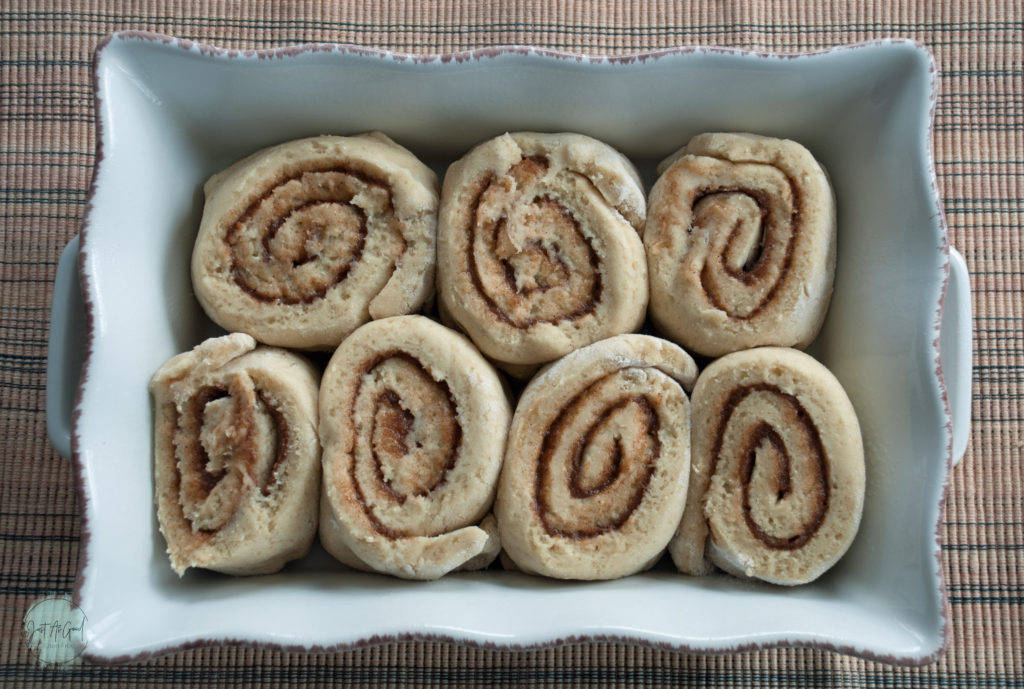
Below is a picture of the rolls after their second proof. It may seems minor, but can you see how the rolls are slightly fluffier? Feel free to proof in your oven again or cover with a towel, but a good ½ hour rest will be sufficient to plump them up. While you’re waiting, crank that oven up to 350 degrees F so its ready to go after the second proof. Also, set out the cream cheese so it has time to soften.
Baking gluten free cinnamon rolls:
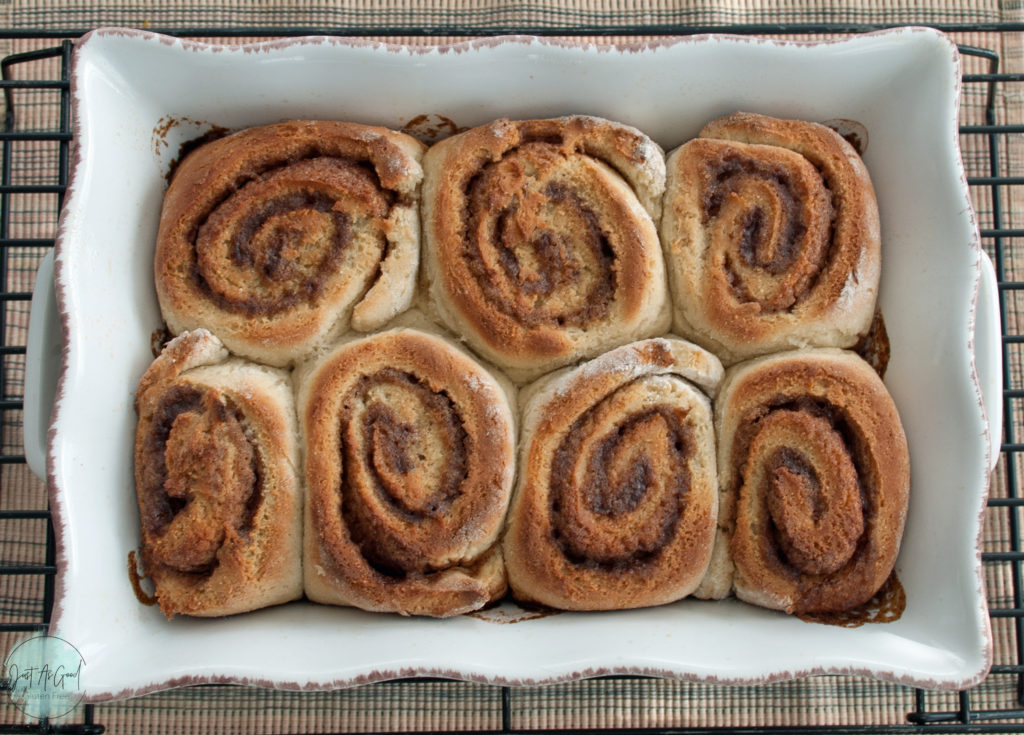
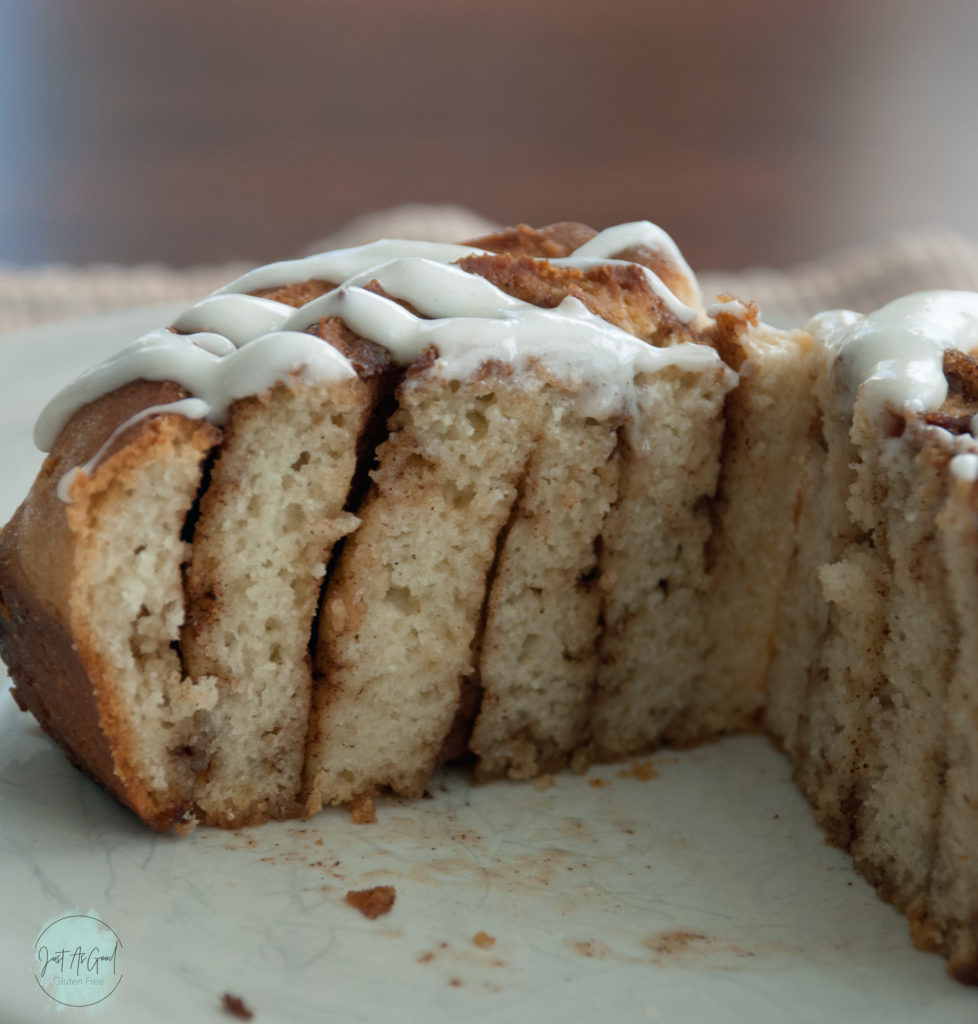
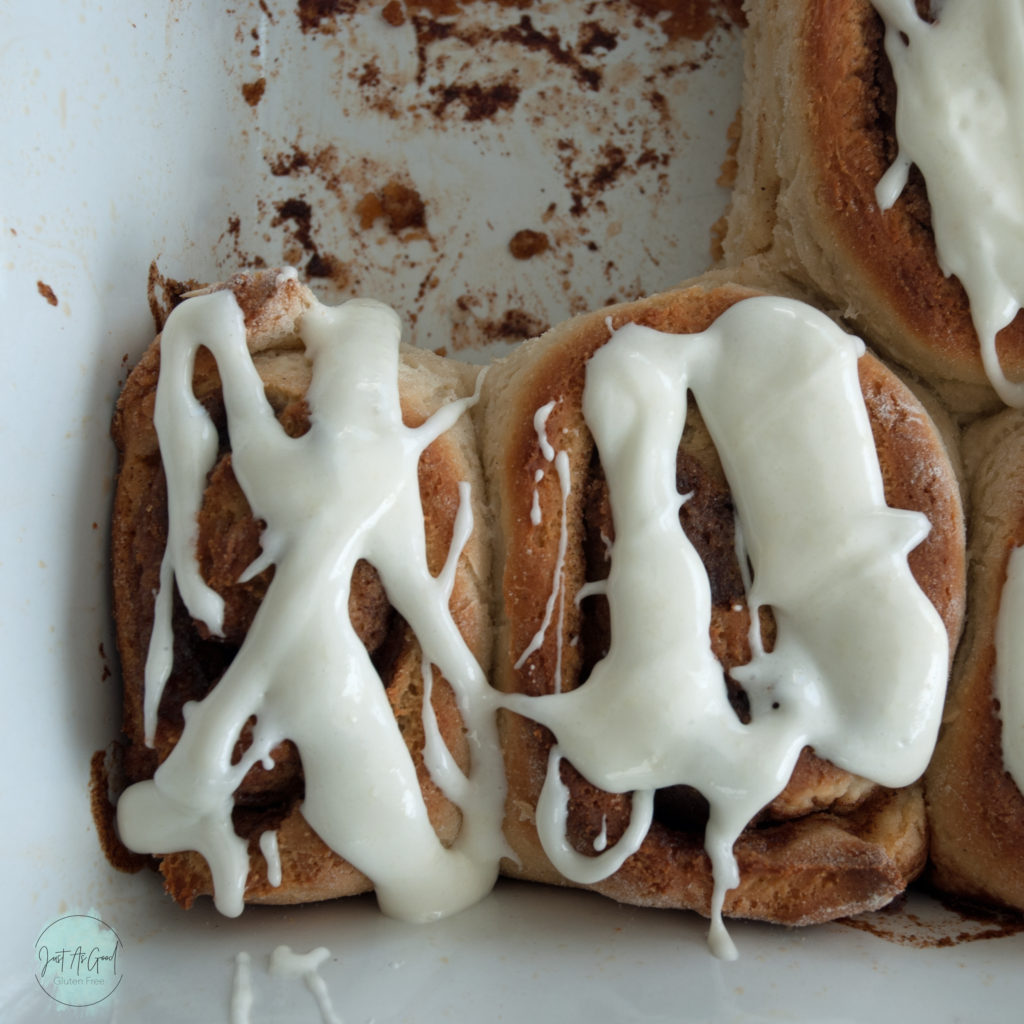
Now that your rolls have been proofed, filled and rolled, its time to bake! See the pretty browning on top? This wouldn’t be possible without the addition of cassava flour. Look how beautifully the rolls continued to grow and fill into one another while maintaining the definition of a roll.
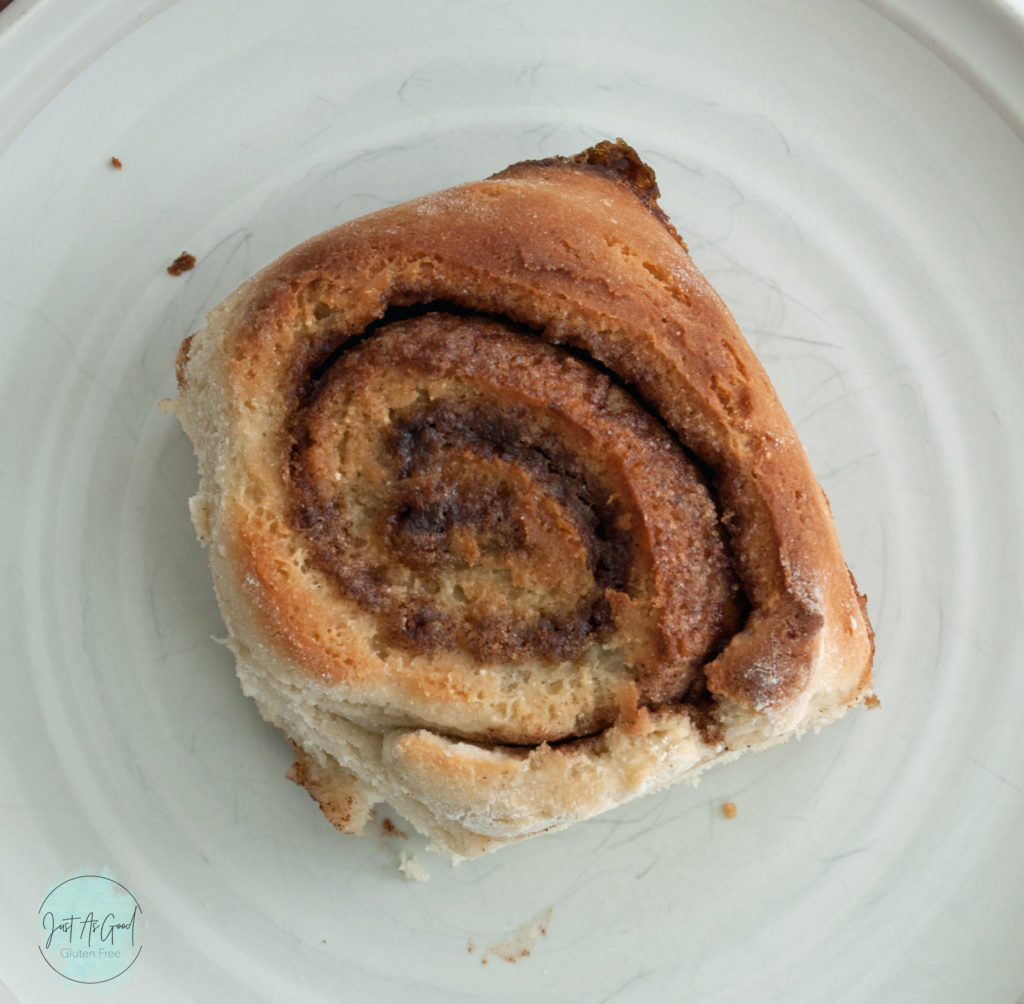
Thick and gooey cream cheese frosting:
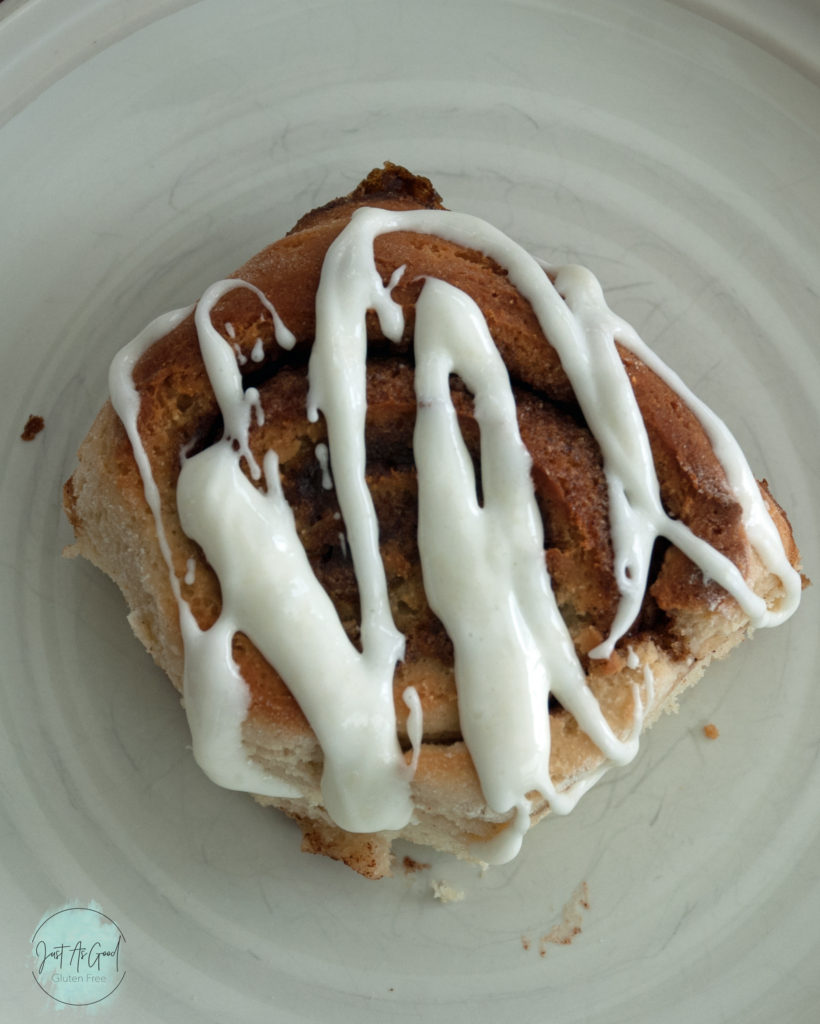
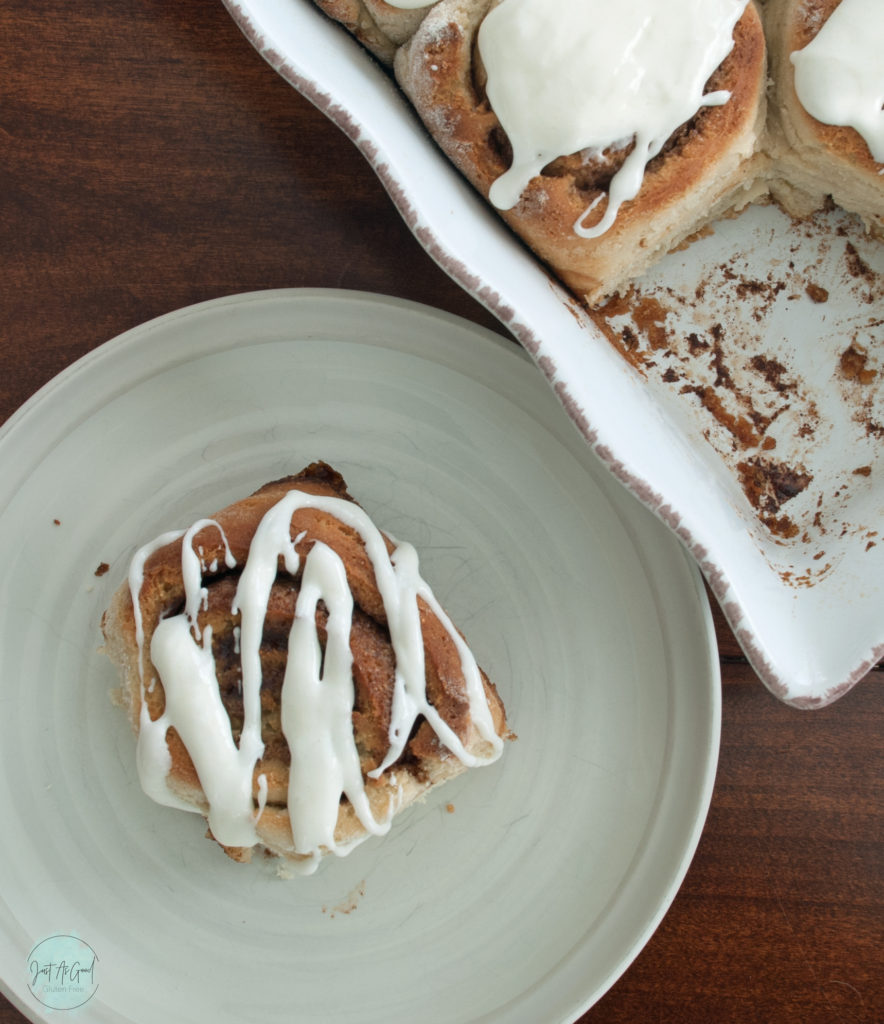
But no cinnamon roll is complete without the icing! A true mark of a cinnamon roll. If you want an icing that doesn’t seep into the roll, than this is your icing! It’s thick enough to remain on top for a drizzle or a smathering (my preferred method).
Can I make gluten free cinnamon rolls without egg or dairy?
Cinnamon roll dough uses something called an enriched dough, which basically means a dough including egg and milk. I haven’t tried or tested these rolls without the use of either, or used any substitutions. If you do, please leave a comment below and let everyone know how it worked out!
Can I make gluten free cinnamon rolls ahead of time?
Do you want to wake up in the morning and not spend your first 2 hours preparing cinnamon rolls? You can definitely knock out a few key steps the day before. In the recipe instructions, you will stop after step 3 under ‘Cinnamon Roll Construction’ and cover and place the rolls in the refrigerator overnight. When you’re ready to bake, remove them from the refrigerator and allow them to do their second rise while your oven is preheating for about ½ hour.
Would you like to keep in touch on a regular basis?
Me too! If you haven’t done so, sign up to receive e-mails for recipe updates here
.You can also go to Instagram and share your picture @justasgoodglutenfree and include #justasgoodglutenfree.
Your feedback is important to me and anyone else wanting to make this recipe. Please share your helpful comments below!
As always, every picture above has a ‘Save It’ button for you to pin on Pinterest. You can also find me at Just As Good Gluten Free on Pinterest where you can follow my boards. I love to keep them up to date and relevant to the current food and baking season and share anything else I found helpful.
Gluten Free Cinnamon Rolls
Ingredients
Rolls
- 2 ½ cups gluten free flour blend (375 g)
- ½ cup cassava flour (70 g)
- 2 teaspoon guar or xanthan gum (omit if in blend)
- 2 ¼ teaspoon yeast
- ½ tsp salt
- ½ cup sugar
- 1 cup warm milk (around 110° F, I used 2%)
- 6 Tbs butter, melted
- 2 large eggs, room temperature
Roll Filling
- 4 Tbs butter, melted
- ½ cup brown sugar
- 2 teaspoon ground cinnamon
Cream Cheese Icing
- 4 oz. cream cheese, softened
- 2 cups powdered sugar
- ¼ cup milk
Instructions
Cinnamon Roll Dough
- In a stand mixer, combine gluten free flour blend, cassava flour, guar gum, salt and sugar.
- In a microwave safe bowl, heat milk for about 1 minute or until temperature reaches around 110° F. Gently mix in the yeast and allow to sit for 5 minutes. The top should become bubbly and frothy, indicating the yeast is working!
- Pour the milk and yeast, melted 6 Tbs butter, and eggs. Mix for 2-3 minutes until well-incorporated. Using a spatula, scrape the edges of the bowl to form a ball with the dough. Cover the bowl with plastic wrap and allow rest in a warm location until doubled in size. This could take around 45 min to 1 hour.
- Using as little gluten free flour as possible (around 2 Tbs), lightly dust a flat, clean surface and with a rolling pin, roll the dough out in the shape of a rectangle measuring 12" x 16". I like to roll my dough out on a silicon mat, which aids in rolling the gluten free dough.
Cinnamon Roll Filling
- In a microwave safe bowl, melt 4 Tbs butter. Add cinnamon and brown sugar and combine. Spread this mixture over your rolled out dough, stopping just short of each edge.
Cinnamon Roll Construction
- Beginning at the short edge of the dough, roll the dough from one edge to the other. I pull the silicon mat straight up as I roll the dough.
- Now that you have a gluten free cinnamon roll log, make 8 equal cuts, 2 inches each.
- Lightly grease a 9 x 9 pan. Gently place each roll in the pan, allowing space between each roll to rise again.
- Optional: if you would like to refrigerate the rolls and bake the next day, this is the point to stop. Cover the rolls and place in the refrigerator overnight. When ready to bake, remove from the oven and preheat the oven to 350° F. Allow the rolls to rise for ½ hour and complete remaining recipe instructions.
- Allow the rolls to rest and rise for 30 minutes. In the meantime, preheat your oven to 350° F.
- Bake your rolls for 20-25 minutes. Remove from oven and allow to cool slightly before frosting.
Cinnamon Roll Cream Cheese Frosting
- In a stand mixer with your paddle attachment, combine all ingredients and blend until nice and smooth. Drizzle or spread over warm cinnamon rolls.
Icing recipe from: Food Network Cream Cheese Icing
Hey there! Just As Good Gluten Free LLC participates in the Amazon Associates Program, which mean many outgoing links on Just As Good Gluten Free are affiliate links. After clicking on a link, I may receive a small percentage of the sale for referring you, which comes at no extra cost to you. This allows me to continue creating gluten free recipes for you! Many thanks – Amy

Leave a Reply